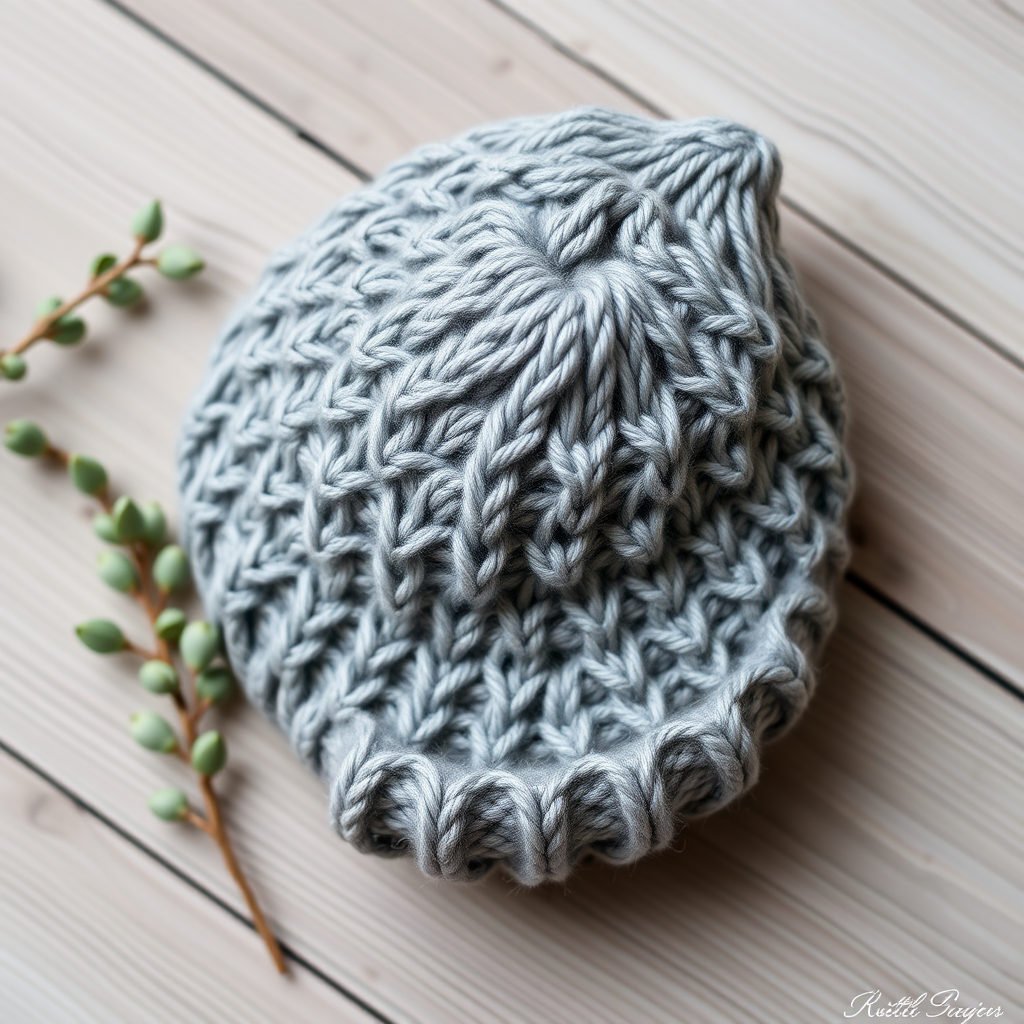
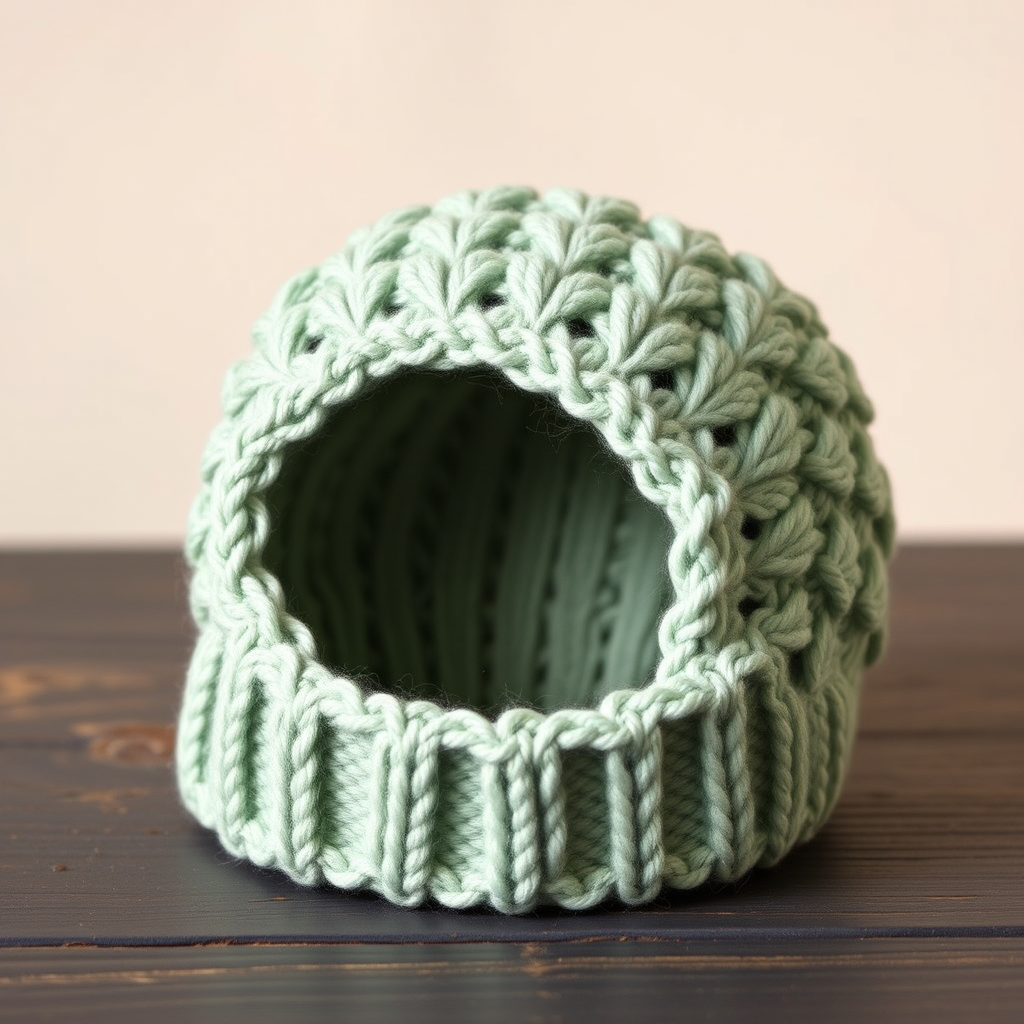
Whispering Willow Preemie Beanie Free Pattern – Knit a Tiny Forest Crown

Abbreviations
- k = knit
- p = purl
- k2tog = knit two stitches together (right-leaning decrease)
- ssk = slip, slip, knit (left-leaning decrease) – not used in this pattern, but good to know for future projects
- yo = yarn over – not used in this pattern
- c4f = cable 4 front: slip 2 stitches to cable needle, hold in front of work, knit next 2 stitches, then knit 2 stitches from cable needle
- pm = place marker
- rnd = round
Getting Started: The Brim
Using your 16-inch circular needle, cast on 72 [78] stitches using your preferred method (long-tail cast-on works beautifully here). Place a stitch marker to mark the beginning of the round, then join in the round, being extremely careful not to twist your stitches. The cast-on edge should lie flat and smooth around the needle without any spiraling.
Rounds 1–8: Work in k2, p2 ribbing for 8 rounds total. This creates a snug, stretchy brim that will gently hug the baby's forehead. The ribbing should measure approximately 0.75 inches from the cast-on edge. If you prefer a slightly taller brim for extra warmth, you can work 10 rounds instead—just keep the ribbing proportional to the hat length.
The Body: Stockinette Foundation
Switch to stockinette stitch by knitting every round. Work 6 [8] rounds even. This smooth stockinette section provides a calm canvas that will make the leaf vein cables pop beautifully. The extra 2 rounds in the larger size ensure the hat has adequate length for a slightly bigger head.
The Leaf Vein Panel
This is where the magic happens. The leaf vein panel consists of a 12-stitch repeat that features a c4f cable twist, creating a subtle vertical ridge that resembles the central vein of a leaf. The panel is worked every round, with 4 plain stockinette rounds between each cable round to allow the twist to settle and stand out.
Setup: Place a marker after the first 12 stitches of the round. This marks the beginning of your leaf vein panel. For the 72-stitch size, you will repeat the 12-stitch panel 6 times around the hat. For the 78-stitch size, you will repeat the panel 6 times (72 stitches) and work the remaining 6 stitches in plain stockinette between panels—this keeps the cable pattern centered and balanced.
Panel Round (worked every 5th round): k4, c4f, k4. This 12-stitch sequence creates the cable twist. The c4f maneuver is simple: slip 2 stitches to your cable needle and hold it to the front of your work, knit the next 2 stitches from your left needle, then knit the 2 stitches from the cable needle. The result is a left-leaning cable that twists like a young fern unfurling.
Between Panel Rounds: Work 4 rounds even in stockinette (knit every stitch). This spacing gives the cable room to breathe and creates that beautiful, subtle texture.
Repeat: Continue alternating the panel round with 4 plain rounds until the piece measures 3.5 [4] inches from the cast-on edge, ending after a panel round. This ensures the cable pattern is complete before you begin the crown decreases. The body should feel soft and squishy, with the cables creating gentle vertical ridges around the hat.
Crown Shaping: The Gathered Forest Crown
Now it's time to shape the top of the hat. The decreases create a gentle spiral that culminates in a gathered point, reminiscent of a forest canopy seen from below. Switch to double-pointed needles when the circular needle becomes too long for the decreasing stitch count—usually around Rnd 9 or 11.
Rnd 1: *k10, k2tog* repeat around. You will have 66 [71] stitches remaining.
Rnd 2 and all even rounds: Knit even (no decreases). This creates the spiral effect and ensures smooth, even shaping.
Rnd 3: *k9, k2tog* repeat around. You will have 60 [65] stitches.
Rnd 5: *k8, k2tog* repeat around. You will have 54 [59] stitches.
Rnd 7: *k7, k2tog* repeat around. You will have 48 [53] stitches.
Rnd 9: *k6, k2tog* repeat around. You will have 42 [47] stitches.
Rnd 11: *k5, k2tog* repeat around. You will have 36 [41] stitches.
Rnd 13: *k4, k2tog* repeat around. You will have 30 [35] stitches.
Rnd 15: *k3, k2tog* repeat around. You will have 24 [29] stitches.
Rnd 17: *k2, k2tog* repeat around. You will have 18 [23] stitches.
Rnd 19: *k1, k2tog* repeat around. You will have 12 [17] stitches.
Rnd 21: *k2tog* repeat around. You will have 6 [8]