Cocoa Cloud Kiss Hat Free Pattern – A Knitted Velvet Swirl

Wrap Yourself in Luxury: The Cocoa Cloud Kiss Hat Knitting Pattern
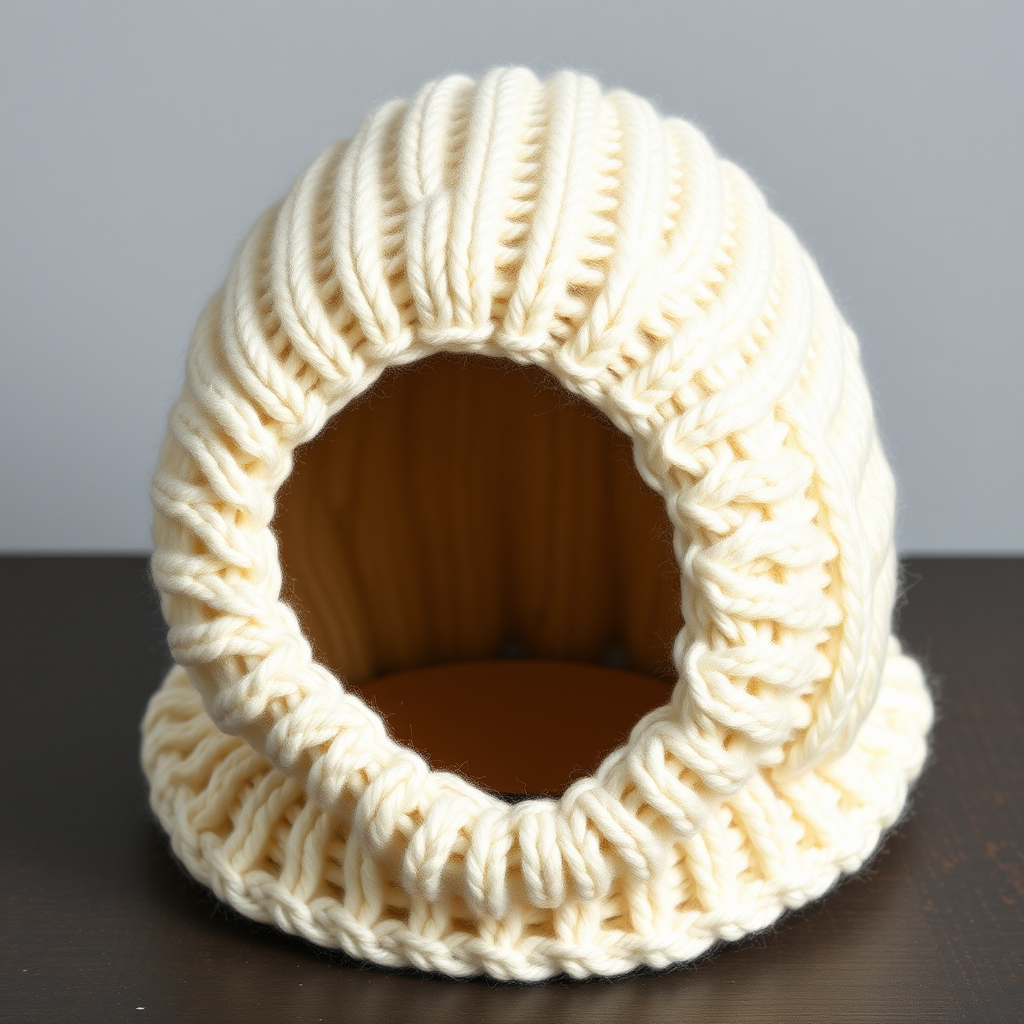
There are some knitting projects that are simply more than just accessories—they're experiences. The Cocoa Cloud Kiss Hat is exactly that: a plush, cloud-like embrace for your head that mimics the iconic Hershey Kiss silhouette with a modern, textured twist. Crafted from luscious velvet yarn and featuring a clever spiral decrease, this hat is the perfect statement piece for chilly days, cozy evenings, and everything in between.
Whether you're looking for a thoughtful handmade gift or a luxurious treat for yourself, this free knitting pattern delivers both style and comfort. The rich cocoa brown velvet catches the light beautifully, creating a subtle sheen that elevates any winter outfit. Let's dive into this delightful project that combines simplicity with stunning results.
Materials Needed for Your Velvet Masterpiece
Before you begin, gather these essential supplies to ensure a smooth knitting experience:
Yarn
- 2 skeins of Bernat Velvet Yarn in "Cocoa" (or any bulky weight velvet yarn, approximately 300g total)
Needles
- US 10 (6mm) 16-inch circular knitting needle
- US 10 (6mm) double-pointed needles (for crown decreases)
Additional Supplies
- Tapestry needle for weaving in ends
- Stitch markers (at least 2)
- Scissors
- Optional: Small amount of polyester fiberfill for shaping
Gauge
14 stitches and 20 rows = 4 inches in stockinette stitch (blocked). Always knit a gauge swatch to ensure your hat fits perfectly!
Step-by-Step Instructions for the Cocoa Cloud Kiss Hat
This pattern is designed for an Adult Medium size (21-22 inch head circumference) with a finished height of approximately 10 inches. Even beginners can tackle this project with confidence—the techniques are simple and the results are stunning.
Abbreviations You'll Need
- CO: cast on
- K: knit
- P: purl
- K2tog: knit two together (right-leaning decrease)
- SSK: slip, slip, knit (left-leaning decrease)
- St(s): stitch(es)
- Rnd(s): round(s)
- PM: place marker
- SM: slip marker
Part 1: The Ribbed Brim
Step 1: With your circular needle, CO 88 stitches. Place a marker at the beginning of the round and join in the round, being very careful not to twist your stitches. This is crucial for a clean, professional finish.
Step 2: Work in K2, P2 ribbing for 2.5 inches (approximately 12 rounds). This creates a snug, stretchy brim that will hug your forehead comfortably and keep the hat securely in place.
Pro Tip: The velvet yarn has beautiful drape, so the ribbing will naturally want to curl slightly. This is normal and actually adds to the cozy, relaxed look of the finished hat.
Part 2: The Body of the Hat
Step 3: Switch to stockinette stitch (knit every round) and work even for 4 inches from the ribbing. As you knit, you'll notice the fabric beginning to flare slightly—this is the velvet's natural drape working in your favor, creating the rounded base of the Hershey Kiss shape.
Part 3: The Spiral Decreases (Creating the Kiss Shape)
Now comes the magical part! The spiral decreases are offset each round to create a gentle, continuous swirl rather than straight seams. This is what gives the hat its distinctive kiss-like crown.
Step 4: Begin the spiral decrease sequence. Follow these rounds carefully, switching to double-pointed needles when the circular needle becomes too long:
- Rnd 1: *K9, K2tog*; repeat from * to end of round (80 sts)
- Rnd 2: Knit all sts
- Rnd 3: *K8, K2tog*; repeat from * to end (72 sts)
- Rnd 4: Knit all sts
- Rnd 5: *K7, K2tog*; repeat from * to end (64 sts)
- Rnd 6: Knit all sts
- Rnd 7: *K6, K2tog*; repeat from * to end (56 sts)
- Rnd 8: Knit all sts
- Rnd 9: *K5, K2tog*; repeat from * to end (48 sts)
- Rnd 10: Knit all sts
- Rnd 11: *K4, K2tog*; repeat from * to end (40 sts)
- Rnd 12: Knit all sts
- Rnd 13: *K3, K2tog*; repeat from * to end (32 sts)
- Rnd 14: Knit all sts
- Rnd 15: *K2, K2tog*; repeat from * to end (24 sts)
- Rnd 16: Knit all sts
- Rnd 17: *K1, K2tog*; repeat from * to end (16 sts)
- Rnd 18: *K2tog*; repeat from * to end (8 sts)
Important: As you decrease, switch to double-pointed needles when the stitches no longer fit comfortably on the circular needle. This typically happens around Rnd 11 or 12.
Part 4: Finishing Touches
Step 5: Cut your yarn, leaving a 12-inch tail. Thread the tail through a tapestry needle, slip it through the remaining 8 stitches, and pull tight to close the top of the hat. Weave in the end securely—this is what keeps your hat from unraveling.
Step 6: Weave in all loose ends with your tapestry needle. Take your time here; a well-finished hat looks professional and lasts longer.
Step 7: Block lightly by steaming (do not press) to smooth the velvet and set the shape. The steam will relax the fibers and give your hat that polished, store-bought look.
Optional: Enhancing the Kiss Silhouette
For an even more pronounced Hershey Kiss shape, gently stuff the top of the hat with a small amount of polyester fiberfill before closing. This isn't necessary for wearing, but it does create a more dramatic silhouette if you're gifting the hat or displaying it.
Expert Tips for Velvet Yarn Success
- Use stitch markers: Velvet yarn can be slippery, so markers help you keep track of your rounds and decreases.
- Embrace imperfection: The spiral decrease creates a natural swirl—don't worry about perfect alignment. The organic look is part of the charm!
- Adjust for fit: For a slouchier fit, work 1-2 extra inches of stockinette before starting your decreases. For a more fitted look, decrease the stockinette section by 1 inch.
- Watch your tension: Velvet yarn has a tendency to stretch, so keep your tension consistent throughout.
Why You'll Love This Pattern
The Cocoa Cloud Kiss Hat is more than just a winter accessory—it's a conversation starter. The plush velvet texture invites touch, the rich cocoa color complements any wardrobe, and the clever construction shows off your knitting skills. Whether you're a seasoned knitter looking for a quick weekend project or a beginner ready to try something new, this pattern delivers satisfaction from the first cast-on to the final weave-in.
So grab your velvet yarn, settle into your favorite knitting spot, and prepare to create something truly special. Your head (or the lucky recipient's head) will thank you for the cloud-like comfort!
Happy knitting!