Marshmallow Cloud Slouch Hat Free Pattern – Knit a Cozy Dreamscape
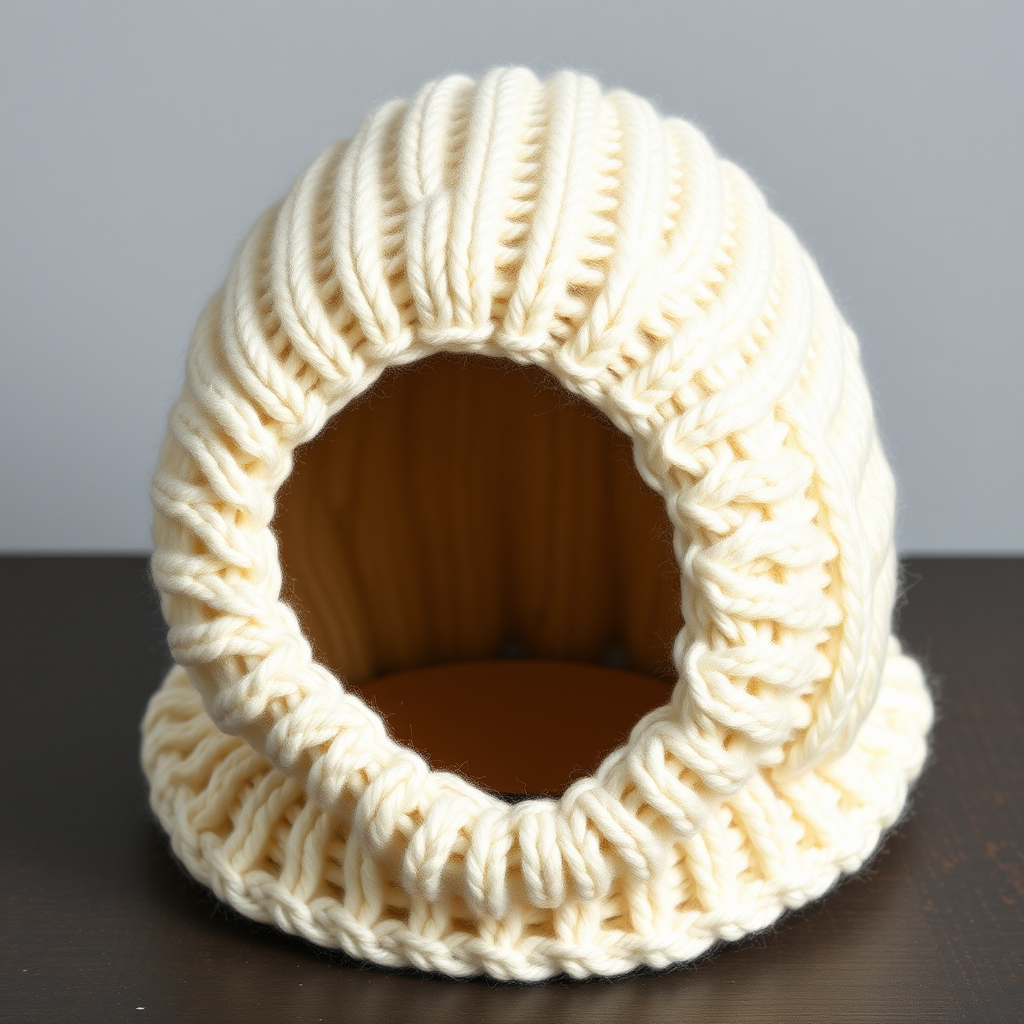
Wrap Your Head in a Cloud: The Marshmallow Slouch Hat
Imagine pulling on a hat that feels like a soft, pillowy hug for your head. That's the magic of the Marshmallow Cloud Slouch Hat. This free knitting pattern creates a uniquely squishy, dimensional fabric using a clever combination of simple knit and purl stitches. The result is a cozy, textured dreamscape that's perfect for chilly days, lazy weekends, or anytime you need a little extra comfort. Best of all, this pattern is beginner-friendly, using only basic stitches and simple repeats to create a stunning, professional-looking accessory. Let's dive in and knit your own cloud!
Materials Needed
Before you begin, gather these simple supplies:
- Yarn: 2 skeins of bulky weight yarn in a soft cream color (e.g., Lion Brand Wool-Ease Thick & Quick in "Fisherman")
- Needles: US 10.5 (6.5 mm) 16-inch circular knitting needle and a set of double-pointed needles (DPNs) for the crown decreases
- Other: Stitch marker, tapestry needle for weaving in ends
Gauge: 14 stitches and 20 rows = 4 inches in stockinette stitch (knit every round). Always check your gauge to ensure a perfect fit.
Step-by-Step Instructions
Finished Size: One size fits most adults (21-23 inch head circumference)
Abbreviations
- CO: Cast on
- K: Knit
- P: Purl
- K2tog: Knit two stitches together (decrease)
- P2tog: Purl two stitches together (decrease)
- St(s): Stitch(es)
- Rnd: Round
Getting Started: The Ribbed Brim
CO 80 sts. Place a stitch marker and join in the round, being extremely careful not to twist your stitches. The brim is a classic 2x2 rib, which creates a snug, stretchy band that will hug your head comfortably.
Rnds 1-8: *K2, P2* repeat around. This means you'll knit 2 stitches, then purl 2 stitches, and continue this pattern all the way around the circle. Repeat this round 8 times total.
Creating the Marshmallow Texture: The Body
Now for the fun part! The body of the hat uses a simple 2-round repeat that creates the beautiful, puffy marshmallow texture. You'll alternate between a "K1, P1" round and a "P1, K1" round. This offset pattern creates the raised, squishy columns.
Rnd 9: *K1, P1* repeat around. (Knit 1, purl 1, all the way around)
Rnd 10: *P1, K1* repeat around. (Purl 1, knit 1, all the way around)
Rnd 11: *K1, P1* repeat around.
Rnd 12: *P1, K1* repeat around.
Rnd 13: *K1, P1* repeat around.
Rnd 14: *P1, K1* repeat around.
Rnd 15: *K1, P1* repeat around.
Rnd 16: *P1, K1* repeat around.
You've just completed one full pattern repeat! Now, simply repeat Rnds 9-16 three more times to create the slouchy body of the hat. That means you'll work Rnds 17-24, Rnds 25-32, and Rnds 33-40 exactly as you did Rnds 9-16. The hat will begin to grow in length, creating that beautiful, relaxed slouch.
Shaping the Crown: Decreases
Once you've completed the body, it's time to shape the top of the hat. As the number of stitches decreases, you'll need to switch from your circular needle to your double-pointed needles. Simply distribute the stitches evenly across 3 or 4 DPNs when the circular needle becomes too long to work with comfortably.
Rnd 41: *K1, P1, K2tog, P1* repeat around. (You will have 60 sts remaining)
Rnd 42: *P1, K1, P1, K1* repeat around. (This is a plain round with no decreases, just maintaining the pattern)
Rnd 43: *K1, P2tog, K1, P1* repeat around. (You will have 50 sts remaining)
Rnd 44: *P1, K1, P1, K1* repeat around. (Plain round)
Rnd 45: *K2tog, P1, K1* repeat around. (You will have 40 sts remaining)
Rnd 46: *P1, K1* repeat around. (Plain round)
Rnd 47: *K2tog, P1* repeat around. (You will have 30 sts remaining)
Rnd 48: *P1, K1* repeat around. (Plain round)
Rnd 49: *K2tog* repeat around. (You will have 15 sts remaining)
Rnd 50: *K2tog* repeat around. (You will have 8 sts remaining)
Finishing Touches
Cut your yarn, leaving a long tail (about 8-10 inches). Thread the tail onto your tapestry needle and carefully slide the needle through the remaining 8 stitches on your knitting needles. Remove the needles and pull the yarn tight to cinch the top of the hat closed. Secure it with a small knot, then weave the end in securely on the inside of the hat. Do the same with your cast-on tail at the brim.
Give your hat a gentle block by lightly steaming it or simply shaping it with your hands and letting it dry flat. Flip the brim up for a classic look, or leave it down for extra coziness. You've just created a beautiful, cloud-soft Marshmallow Slouch Hat that's as delightful to make as it is to wear. Happy knitting!