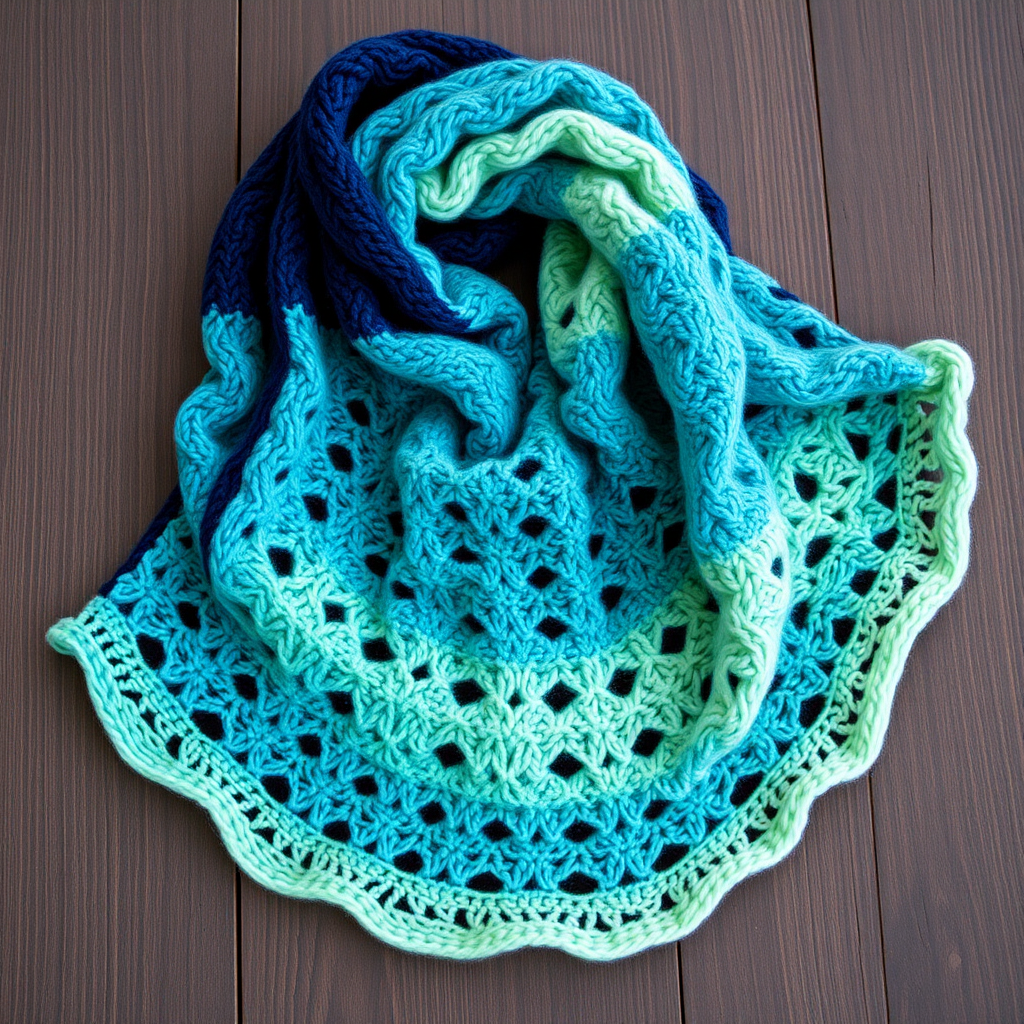
Whispering Pines Forest Wrap Free Pattern

Whispering Pines Forest Wrap: A Free Knitting Pattern for a Cozy, Woodland-Inspired Shawl
Wrap yourself in the serene beauty of a misty pine forest with this textured knit shawl. The Whispering Pines Forest Wrap is a stunning, nature-inspired accessory that combines elegant cable panels with a soft, bumpy moss stitch background. The result is a richly textured, cozy shawl that drapes beautifully over your shoulders—perfect for crisp autumn evenings or snuggly winter days. This free knitting pattern is designed to be accessible for confident beginners ready to tackle their first cables, and the step-by-step instructions below will guide you through every row.
This shawl is worked from the top center down, increasing at the edges to create a wide, elegant triangle. The deep Forest Green (MC) body is framed by a Misty Gray (CC) garter stitch border, evoking the quiet contrast of dark pines against a foggy morning sky. Let’s get started on your new favorite handmade wrap.
Materials Needed
Before you begin, gather the following supplies to ensure a smooth knitting experience:
- Yarn: Worsted weight yarn in two shades:
- Main Color (MC) - Forest Green: Approximately 800 yards (e.g., 4 skeins of a standard 200-yard worsted weight yarn)
- Contrast Color (CC) - Misty Gray: Approximately 200 yards (e.g., 1 skein of a standard 200-yard worsted weight yarn)
- Needle: US 8 (5 mm) circular knitting needle, 32 inches or longer (the long cord is essential to hold the many stitches as the shawl grows).
- Notions: Cable needle, stitch markers (at least 4), tapestry needle for weaving in ends.
- Gauge: 18 stitches and 24 rows = 4 inches in stockinette stitch. Always knit a gauge swatch to ensure your finished shawl matches the intended size and drape.
Step-by-Step Instructions
This pattern is worked from the top center down, increasing at the edges to create a triangular shape. The construction combines two distinct cable panels with a moss stitch background for a rich, textured fabric. Follow the instructions carefully, and you'll be amazed at how quickly the pattern emerges.
Abbreviations
- k = knit
- p = purl
- yo = yarn over (increase)
- k2tog = knit two together (decrease)
- ssk = slip, slip, knit (decrease)
- C4F = slip 2 stitches to cable needle, hold in front, knit next 2 stitches, then knit 2 from cable needle
- C4B = slip 2 stitches to cable needle, hold in back, knit next 2 stitches, then knit 2 from cable needle
- pm = place marker
- sm = slip marker
Setup Rows (Creating the Foundation)
With MC, cast on 3 stitches.
- Row 1 (RS): k1, yo, k1, yo, k1 (5 stitches)
- Row 2 (WS): k2, p1, k2
- Row 3 (RS): k2, yo, k1, yo, k2 (7 stitches)
- Row 4 (WS): k2, p3, k2
- Row 5 (RS): k2, yo, k3, yo, k2 (9 stitches)
- Row 6 (WS): k2, p5, k2
- Row 7 (RS): k2, yo, k5, yo, k2 (11 stitches)
- Row 8 (WS): k2, p7, k2
Tip: The first and last 2 stitches of every row are always knit (forming a garter stitch edge). The yarn overs (yo) create the increases at the edges.
Begin the Main Pattern
Now you will introduce the cable panels and the center stitch.
- Row 9 (RS): k2, yo, pm, work Cable Panel A over next 7 stitches, pm, yo, k1 (center stitch), yo, pm, work Cable Panel B over next 7 stitches, pm, yo, k2.
- Row 10 (WS): k2, sm, work Cable Panel B (as established) over 7 stitches, sm, p1, sm, work Cable Panel A over 7 stitches, sm, k2.
Cable Panel A (worked over 7 stitches)
- Row 1 (RS): p1, C4F, p2
- Row 2 (WS): k1, p4, k2
- Row 3 (RS): p1, k4, p2
- Row 4 (WS): k1, p4, k2
- Row 5 (RS): p1, C4B, p2
- Row 6 (WS): k1, p4, k2
- Row 7 (RS): p1, k4, p2
- Row 8 (WS): k1, p4, k2
Cable Panel B (worked over 7 stitches)
- Row 1 (RS): p2, C4F, p1
- Row 2 (WS): k2, p4, k1
- Row 3 (RS): p2, k4, p1
- Row 4 (WS): k2, p4, k1
- Row 5 (RS): p2, C4B, p1
- Row 6 (WS): k2, p4, k1
- Row 7 (RS): p2, k4, p1
- Row 8 (WS): k2, p4, k1
Note: Cable Panel A and Cable Panel B are mirror images of each other, creating a beautiful symmetrical twist that flows outward from the center.
Increase Rows (Growing the Shawl)
After completing Row 10, you will continue increasing the shawl's size. The center section (between the two cable panels) will grow by 2 stitches every RS row.
- Row 11 (RS): k2, yo, sm, work Cable Panel A, sm, yo, k1, yo, sm, work Cable Panel B, sm, yo, k2.
- Row 12 (WS): k2, sm, work Cable Panel B, sm, p3, sm, work Cable Panel A, sm, k2.
Repeat Rows 11 and 12, but each time the center section (between the two cable panels) grows by 2 stitches. Work these center stitches in Moss Stitch as follows:
Moss Stitch (over an odd number of stitches)
- Row 1: k1, p1, repeat to last stitch, k1
- Row 2: p1, k1, repeat to last stitch, p1
Important: On Row 12 (WS), you will purl the center stitches. On subsequent WS rows, you will work the center stitches in moss stitch pattern. The purl stitches on Row 12 establish the base for the moss stitch.
Continue increasing until the shawl measures approximately 60 inches across the top edge, ending with a WS row. Tip: Try it on as you go to check the size. The shawl should comfortably wrap around your shoulders.
Edging (Adding the Misty Gray Border)
Switch to CC (Misty Gray). Work 6 rows of garter stitch (knit every row) across all stitches, maintaining the increases at the edges (k2, yo at beginning and yo, k2 at end of RS rows).
- Row 1 (RS): k2, yo, knit to last 2 stitches, yo, k2.
- Row 2 (WS): knit all stitches.
Repeat these two rows 3 times total (6 rows of garter stitch).
Finishing
Bind off loosely on the next RS row. Tip: Use a larger needle or a loose bind-off method (like the yarn-over bind-off) to ensure the edge remains stretchy and doesn't pucker.
Weave in all ends with a tapestry needle. Block gently to shape—this is crucial for opening up the cables and giving the shawl its beautiful drape. Lay it flat, pin to the desired dimensions, and mist with water. Allow to dry completely.
Your Whispering Pines Forest Wrap is now complete! The deep green cables twisting against the textured moss stitch, framed by the soft gray border, create a truly stunning, handcrafted piece that captures the quiet magic of a woodland walk. Enjoy wearing your cozy, nature-inspired creation!