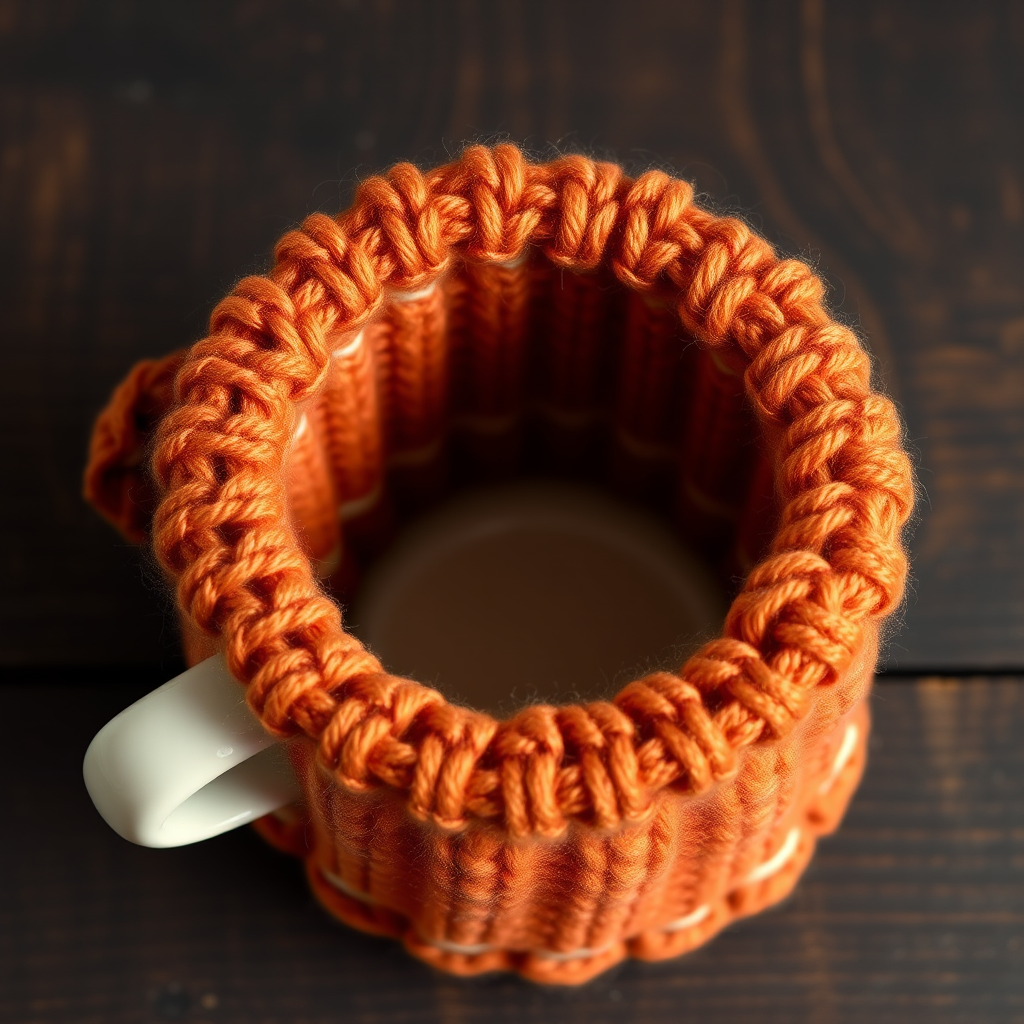
Driftwood Dune Bolster Pillow Free Pattern – A Knitted Coastal Sculpture

Driftwood Dune Bolster Pillow Free Pattern – A Knitted Coastal Sculpture
Bring the serene rhythm of the shore into your living space with this textured bolster pillow, knitted to mimic the organic curves of wind-swept sand dunes. Its blend of chunky cables and soft linen stitch creates a tactile, calming accent for any cozy corner. This free knitting pattern is perfect for intermediate knitters looking to create a statement piece of home decor that feels both sculptural and inviting. The finished pillow is a cylindrical, slightly curved accent that evokes the ridges of sand dunes and the rounded tips of a driftwood log, making it a beautiful addition to a neutral, organic interior.
Materials Needed
Before you begin, gather the following materials to ensure a smooth and enjoyable knitting experience. The quality of your yarn will greatly affect the final look and feel of your coastal pillow.
- Yarn: Worsted weight cotton or cotton-linen blend (approx. 600-700 yards). A palette of warm sand, driftwood gray, or seafoam white works beautifully for a coastal aesthetic.
- Needles: US 7 (4.5 mm) circular needles, 16-inch length, and a set of double-pointed needles (DPNs) for finishing the shaped ends.
- Notions: Stitch markers, cable needle, tapestry needle for weaving in ends, and a bolster pillow form (14" x 24") or polyester fiberfill for stuffing.
- Gauge: 18 stitches and 24 rows = 4 inches in stockinette stitch. Always knit a gauge swatch to ensure your finished pillow matches the intended dimensions.
Step-by-Step Instructions
This pattern is worked in the round for the main body, then shaped flat at the ends to create the tapered, gathered look. Follow the instructions carefully, and don't hesitate to refer back to the abbreviations list if you need a quick refresher.
Abbreviations
- CO: Cast on
- K: Knit
- P: Purl
- K2tog: Knit two stitches together (decrease)
- P2tog: Purl two stitches together (decrease)
- C4F: Slip 2 stitches to cable needle, hold in front, knit next 2 stitches, then knit stitches from cable needle
- C4B: Slip 2 stitches to cable needle, hold in back, knit next 2 stitches, then knit stitches from cable needle
- St(s): Stitch(es)
- Rep: Repeat
Main Body (Worked in the Round)
Finished Size: Approximately 14 inches in diameter and 24 inches long (before stuffing).
- Cast On: CO 120 stitches. Place a stitch marker and join in the round, being extremely careful not to twist your stitches.
- Rounds 1-4: *K2, P2*; repeat from * to * around. This establishes the ribbed border.
- Round 5: *C4F, P2, C4B, P2*; repeat from * to * around. This creates the braided cable pattern.
- Rounds 6-8: *K4, P2*; repeat from * to * around. This section provides a smooth contrast to the cables.
- Rounds 9-12: *K2, P2*; repeat from * to * around. Another ribbed section to add rhythm.
- Rounds 13-16: *P2, C4F, P2, C4B*; repeat from * to * around. Notice how the cables are now offset for a dynamic, dune-like flow.
- Rounds 17-20: *P2, K4*; repeat from * to * around.
- Repeat: Continue repeating Rounds 5-20 until the piece measures 22 inches from the cast-on edge. For symmetry, end with Round 4 or Round 12.
Shaping the Ends (Work Flat on Half the Stitches)
This section creates the tapered, gathered ends of the pillow. You will work on half of the stitches at a time.
- First Side: On the next row (Right Side), K60, turn your work. Leave the remaining 60 stitches on hold (you can place them on a spare needle or stitch holder).
- Row 2 (Wrong Side): P2tog, P to last 2 stitches, P2tog (58 sts).
- Row 3 (Right Side): K2tog, K to last 2 stitches, K2tog (56 sts).
- Repeat: Repeat Rows 2-3 until 20 stitches remain. You will notice the fabric curving inward to form the tapered end.
- Finish: Cut the yarn, leaving a long tail (about 12 inches). Thread the tail through a tapestry needle, slide it through the remaining 20 stitches, pull tight to gather, and secure with a knot.
- Second Side: Attach yarn to the held 60 stitches and repeat the same shaping process (Rows 1-5) to create the other tapered end.
Finishing Touches
- Weave in Ends: Use your tapestry needle to weave in all loose yarn ends securely, trimming any excess.
- Sew the Seam: Fold the pillow in half lengthwise, with the shaped ends meeting. Using the mattress stitch, sew the side seam closed, leaving a 6-inch opening in the middle for stuffing.
- Stuff the Pillow: Insert your bolster pillow form or stuff firmly with polyester fiberfill. Ensure the filling is evenly distributed for a plush, sculptural shape.
- Close the Opening: Sew the remaining 6-inch opening closed with the mattress stitch, ensuring the seam is invisible.
- Optional Edge: For a neat, polished edge, you can add a few rows of single crochet around the gathered ends. This also helps to define the shape beautifully.
Your Driftwood Dune Bolster Pillow is now complete! Place it on a bed, a reading nook, or a neutral linen sofa to add a serene, organic touch to your home. The dense, textured knit is not only visually appealing but also incredibly satisfying to hold. Enjoy your handcrafted coastal sculpture!