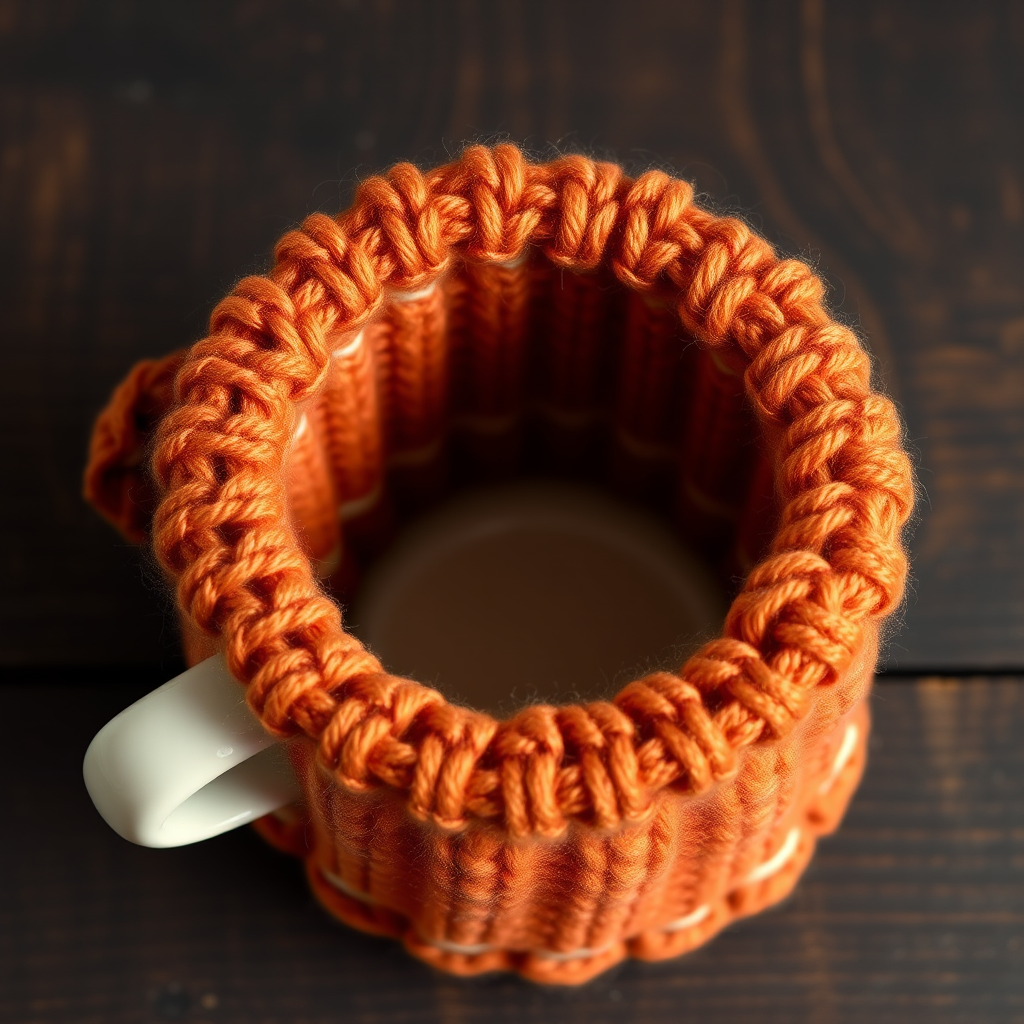
The Enchanted Teapot Cozy Free Pattern – A Knitted Cable and Bobble Tea Jacket

The Enchanted Teapot Cozy Free Pattern – A Knitted Cable and Bobble Tea Jacket
Wrap your teapot in a little magic with this whimsical, textured tea jacket. Featuring intricate cables that twist up the body and playful cream-colored bobbles scattered across the lower section, this knitted cozy is both a stunning statement piece for your kitchen and a practical insulator that keeps your favorite brew warm for longer. Whether you're an experienced knitter looking for a satisfying weekend project or a confident beginner ready to learn new techniques, this pattern is designed to guide you through every step. The deep forest green yarn evokes a charming countryside cottage aesthetic, making it a beautiful handmade gift for tea lovers or a delightful treat for your own home.
This pattern is written for a standard 6-cup teapot (approximately 9 inches in circumference and 5 inches in height). If your teapot differs, don't worry—we'll show you how to adjust the stitch count to ensure a perfect fit. Let's get those needles clicking!
Materials Needed
Before you begin, gather the following supplies. Having everything ready will make your knitting session smooth and enjoyable.
- Yarn: Worsted weight yarn in a deep forest green (MC - Main Color) for the body, and a contrasting cream (CC - Contrast Color) for the bobbles. You will need approximately 150-200 yards of MC and 50 yards of CC.
- Knitting Needles: US 7 (4.5 mm) knitting needles. You can use straight needles or circular needles for flat knitting, whichever you prefer.
- Cable Needle: A small cable needle (or a double-pointed needle) to hold stitches while making cables.
- Tapestry Needle: For weaving in ends and seaming the cozy.
- Stitch Markers (optional): Helpful for marking the spout and handle openings.
Gauge: 20 stitches and 26 rows = 4 inches in stockinette stitch. Always check your gauge to ensure the cozy fits properly. If your gauge is off, adjust your needle size accordingly.
Step-by-Step Instructions
This pattern is worked flat from the bottom up, then seamed at the back. We'll break it down into manageable sections: the ribbed base, the cable panel, the bobble section, and the finishing touches.
Getting Started: The Ribbed Base
We begin with a stretchy ribbed border that will hug the bottom of your teapot.
- Cast On: With your MC yarn, cast on 45 stitches.
- Row 1 (Right Side): K2, *P3, K3*, repeat from * to * until you have 2 stitches left, K2.
- Row 2 (Wrong Side): P2, *K3, P3*, repeat from * to * until you have 2 stitches left, P2.
- Repeat Rows 1 and 2 until the piece measures 2 inches from the cast-on edge. This creates a nice, firm base that will sit neatly under your teapot.
The Cable Panel
Now we add the beautiful, twisting cables that give this cozy its "enchanted" look. Don't be intimidated—cables are just knitting stitches in a different order!
Abbreviations:
- C4F: Slip 2 stitches onto the cable needle and hold it in front of your work. Knit the next 2 stitches from your left needle, then knit the 2 stitches from the cable needle.
- C4B: Slip 2 stitches onto the cable needle and hold it in the back of your work. Knit the next 2 stitches from your left needle, then knit the 2 stitches from the cable needle.
- Row 1 (RS): K2, P3, C4F, P3, C4B, P3, C4F, P3, C4B, P3, K2.
- Row 2 (WS): P2, K3, P4, K3, P4, K3, P4, K3, P4, K3, P2.
- Row 3 (RS): K2, P3, K4, P3, K4, P3, K4, P3, K4, P3, K2.
- Row 4 (WS): Repeat Row 2.
- Row 5 (RS): K2, P3, C4B, P3, C4F, P3, C4B, P3, C4F, P3, K2.
- Row 6 (WS): Repeat Row 2.
- Repeat Rows 1-6 until the piece measures 4 inches from the cast-on edge, ending with a Wrong Side row. You will see the cables twisting in opposite directions, creating a beautiful braided effect.
The Playful Bobble Section
Time to add the charming cream bobbles! This section adds texture and a touch of whimsy. We'll use the CC yarn for the bobbles.
Abbreviation:
- MB (Make Bobble): (K1, P1, K1, P1, K1) all into the same stitch. Turn your work. P5. Turn. K5. Turn. P2tog, P1, P2tog. Turn. K3tog. This creates a neat, round bobble.
- Row 1 (RS): With MC, K2, *P3, switch to CC and MB, switch back to MC, P3, K3*, repeat from * to * until you have 2 stitches left, K2.
- Row 2 (WS): P2, *K3, P3, K3, P3*, repeat from * to * until you have 2 stitches left, P2.
- Row 3 (RS): K2, *P3, K3, P3, switch to CC and MB, switch back to MC*, repeat from * to * until you have 2 stitches left, K2.
- Row 4 (WS): Repeat Row 2.
- Repeat Rows 1-4 until the bobble section measures 1 inch. This staggered pattern creates a lovely scattered effect.
Finishing the Body
- Work 2 inches in the initial rib pattern (Rows 1-2 of the body) to create a neat, ribbed top section.
- Bind off all stitches loosely. Tip: Use a larger needle or a loose bind-off method to keep the top edge stretchy.
Creating Spout and Handle Openings
To make your cozy functional, we need to create openings for the spout and handle. This is done with a simple buttonhole technique.
- Fold the knitted piece in half lengthwise to find the center. Mark the positions for the spout and handle based on your teapot. They are usually on opposite sides, about 1-2 inches from the top edge.
- On your next Right Side row, when you reach the first marked position, bind off 6 stitches. Continue knitting in pattern until you reach the second marked position, and bind off 6 stitches there as well. Finish the row.
- On the following Wrong Side row, when you reach the bound-off stitches, cast on 6 stitches over each gap using the backward loop method. Continue in pattern to the end of the row.
- Continue working in the rib pattern for another 1-2 rows to secure the openings, then bind off.
Seaming and Finishing
- Seam the Back: Fold the cozy in half with the Right Sides together. Use the mattress stitch with your MC yarn to sew the back seam from the bottom up to the top edge. This creates an invisible, professional-looking seam.
- Weave in Ends: Use your tapestry needle to weave in all loose yarn ends securely on the inside of the cozy.
- Create the Drawstring Cord: To cinch the cozy around the teapot lid, knit an I-cord. Cast on 3 stitches with MC. Knit an I-cord for 12 inches (or longer if you prefer). Bind off.
- Thread the Cord: Starting at the front center, weave the cord in and out of the stitches along the top edge of the cozy. Pull it gently to gather the top around the teapot's lid and tie a bow.
Your Enchanted Teapot Cozy is complete! Slip it over your teapot, thread the cord through the spout and handle openings, and enjoy a beautifully crafted piece that's as functional as it is decorative. This pattern is a wonderful way to practice cables and bobbles, and the result is a gift that will be treasured for years. Happy knitting!