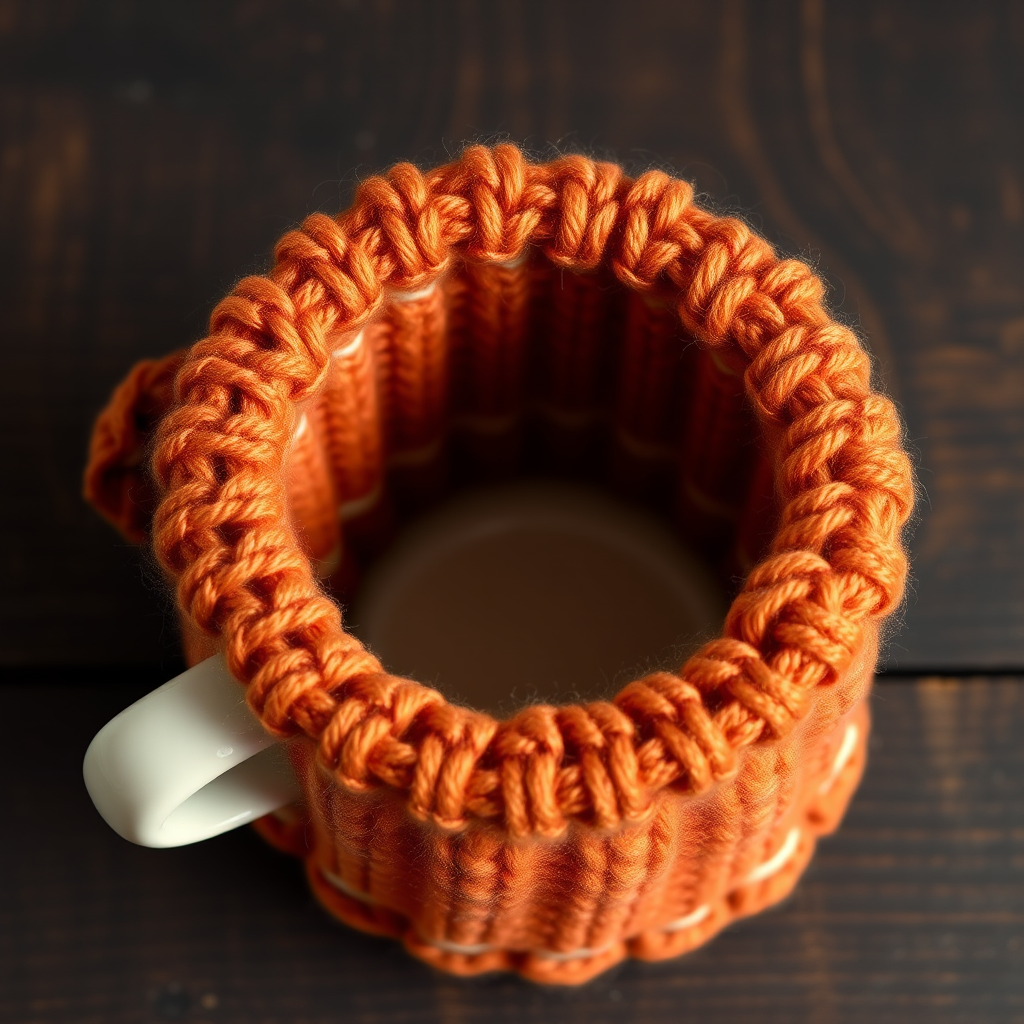
Whispering Wheat Harvest Coasters Free Pattern – Knit a Golden Field Set

Whispering Wheat Harvest Coasters Free Pattern – Knit a Golden Field Set
Bring the warmth of a sunlit wheat field to your table with these textured knit coasters. Each coaster features a unique honeycomb-like stitch that catches the light, creating a cozy, organic feel. This free pattern is perfect for beginners who want to practice slipped stitches and yarn overs while making something beautiful and functional for their home. The finished set of four coasters—two in honey gold and two in soft cream—will add a rustic, harvest-inspired touch to any dining table or coffee table.
Whether you're new to knitting or looking for a quick weekend project, these coasters work up fast and use minimal yarn. The honeycomb texture is achieved with simple slipped stitches and yarn overs, creating a dense, raised pattern that resembles woven wheat. Let's get started!
Materials Needed
Before you begin, gather the following supplies:
- Yarn: Worsted weight cotton yarn in honey gold (Color A) and cream (Color B). You'll need approximately 20 yards of each color per coaster. For all four coasters, plan for about 80 yards of each color.
- Needles: US 7 (4.5 mm) knitting needles
- Gauge: 20 stitches and 28 rows = 4 inches in stockinette stitch (gauge is not critical for this project, but it ensures the correct finished size)
- Other: Tapestry needle for weaving in ends, scissors, and blocking pins (optional but recommended)
Note: Cotton yarn is ideal for coasters because it's absorbent, durable, and holds its shape well. If you prefer, you can substitute with any worsted weight yarn of your choice.
Step-by-Step Instructions
This pattern creates a square coaster with a honeycomb texture using slipped stitches and yarn overs. Worked flat, each coaster measures approximately 4.5 x 4.5 inches. Follow along carefully, and you'll have a beautiful set of coasters in no time.
Abbreviations
- CO: cast on
- K: knit
- P: purl
- Sl: slip stitch purlwise
- YO: yarn over
- K2tog: knit two together
- RS: right side
- WS: wrong side
Coaster (Make 4)
Step 1: Cast On
With Color A, CO 24 stitches. Leave a tail of about 6 inches for weaving in later.
Step 2: Foundation Rows
Row 1 (RS): K all stitches.
Row 2 (WS): P all stitches.
These two rows create a clean base for the honeycomb pattern to follow.
Step 3: Begin Honeycomb Pattern
Now you'll work the main textured pattern. Follow these rows carefully, noting the placement of slipped stitches and yarn overs.
Row 3 (RS): K1, *Sl 1 wyib, K1, YO, K2tog, K1* repeat from * to * until last stitch, K1.
Explanation: The YO and K2tog create a decorative eyelet that forms the honeycomb. The slipped stitch (Sl 1 wyib) is slipped as if to purl, with the yarn held in the back. This creates a long, loose strand that will be caught by the eyelets in subsequent rows.
Row 4 (WS): P all stitches.
Row 5 (RS): K1, *K1, Sl 1 wyib, K1, YO, K2tog* repeat from * to * until last 2 stitches, K2.
Explanation: This row shifts the pattern by one stitch, creating the staggered honeycomb effect. The slipped stitch from Row 3 will now be worked into the eyelet.
Row 6 (WS): P all stitches.
Row 7 (RS): K1, *YO, K2tog, K1, Sl 1 wyib, K1* repeat from * to * until last stitch, K1.
Explanation: Notice how the YO and K2tog now come first, followed by the slipped stitch. This continues the diagonal movement of the honeycomb cells.
Row 8 (WS): P all stitches.
Row 9 (RS): K1, *K1, YO, K2tog, K1, Sl 1 wyib* repeat from * to * until last 2 stitches, K2.
Explanation: The pattern continues to shift, completing the four-row repeat that forms the honeycomb texture.
Row 10 (WS): P all stitches.
Step 4: Repeat the Pattern
Repeat Rows 3–10 two more times. This gives you a total of 30 rows of pattern (3 full repeats of the 8-row sequence). Then work Rows 3–6 once more. This creates a balanced, square shape.
Step 5: Add the Border
Now switch to Color B to create a clean, contrasting border.
Next Row (RS): Switch to Color B, K all stitches.
Next Row (WS): P all stitches.
Next Row (RS): K all stitches.
Next Row (WS): P all stitches.
This creates a simple stockinette border that frames the honeycomb texture beautifully.
Step 6: Bind Off
Bind off loosely in knit on the RS. To bind off loosely, knit the first two stitches, then pass the first stitch over the second. Continue knitting one stitch and passing the previous stitch over until one stitch remains. Cut the yarn, leaving a 6-inch tail, and pull it through the last loop.
Step 7: Finish
Weave in all ends using a tapestry needle. Thread the needle with the yarn tail and weave it through the back of the stitches, being careful not to pull too tightly. Trim any excess yarn.
Step 8: Block
Block gently to shape. To block, wet the coaster with lukewarm water, gently squeeze out excess water (do not wring), and lay flat on a towel. Shape it into a perfect square and pin the edges if needed. Allow to dry completely. Blocking helps even out the stitches and gives the coaster a professional finish.
Step 9: Repeat for Remaining Coasters
Repeat the entire process for the remaining 3 coasters. For variety, alternate the starting color: make 2 coasters starting with Color A (honey gold) and 2 starting with Color B (cream). This creates a beautiful, balanced set that echoes the golden field theme.
Tips for Success
- Keep tension even: The honeycomb pattern relies on consistent tension. Try to keep your yarn overs loose enough to create visible eyelets but not so loose that the fabric becomes floppy.
- Count your stitches: After each row, count your stitches to ensure you haven't accidentally added or dropped any. The pattern should always have 24 stitches.
- Use stitch markers: If you find it helpful, place a stitch marker after every 6 stitches to help you track the pattern repeats.
- Practice the slipped stitch: If you're new to slipped stitches, practice on a swatch first. Remember to slip the stitch purlwise (insert the needle as if to purl) and keep the yarn in the back (wyib) for this pattern.
Once you've completed all four coasters, you'll have a stunning, handcrafted set that brings the warmth of a harvest field to your home. These coasters make wonderful gifts for housewarmings, weddings, or holiday celebrations. Enjoy your knitting, and happy crafting!