Free Pattern: The Skyward Summit Messy Bun Beanie
Free Pattern: The Skyward Summit Messy Bun Beanie
Introduction
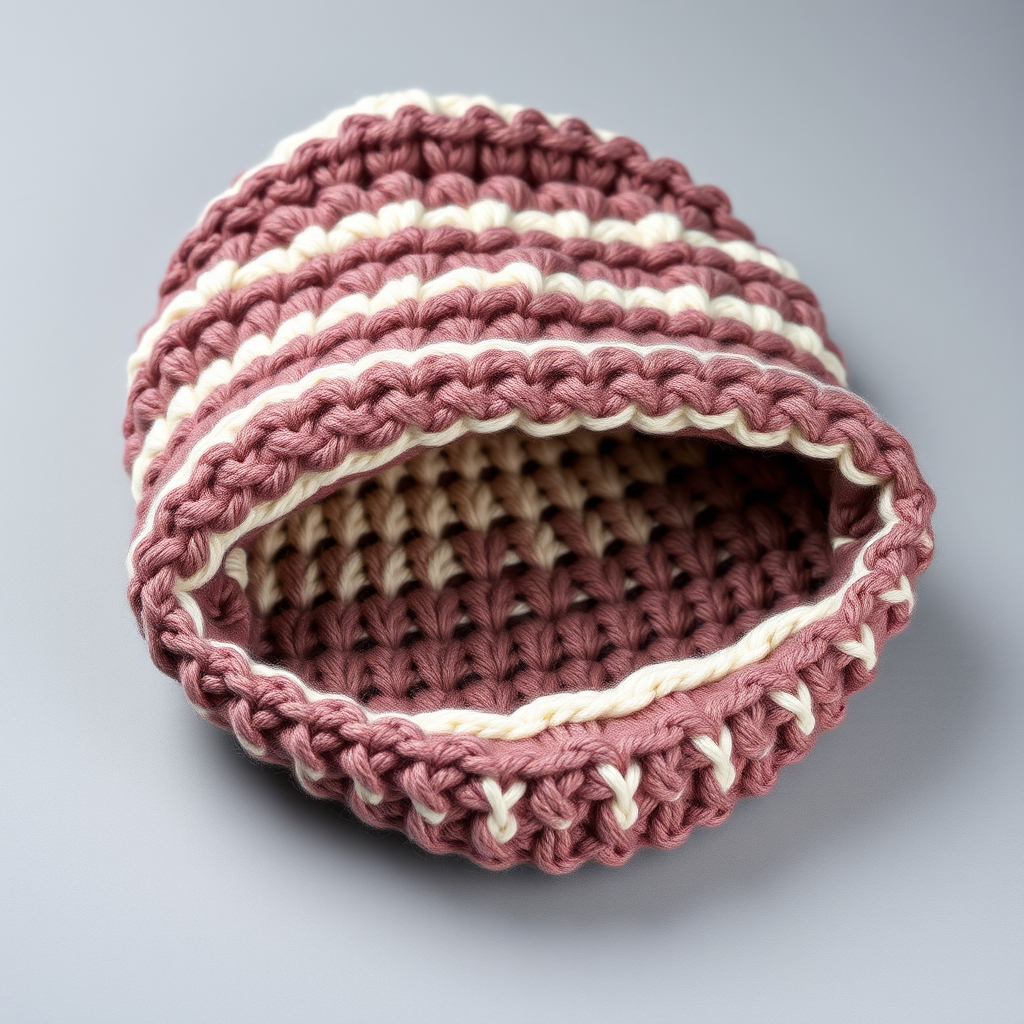
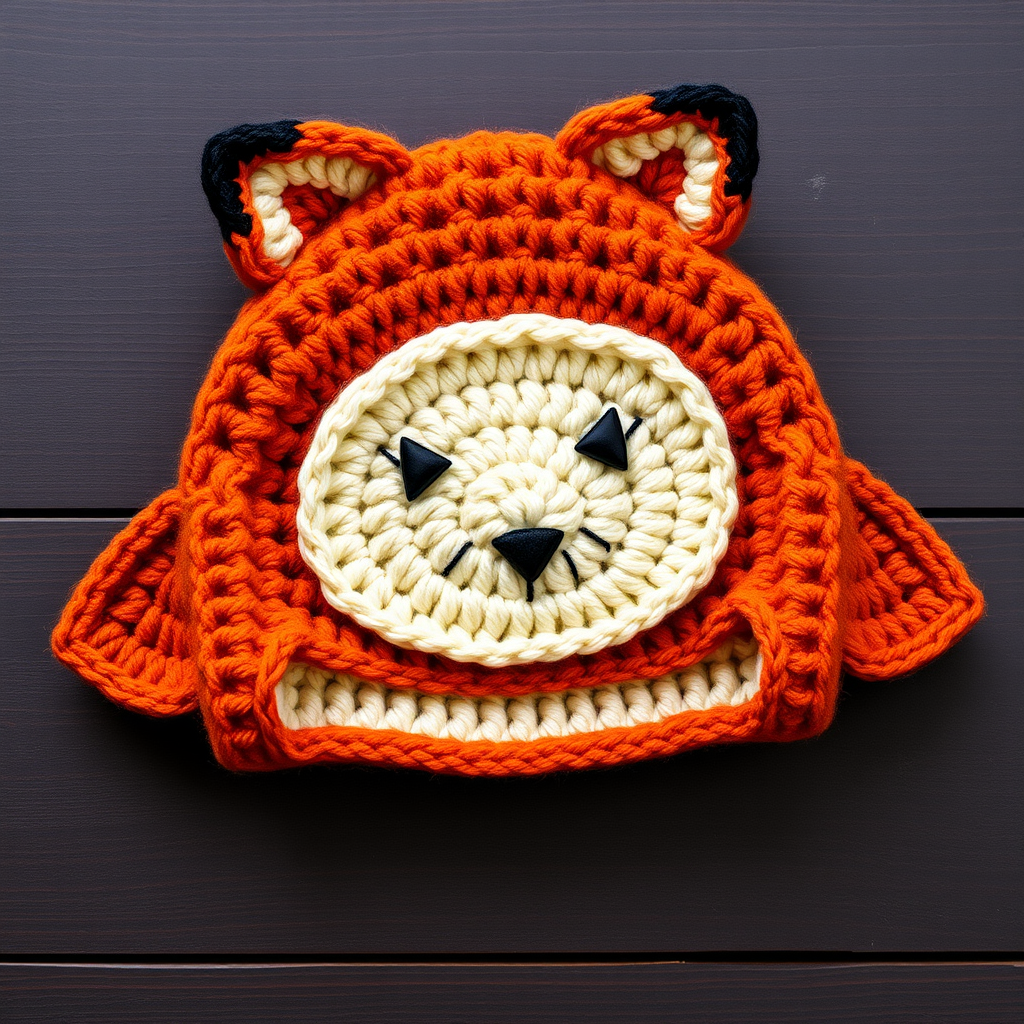
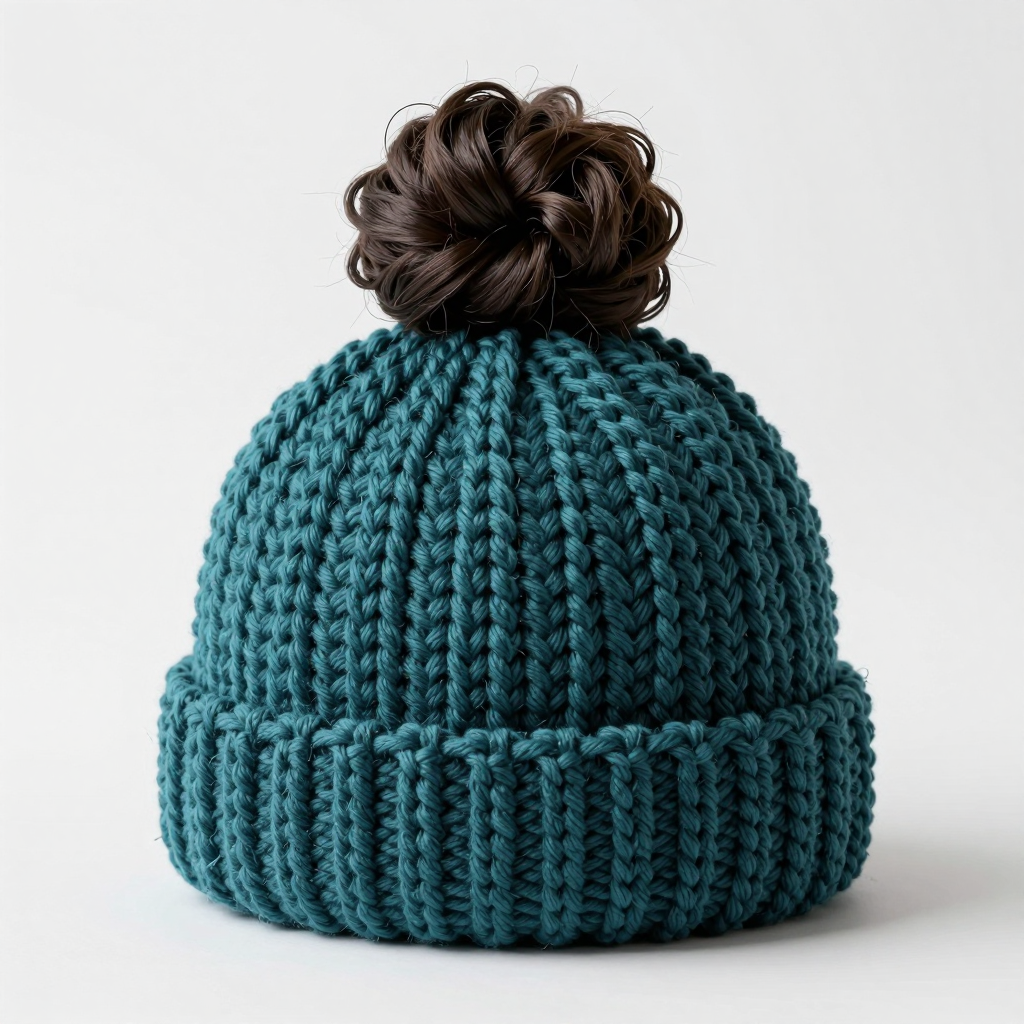
If you have ever pulled on a warm winter hat only to realize it squashes your ponytail flat, this pattern was made for you. The Skyward Summit Messy Bun Beanie is a chunky, open-top crochet hat that keeps your ears toasty while letting your hair flow freely through a generous opening at the crown. It is absolutely perfect for complete beginners: it uses only two basic stitches, works up in just a few hours, and requires no shaping, no decreasing, and no complicated stitch patterns. The finished hat looks and feels wonderfully cozy, with a thick, squishy ribbed brim that hugs your head and a smooth, stretchy body of half double crochet stitches in a soft bulky yarn. Whether you are making your very first crochet project or your fiftieth, this beanie is a satisfying, wearable win you can finish in a single evening.
Materials Needed
- Yarn: Bulky (weight category 5) yarn, approximately 120–150 yards. A great choice is Lion Brand Wool-Ease Thick & Quick or any similar chunky yarn. One standard skein is enough for one hat.
- Crochet hook: Size M/13, which is 9.0 mm. (The “M/13” is the US size and “9.0 mm” is the metric size — they are the same hook.)
- Stitch markers: At least 2. These are small clips or loops of plastic you place in a stitch to mark your place. If you do not have any, a short piece of contrasting scrap yarn works perfectly.
- Tapestry needle: A large, blunt-tipped sewing needle with an eye big enough for chunky yarn. You will use this to weave in the yarn tails at the end.
- Scissors: Any sharp pair for cutting yarn.
- Measuring tape: For checking your brim length and your gauge.
Finished size: The hat is written in two sizes. The smaller size fits an average adult head of about 20–22 inches around; the larger size (numbers in parentheses) fits about 22–24 inches around. The finished hat measures approximately 8–9 inches tall from the bottom of the brim to the top edge, with a bun opening of roughly 5–6 inches across. The ribbed brim is stretchy and will comfortably fit a range of head sizes.
Abbreviations and Beginner Glossary
Every abbreviation used in this pattern is listed below and explained in plain English. Read through this list once before you begin — you do not need to memorize it, just come back to it whenever you see a term you do not recognize.
- ch – chain. Make a loop with the yarn and pull it through the loop on your hook. Each one you make looks like a small braided “V.” Chains are the foundation you build on.
- sc – single crochet. Insert your hook into the stitch, wrap the yarn over the hook, pull up a loop (you now have 2 loops on your hook), wrap the yarn over again, and pull it through both loops. One single crochet made.
- hdc – half double crochet. Wrap the yarn over your hook first, insert the hook into the stitch, wrap the yarn over and pull up a loop (you now have 3 loops on your hook), wrap the yarn over once more, and pull it through all 3 loops at once. One half double crochet made.
- sl st – slip stitch. Insert your hook into the stitch, wrap the yarn over, and pull it through both the stitch and the loop on your hook in one motion. It makes a nearly invisible joining stitch.
- st / sts – stitch / stitches. One completed stitch, or several of them.
- tch – turning chain. The chain (or chains) you make at the start of a row or round before you turn or continue. In this pattern, the ch 2 at the start of a round does not count as a stitch.
- back loop only (BLO) – Every stitch has two loops at its top, a front one (closer to you) and a back one (farther away). “Back loop only” means you insert your hook under just the back loop, leaving the front loop untouched. This creates the raised ridges of the ribbed brim.
- join with sl st – After working all the way around a round, make a slip stitch into the first stitch of that round to close the circle.
- fasten off – Cut the yarn a few inches from your work, then pull the tail all the way through the last loop on your hook to lock it. This finishes the piece.
- turn – Flip your work over so you can work back in the other direction.
- skip – Do not work into that stitch at all; simply pass over it and work into the next one.
- round – One complete circle of stitches worked around the hat. (A “row” is a straight line back and forth, like the brim.)
- gauge – How many stitches and rows fit into a set measurement (here, 4 inches). Explained fully in the next section.
Gauge
Gauge: 8 stitches and 6 rows = 4 inches in half double crochet.
Why gauge matters: Gauge is simply how big your stitches turn out. If your stitches are bigger than the pattern expects, your hat will come out too large; if they are smaller, the hat will be too tight. Because this hat is meant to fit snugly, checking your gauge first saves you from disappointment after hours of work.
How to make a gauge swatch: With your 9.0 mm hook and your chosen yarn, chain 14. Work 1 hdc into the second chain from your hook and into each chain across (you will have 13 hdc). Chain 2, turn, and work 1 hdc into each stitch across. Repeat that row until your swatch is about 4 inches tall. Lay the swatch flat, place a measuring tape across the middle, and count how many stitches fit in 4 inches. If you get 8 stitches, you are right on target. If you get more than 8, your stitches are too tight — try a larger hook. If you get fewer than 8, your stitches are too loose — try a smaller hook. Do not stress if it is off by one stitch; chunky yarn is forgiving.
Beginner Tips Before You Start
- Use a stitch marker to mark your first stitch of each round. When you work in joined rounds, it is very easy to lose track of where a round began. Place a marker in the first stitch of each round and move it up as you go. This one habit prevents most beginner mistakes.
- Do not pull your yarn too tight. Beginners often grip the yarn hard, which makes tight, stiff stitches and a hat that is too small. Keep your tension relaxed and even — the yarn should glide, not fight, through your hook.
- Count your stitches at the end of every round. The pattern tells you the stitch count in parentheses after each round. Take ten seconds to count and confirm the number matches before moving on. Fixing a mistake now is far easier than fixing it later.
- Remember the ch 2 does not count as a stitch. At the start of each hdc round you will chain 2. Those two chains are just a little “ladder” to get your yarn up to the right height — do not work into them, and do not count them as a stitch.
- Try the brim on before you join it. The ribbed band should stretch comfortably around your head with a little negative ease (meaning it should be slightly smaller than your head so it grips). If it is too long, unravel a few rows; if too short, add a few.
- Chunky yarn hides small imperfections. If a stitch looks slightly uneven, do not rip it out. Bulky yarn is wonderfully forgiving, and once the hat is finished and worn, tiny variations are invisible.
Step-by-Step Instructions
Notes: The hat is worked in joined rounds from the brim up. The top is left open for a bun or ponytail. The ch 2 at the beginning of each round does not count as a stitch. Numbers in parentheses refer to the larger size.
Brim (Ribbed Band)
Row 1: Ch 9. Sc in the 2nd ch from your hook and in each ch across. (8 sc)
Row 2: Ch 1, turn. Working in the back loops only, sc in each st across. (8 sc)
Rows 3–onward: Repeat Row 2 (ch 1, turn, work 1 sc in the back loop only of each st across) until the band measures approximately 18 (20) inches unstretched, or fits comfortably around your head. (8 sc in every row) Do not fasten off.
Join Brim
Join Row: Bring the two short ends of the brim together, aligning the stitches edge to edge. Ch 1, turn. Working through both layers at once (insert your hook through a stitch on the front layer and the matching stitch on the back layer together), sl st across to join the seam. (8 sl sts) Turn the band right side out. Do not fasten off.
Body of Hat
Round 1: Ch 1. Work 1 sc into the end of each brim row all the way around the top edge of the band. Join with sl st to the first sc. (Approx. 36 (40) sc)
Round 2: Ch 2 (does not count as a st). Work 1 hdc in each st around. Join with sl st to the first hdc. (36 (40) hdc)
Round 3: Ch 2, work 1 hdc in each st around. Join with sl st to the first hdc. (36 (40) hdc)
Round 4: Ch 2, work 1 hdc in each st around. Join with sl st to the first hdc. (36 (40) hdc)
Round 5: Ch 2, work 1 hdc in each st around. Join with sl st to the first hdc. (36 (40) hdc)
Round 6: Ch 2, work 1 hdc in each st around. Join with sl st to the first hdc. (36 (40) hdc)
Round 7: Ch 2, work 1 hdc in each st around. Join with sl st to the first hdc. (36 (40) hdc)
Round 8: Ch 2, work 1 hdc in each st around. Join with sl st to the first hdc. (36 (40) hdc) The hat should now measure about 6–7 inches from the brim.
Top Opening (Bun Hole)
Round 9: Ch 2. Work 1 hdc in each of the next 12 (14) sts. Ch 12 (14), skip the next 12 (14) sts, then work 1 hdc in each remaining st around. Join with sl st to the first hdc. (24 (26) hdc + 12 (14) ch)
Round 10: Ch 2. Work 1 hdc in each st and in each ch around. Join with sl st to the first hdc. (36 (40) hdc)
Round 11: Ch 1. Work 1 sc in each st around. Join with sl st to the first sc. (36 (40) sc) Fasten off.
Assembly and Finishing
Weaving in ends: Thread each yarn tail onto your tapestry needle. Working on the wrong side (the inside) of the hat, poke the needle through the backs of several nearby stitches, going back and forth in a small zigzag for about 2 inches. This hides the tail securely. Trim the excess yarn close to the fabric, but not so close that the end pops out.
Seam check: Turn the hat inside out and look at the brim seam you made when joining the band. If any gap shows between the joined edges, use your tapestry needle and a short length of matching yarn to stitch the gap closed, then weave in that end as described above.
Blocking: Blocking means gently shaping the finished hat with moisture so it holds a neat, even shape. Lightly mist the hat with clean water from a spray bottle until it is damp but not soaking. Smooth the brim flat and ease the body into a round shape with your hands. Slip the hat over a small bowl, a balloon, or a rolled towel so it holds its shape, and let it dry completely overnight. Do not wring or stretch it hard — just guide it into shape. Once dry, your hat is ready to wear.
Pro Tips and Variations
- Change colors for a striped look: Work the brim in one color, then switch to a second color when you begin Round 1 of the body. To change colors, finish the last stitch of a round with the new color (pull the new yarn through the final loop), then continue. Add a third color band across Rounds 5–7 for a bold stripe.
- Adjust the size: To make the hat larger or smaller, add or remove rows from the ribbed brim before joining it — each extra row adds roughly half an inch of circumference. You can also adjust the bun opening by adding or removing chains in Round 9; just remember to skip the same number of stitches so the counts stay balanced.
- Substitute yarn: Any bulky (weight 5) yarn works beautifully here, from acrylic to wool to alpaca blends. If you use a super bulky (weight 6) yarn instead, go up to a 10.0 mm hook and check your gauge again, since thicker yarn makes bigger stitches.
- Add a faux fur pompom: For a fun, removable accent, sew a snap or a small button to the back edge of the bun opening and attach a clip-on pompom. You get two hats in one — sporty and plain, or playful and fluffy.