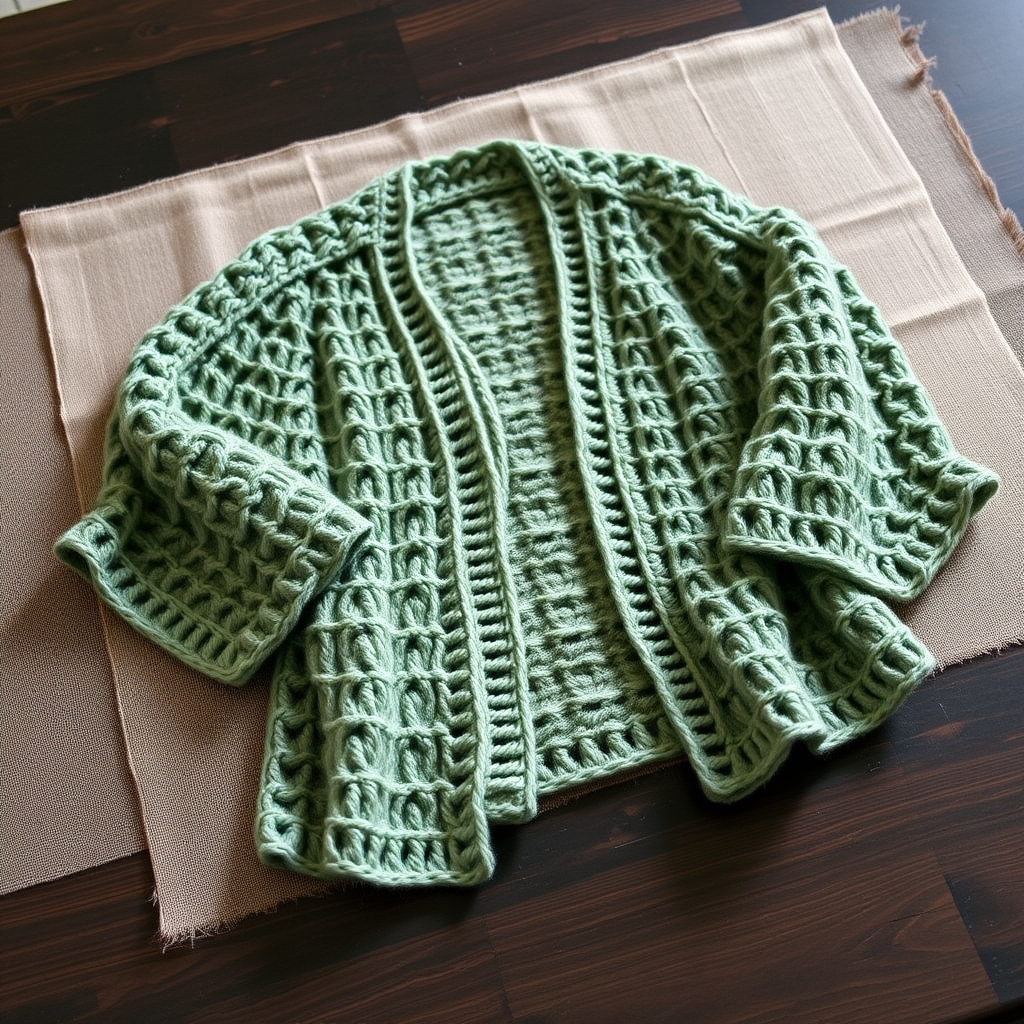
Rebel Yarn Cardigan Free Pattern – Grunge Texture Knit
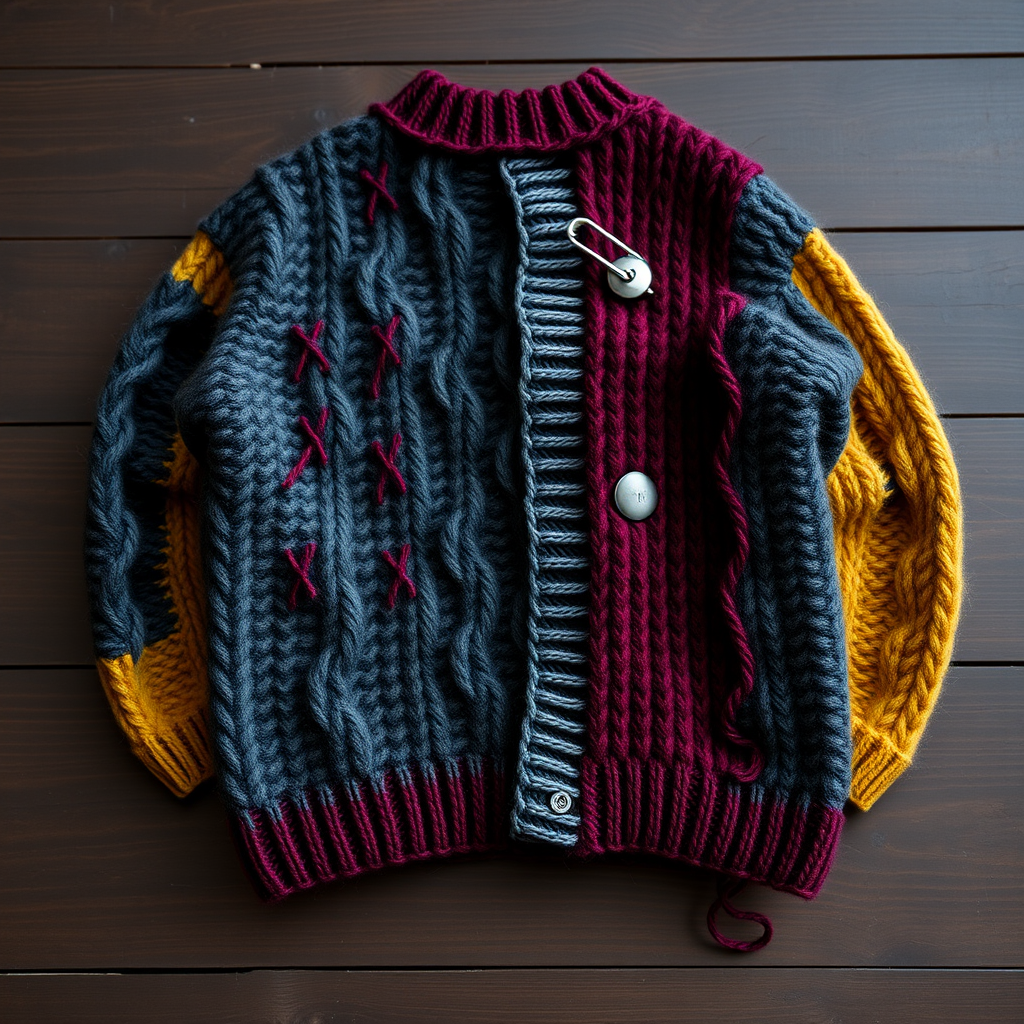
Rebel Yarn Cardigan Free Pattern – Grunge Texture Knit
Channel your inner punk with this cozy, grunge-inspired cardigan featuring chunky cables, distressed ribbing, and a bold safety-pin closure. Knitted in soft, heathered yarn, it’s the perfect statement piece for cool weather. This free pattern walks you through every step, from casting on to adding those edgy distressed details, so you can create a one-of-a-kind garment that’s as unique as you are.
This cardigan is designed for knitters who love texture and personality. The body is primarily worked in a heathered charcoal, with a striking burgundy ribbed border on the right front panel and mustard yellow sleeves for a pop of contrast. A chunky cable runs down the center back, adding depth and visual interest. The distressed details—embroidered X marks and loose yarn strands—give it that perfectly imperfect, punk-rock vibe. Whether you’re a seasoned knitter or a confident beginner ready for a challenge, this pattern is broken down into clear, manageable steps.
Materials Needed
Before you begin, gather the following materials. Having everything ready will make your knitting experience smooth and enjoyable.
- Yarn: Worsted weight yarn in three colors: heathered charcoal (main color), deep burgundy (contrast border), and mustard yellow (sleeves). You will need approximately 1200–1400 yards total. A good option is a soft acrylic or wool blend for durability and warmth.
- Needles: US 8 (5 mm) circular knitting needles with a 32-inch cable for the body and collar. You will also need US 8 (5 mm) double-pointed needles (DPNs) for the sleeves, or use the magic loop method with your circular needle if preferred.
- Other Tools: Stitch markers, a cable needle, a yarn needle for weaving in ends and embroidery, scissors, and a measuring tape.
- Gauge: 18 stitches and 24 rows = 4 inches in stockinette stitch. Always knit a gauge swatch to ensure your finished cardigan fits as intended.
Step-by-Step Instructions
This pattern is written for sizes Small (Medium, Large), with finished chest measurements of 36 (40, 44) inches. Follow the instructions for your desired size consistently throughout. Let’s get started!
Abbreviations
CO = cast on, K = knit, P = purl, K2tog = knit two together, P2tog = purl two together, C4F = cable 4 front (slip 2 stitches to cable needle, hold in front, knit 2, knit 2 from cable needle), C4B = cable 4 back (slip 2 stitches to cable needle, hold in back, knit 2, knit 2 from cable needle), M1 = make one (increase), BO = bind off, RS = right side, WS = wrong side.
Back Panel
Using your charcoal yarn and circular needle, CO 82 (90, 98) stitches.
Row 1 (RS): K2, P2, repeat to last 2 stitches, K2.
Row 2 (WS): P2, K2, repeat to last 2 stitches, P2.
Repeat these two rows until the ribbing measures 3 inches from the cast-on edge, ending with a WS row.
Now, switch to stockinette stitch (K on RS, P on WS). Work even until the piece measures 12 (13, 14) inches from the cast-on edge, ending with a WS row.
Shape Armholes: BO 4 (5, 6) stitches at the beginning of the next 2 rows. Continue in stockinette stitch until the armhole measures 7 (8, 9) inches from the bind-off, ending with a WS row.
Shape Shoulders: BO 8 (9, 10) stitches at the beginning of the next 4 rows. BO the remaining 30 (32, 34) stitches for the back neck. Set this piece aside.
Left Front Panel
With charcoal yarn, CO 42 (46, 50) stitches.
Work the K2, P2 ribbing exactly as you did for the back panel, for 3 inches, ending with a WS row.
Set Up Pattern (RS): K2, P2, K2, P2, K2 (this forms a 10-stitch ribbed border), then work stockinette stitch over the remaining 32 (36, 40) stitches. Continue in this pattern, keeping the 10-stitch border in ribbing and the rest in stockinette, until the piece measures 12 (13, 14) inches from the cast-on edge, ending with a WS row.
Shape Armhole: At the beginning of the next RS row, BO 4 (5, 6) stitches at the armhole edge (the side opposite the ribbed border). Continue straight in pattern.
Shape Neck: When the armhole measures 3 inches from the bind-off, begin neck shaping on the ribbed border side. At the beginning of a WS row (neck edge), BO 6 stitches once. Then, BO 2 stitches at the neck edge every other row 3 times. Finally, BO 1 stitch at the neck edge every other row 2 times. Continue in pattern until the armhole measures 7 (8, 9) inches. BO the remaining shoulder stitches as you did for the back panel.
Right Front Panel
Work this panel as for the left front, but mirror the shaping. Place the 10-stitch ribbed border on the opposite side (the left edge when worn). To create the contrast stripe, work the 10-stitch border in burgundy yarn instead of charcoal. All other stitches are worked in charcoal. Follow the same shaping instructions as the left front, remembering to mirror the armhole and neck decreases.
Sleeves (Make 2)
Using mustard yellow yarn and double-pointed needles (or your circular needle with magic loop), CO 40 (44, 48) stitches. Distribute evenly on DPNs and join in the round, being careful not to twist.
Work K2, P2 ribbing in the round for 2 inches.
Switch to stockinette stitch (knit every round). Increase 1 stitch each side (M1 before the first stitch and after the last stitch of the round) every 6 rounds until you have 60 (64, 68) stitches on your needles. Work even until the sleeve measures 16 (17, 18) inches from the cast-on edge.
Shape Cap: Work back and forth in rows now. BO 4 (5, 6) stitches at the beginning of the next 2 rows. Then, decrease 1 stitch each side every other row until 30 (32, 34) stitches remain. BO all stitches. Repeat for the second sleeve.
Finishing
Using your yarn needle and charcoal yarn, sew the shoulder seams. Set in the sleeves, matching the center of the sleeve cap to the shoulder seam. Sew the side and sleeve seams, using a mattress stitch for a neat, invisible finish.
Collar
With your circular needle and charcoal yarn, pick up and knit 80 (88, 96) stitches evenly around the neckline. Work in K2, P2 ribbing for 3 inches. BO loosely in pattern to ensure the collar lies flat and doesn’t pull.
Distressed Details
This is where you make it uniquely yours! Using a yarn needle and contrasting burgundy yarn, embroider small X’s or diagonal slashes randomly on the front panels and sleeves. To add loose strands, cut 4-inch pieces of yarn (in any of your three colors) and tie them through the fabric at random spots, leaving the ends dangling for that intentionally undone look.
Safety-Pin Closure
Attach a large decorative safety pin (or a handmade yarn-wrapped pin) at the center front, about 2 inches below the collar, to close the cardigan. Alternatively, you can sew on a button and create a loop closure for a more traditional finish.
Weave in all ends carefully. Block your cardigan gently to shape, following the yarn label’s instructions. Lay flat to dry. Once dry, your Rebel Yarn Cardigan is ready to wear—a grunge-inspired, cozy statement piece that’s sure to turn heads.