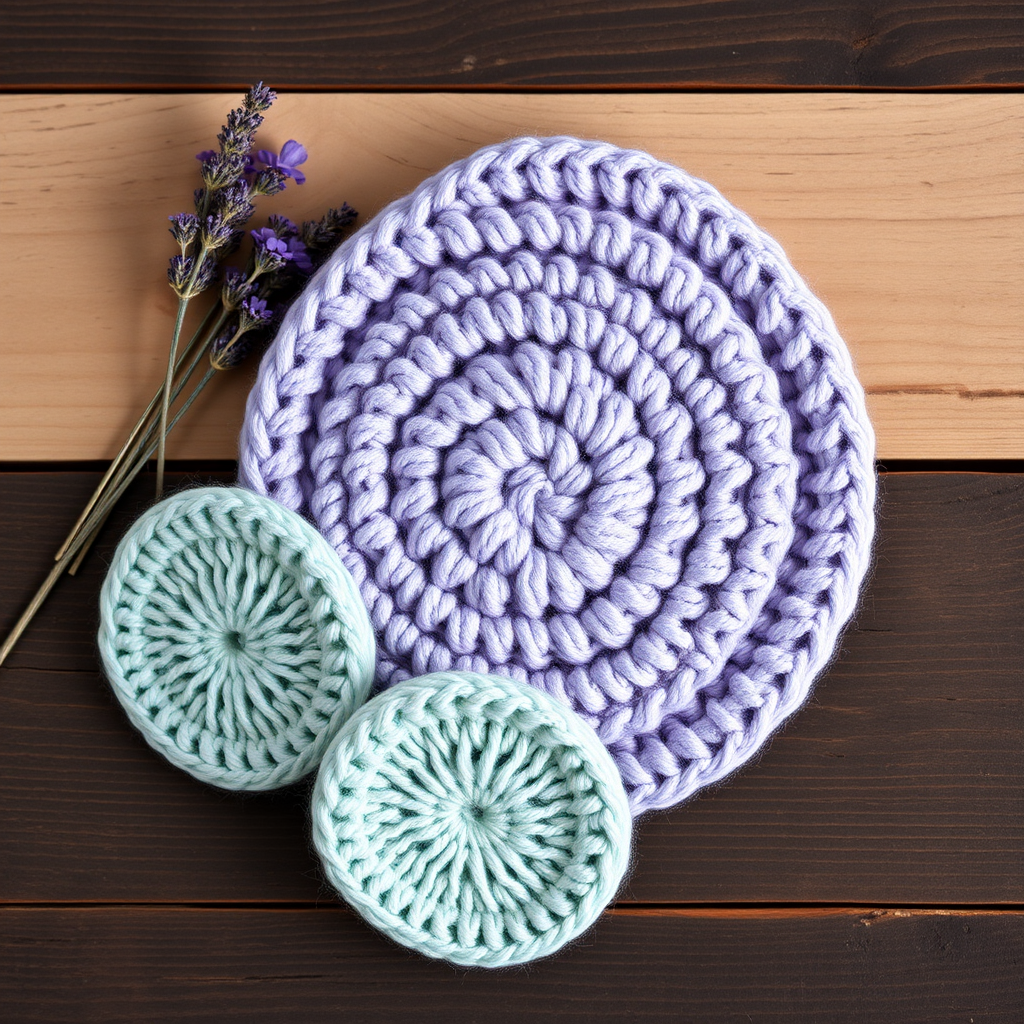
Spa Stone Waffle Bath Mitt Free Pattern – Knit a Luxurious Exfoliating Scrubber

Spa Stone Waffle Bath Mitt Free Pattern – Knit a Luxurious Exfoliating Scrubber
Transform your daily shower into a spa ritual with this plush, textured waffle-knit bath mitt. The deep honeycomb pockets gently exfoliate while the soft cotton yarn pampers your skin. This free knitting pattern is perfect for beginners and experienced knitters alike, creating a beautiful, functional self-care accessory that makes a wonderful gift. The waffle stitch creates a thick, cushiony fabric that lathers soap beautifully and provides gentle, effective exfoliation. Let's dive into this relaxing project!
Materials Needed
Before you begin, gather these simple supplies:
- Yarn: Worsted weight 100% cotton yarn (e.g., Lily Sugar'n Cream) in Seafoam Green – 1 skein (approx. 120 yds)
- Needles: US Size 7 (4.5 mm) knitting needles (or size needed to obtain gauge)
- Gauge: 20 stitches x 28 rows = 4 inches in waffle stitch pattern
- Notions: Stitch holder, tapestry needle, scissors
Pattern Overview
Finished Size: Approximately 8 inches long x 4.5 inches wide (fits average adult hand)
Abbreviations
- CO: Cast on
- K: Knit
- P: Purl
- K2tog: Knit two stitches together
- SSK: Slip, slip, knit (decrease)
- St(s): Stitch(es)
- BO: Bind off
- M1L: Make 1 left (increase)
- M1R: Make 1 right (increase)
Special Stitch Pattern (Waffle Stitch – worked over a multiple of 3 + 2)
- Row 1 (RS): K2, *P1, K2; repeat from * to end.
- Row 2 (WS): Purl all stitches.
- Row 3: K1, *P1, K2; repeat from * to last 2 sts, P1, K1.
- Row 4: Purl all stitches.
- Repeat Rows 1-4 for pattern.
Step-by-Step Instructions
Mitt Body (worked flat, then seamed)
Step 1: Cast On
CO 26 sts.
Step 2: Work the Waffle Pattern
Work in Waffle Stitch pattern (Rows 1-4) until piece measures 7 inches from cast-on edge, ending with a WS row. This creates the main body of the mitt with beautiful, textured waffle squares.
Step 3: Shape Thumb Gusset (increase section)
Now we'll create room for your thumb with strategic increases:
- Next Row (RS): K1, M1L (make 1 left), work in pattern to last st, M1R (make 1 right), K1. (28 sts)
- Work 3 rows even in pattern.
- Repeat increase row once more. (30 sts)
- Work 3 rows even in pattern.
- Repeat increase row once more. (32 sts)
- Work 3 rows even in pattern.
Step 4: Divide for Thumb
This is where we separate the thumb stitches from the main body:
- Next Row (RS): Work in pattern across first 24 sts, place next 8 sts on a stitch holder (for thumb), CO 2 sts over gap, work in pattern across remaining 24 sts. (50 sts total – 24 for front, 24 for back, 2 under thumb)
Step 5: Continue the Body
Continue working in pattern across all 50 sts for 2 inches, ending with a WS row. This creates the main hand section of the mitt.
Step 6: Shape Top (decrease section)
Now we'll round the top of the mitt:
- Row 1 (RS): K1, SSK, work in pattern to last 3 sts, K2tog, K1. (48 sts)
- Row 2 (WS): Purl all sts.
- Repeat Rows 1-2 until 20 sts remain, ending with a WS row.
Step 7: Finish the Body
Cut yarn, leaving a 12-inch tail. Thread tail through remaining sts, pull tight, and secure. Seam the side of the mitt using mattress stitch, leaving the bottom open for the hand.
Thumb
Step 1: Pick Up Stitches
Transfer 8 sts from holder to needle. Pick up and knit 2 sts from the CO edge under the thumb. (10 sts)
Step 2: Work the Thumb
Work in waffle stitch pattern (Rows 1-4) for 1.5 inches, ending with a WS row. This creates a comfortable, textured thumb that matches the rest of the mitt.
Step 3: Close the Thumb
Next Row (RS): K2tog across all sts (5 sts). Cut yarn, thread through remaining sts, pull tight, and secure. Weave in ends.
Finishing
- Weave in all loose ends with your tapestry needle.
- Block lightly if desired to even out the waffle texture.
- Fold mitt in half and seam the sides using mattress stitch, leaving the bottom open for the hand.
- Turn right side out and admire your beautiful creation!
Care Instructions
Machine wash cold, lay flat to dry. The 100% cotton yarn becomes softer and more absorbent with each wash, making this mitt better with every use.
This Spa Stone Waffle Bath Mitt is the perfect self-care project – quick to knit, deeply satisfying, and endlessly practical. The textured waffle pattern creates gentle exfoliation while the cotton yarn is gentle on sensitive skin. Make one for yourself and several as gifts for friends who deserve a little spa luxury in their daily routine. Happy knitting!