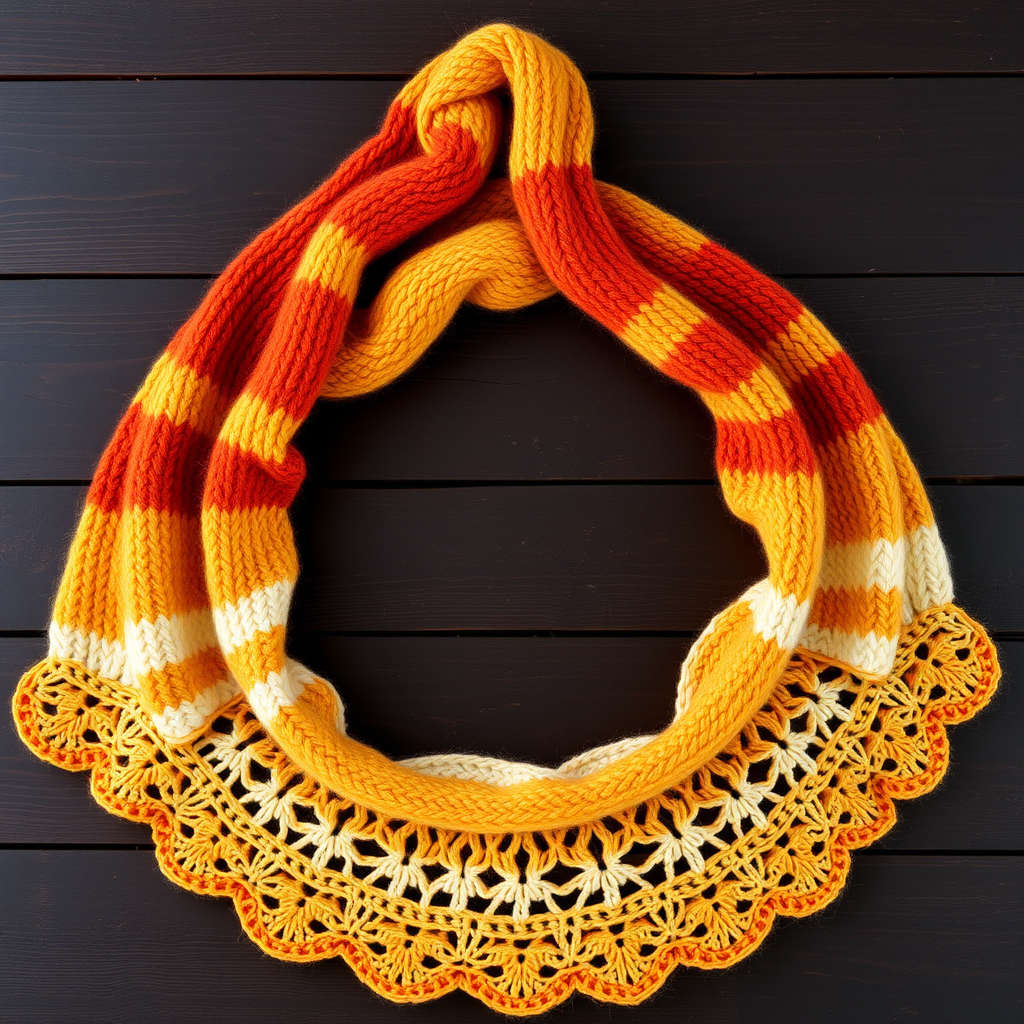
The Aurora Bloom Crescent Shawl Free Pattern – A Knitted Gradient Floral Wrap with Lace Edging
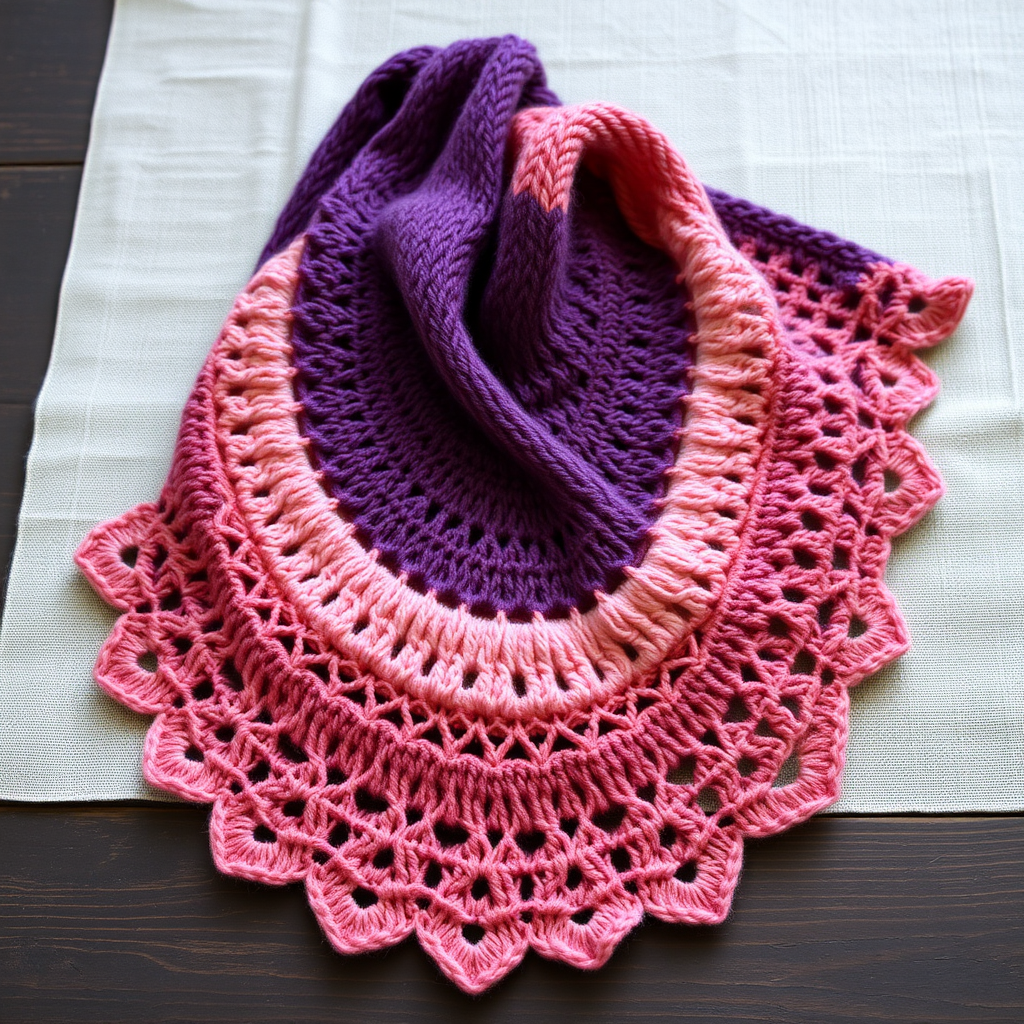
The Aurora Bloom Crescent Shawl: A Free Knitted Gradient Floral Wrap with Lace Edging
Wrap yourself in the ethereal beauty of the Aurora Bloom, a crescent-shaped shawl knitted with a stunning gradient yarn that shifts from deep twilight purple to soft rose gold. This pattern combines a delicate lace body with a scalloped floral edge, creating a wearable piece of art that's perfect for cool evenings or special occasions. Whether you're a seasoned knitter looking for a new challenge or a confident beginner ready to explore lacework, this pattern offers a rewarding and beautiful project. The magic of the color transition, paired with the airy floral lace, makes this shawl a true statement piece that will be cherished for years to come.
Materials Needed
Before you begin your knitting journey, gather the following materials to ensure a smooth and enjoyable crafting experience. The quality of your materials will directly impact the final drape and beauty of your shawl.
- Yarn: Fingering weight yarn in a gradient colorway (e.g., Malabrigo Sock in 'Aurora' or similar), approximately 400-450 yards. The gradient is key to the shawl's stunning visual effect, so choose a yarn that transitions beautifully through your desired color palette.
- Needles: US 6 (4.0 mm) circular knitting needle, 32-inch or longer. The long circular needle is essential to accommodate the growing number of stitches as you work the increases.
- Notions: Stitch markers (at least 2), a tapestry needle for weaving in ends, and blocking pins or wires for the final finishing step.
- Gauge: 20 stitches and 28 rows = 4 inches in stockinette stitch (blocked). While gauge is important for size, the shawl's crescent shape is quite forgiving. The key is to maintain consistent tension throughout your work.
Step-by-Step Instructions
This shawl is worked from the top center outwards, increasing gradually to form a crescent shape. The lace pattern is simple but creates a stunning floral motif. Follow these detailed instructions carefully, and you'll be amazed at the beautiful creation that emerges from your needles.
Abbreviations
Familiarize yourself with these standard knitting abbreviations before you begin. Keep this list handy as you work through the pattern.
- k = knit
- p = purl
- yo = yarn over
- k2tog = knit two together (a right-leaning decrease)
- ssk = slip, slip, knit (a left-leaning decrease)
- pm = place marker
- sm = slip marker
- rep = repeat
Setup
Begin by casting on 5 stitches using a long-tail cast on. This will be the starting point at the top center of your shawl. The subsequent increase rows will quickly build the foundation for the crescent shape.
- Row 1 (Right Side): k2, yo, k1, yo, k2 (7 stitches). You've just created your first two yarn overs, which will form the central spine of the shawl.
- Row 2 (Wrong Side): k2, p3, k2. The knit stitches at the edges create a neat garter stitch border.
- Row 3: k2, yo, k1, yo, k1, yo, k1, yo, k2 (11 stitches). Notice how the increases are placed around the center stitch.
- Row 4: k2, p7, k2.
- Row 5: k2, yo, k1, yo, k3, yo, k1, yo, k3, yo, k1, yo, k2 (17 stitches). The pattern is beginning to take shape.
- Row 6: k2, p13, k2.
Begin Lace Pattern
Now that the foundation is established, you'll begin the beautiful lace pattern that gives the Aurora Bloom its delicate, airy texture. The pattern repeat is simple and rhythmic, making it perfect for relaxing knitting sessions.
- Row 7 (Right Side): k2, yo, k1, yo, *k2tog, yo*, rep from * to * until 3 stitches remain before the end, k1, yo, k1, yo, k2 (increase row). The yarn overs create the eyelets, while the k2tog decreases keep the stitch count balanced.
- Row 8 (Wrong Side): k2, purl to last 2 stitches, k2. Always maintain the garter stitch border on both edges.
- Row 9: k2, yo, k1, yo, *k2tog, yo*, rep from * to * until 3 stitches remain, k1, yo, k1, yo, k2 (increase row).
- Row 10: k2, purl to last 2 stitches, k2.
Repeat Rows 7-10 until the shawl measures approximately 20 inches from the cast-on edge, ending with a wrong-side row. The number of stitches will increase by 4 every two right-side rows, gradually widening the shawl into its graceful crescent shape. As you work, you'll see the beautiful gradient of your yarn unfold, creating the stunning color transitions that make this shawl so special.
Edging (Scalloped Floral)
Once the body of the shawl reaches the desired length, it's time to add the gorgeous scalloped floral edging. This final section creates the delicate, petal-like border that frames the shawl beautifully.
- Row 1 (Right Side): k2, yo, k1, yo, *k2tog, yo*, rep from * to * until 3 stitches remain, k1, yo, k1, yo, k2. This row maintains the established lace pattern while preparing for the edging.
- Row 2: k2, purl to last 2 stitches, k2.
- Row 3: k2, yo, k1, yo, *k2tog, yo*, rep from * to * until 3 stitches remain, k1, yo, k1, yo, k2.
- Row 4: k2, purl to last 2 stitches, k2.
- Row 5: k2, yo, k1, yo, *k2tog, yo*, rep from * to * until 3 stitches remain, k1, yo, k1, yo, k2.
- Row 6: k2, purl to last 2 stitches, k2.
Bind Off with a Picot Edge
The picot bind-off creates the charming scalloped edge that resembles tiny flower petals, perfectly complementing the floral lace pattern of the shawl body.
- Bind off 2 stitches, *slip the stitch back to the left needle, cast on 2 stitches, bind off 4 stitches*, rep from * to * until all stitches are bound off. This technique creates small decorative loops along the edge.
- Fasten off and weave in ends carefully with your tapestry needle, being sure to secure the yarn tails discreetly within the fabric.
Blocking
Blocking is the magical final step that transforms your knitted piece into a beautifully draped shawl. This process opens up the lace pattern and allows the gradient colors to shine.
- Soak the shawl in lukewarm water with a gentle wool wash for 20 minutes. This allows the fibers to relax and absorb the water evenly.
- Gently squeeze out excess water (do not wring). Press the water out rather than twisting, to avoid felting or damaging the delicate lace.
- Lay flat on a blocking mat, pinning out the scalloped edges and stretching the lace to open up the pattern. Use blocking wires along the straight edges for a cleaner finish if desired.
- Allow to dry completely. This may take 24-48 hours depending on your environment. Once dry, remove the pins and enjoy your beautiful Aurora Bloom Crescent Shawl!
Your Aurora Bloom Crescent Shawl is now complete! This stunning piece, with its gradient colors and delicate floral lace, is sure to become a treasured addition to your wardrobe or a heartfelt handmade gift for someone special. The combination of the crescent shape, the airy lace pattern, and the beautiful color transitions creates a truly wearable work of art. Enjoy wrapping yourself in the ethereal beauty you've created with your own hands!