The Aurora Wraparound Mitts Free Pattern – A Knitted Fingerless Glove with Braided Cuffs

The Aurora Wraparound Mitts: A Free Knitting Pattern for Cozy, Elegant Fingerless Gloves
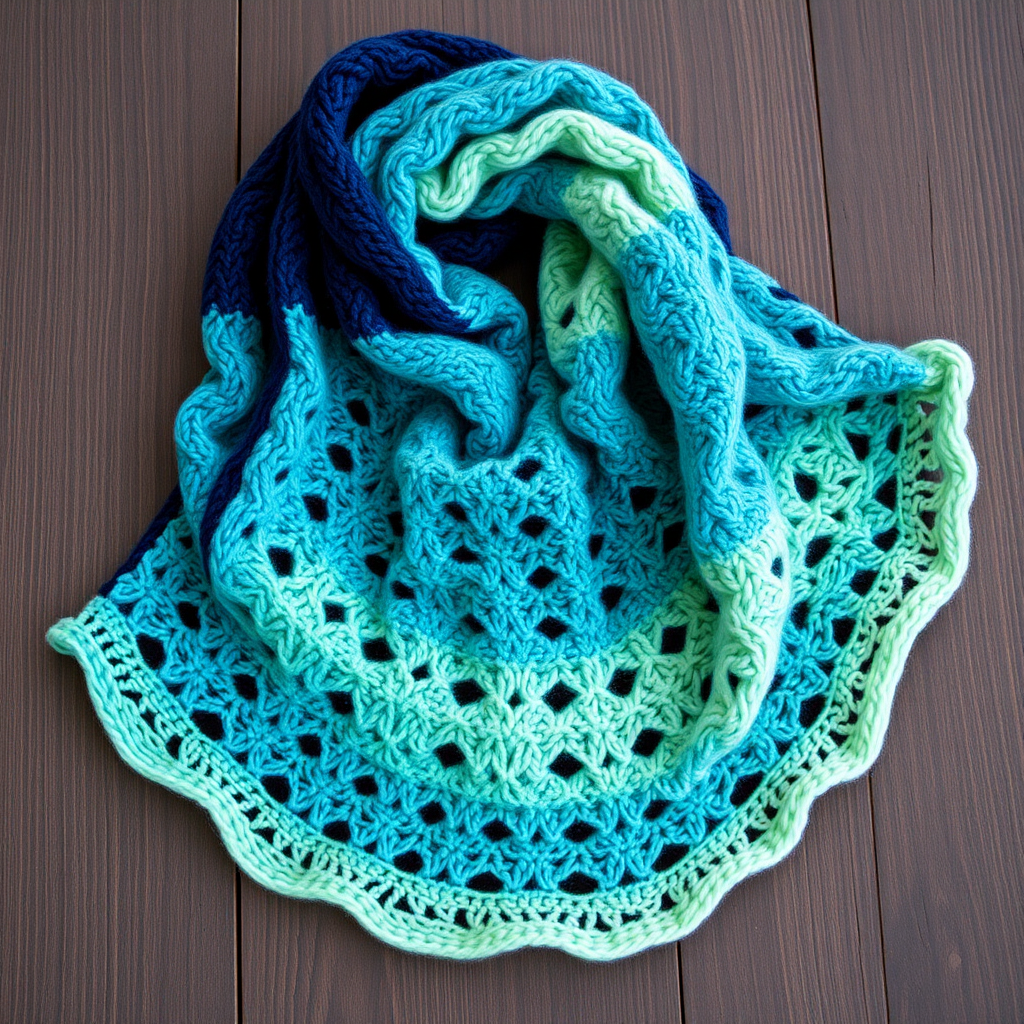
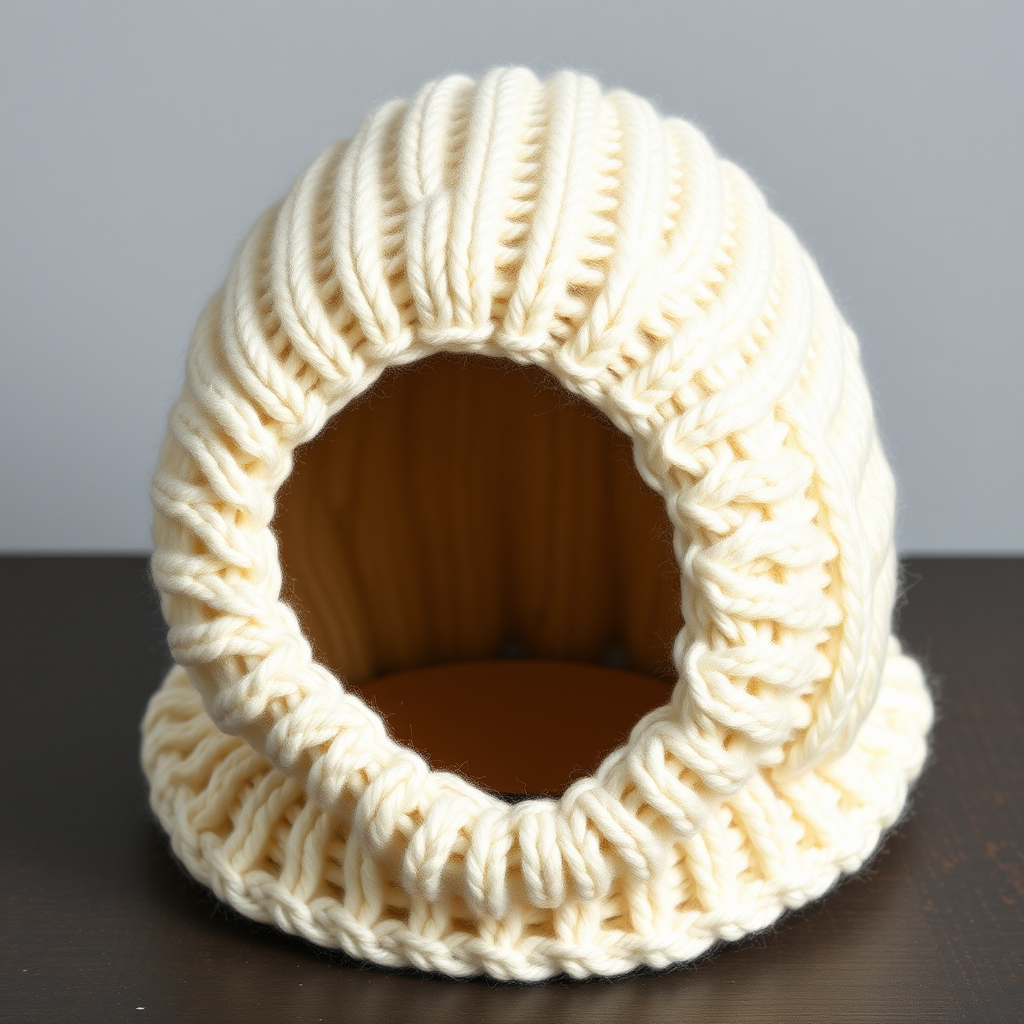
Wrap your hands in the cozy embrace of these knitted fingerless mitts, featuring a stunning braided cable cuff and a delicate lace back. This pattern offers a modern twist on a classic accessory, perfect for transitional weather and adding a touch of handmade elegance to any outfit. Whether you're a seasoned knitter looking for a quick weekend project or a confident beginner ready to tackle cables, the Aurora Wraparound Mitts are designed to delight. The combination of a rich, textured braid and an airy lace panel creates a beautiful contrast that is both functional and fashionable.
This free pattern will guide you through every step, from casting on to weaving in the final ends. With clear instructions and helpful tips, you'll have a gorgeous pair of mitts to call your own in no time. Let's get started!
Materials Needed
Before you begin, gather the following materials to ensure a smooth and enjoyable knitting experience. The quality of your materials can greatly affect the final look and feel of your mitts.
- Yarn: Worsted weight yarn (e.g., Lion Brand Wool-Ease) in two complementary colors:
- Main Color (MC): 150 yards (e.g., rich teal)
- Contrast Color (CC): 50 yards (e.g., deep purple)
- Needles: US Size 7 (4.5 mm) knitting needles (or size needed to obtain gauge)
- Cable Needle: For creating the braided cable pattern
- Tapestry Needle: For weaving in ends and finishing
- Stitch Holder: To hold thumb stitches while you work on the hand section
- Stitch Markers: To mark the thumb gusset increases
Gauge: 20 stitches and 26 rows = 4 inches in stockinette stitch. Always take the time to check your gauge to ensure your mitts fit perfectly.
Step-by-Step Instructions
This pattern is broken down into manageable sections. Follow along carefully, and you'll be amazed at what you can create. The finished size is one size fits most (approx. 7 inches around palm, 8 inches long).
Abbreviations
Familiarize yourself with these standard knitting abbreviations before you begin:
- CO: Cast on
- K: Knit
- P: Purl
- K2tog: Knit two together (right-leaning decrease)
- SSK: Slip, slip, knit (left-leaning decrease)
- YO: Yarn over (creates an eyelet hole)
- C4F: Slip 2 stitches to cable needle, hold in front, knit next 2 stitches, then knit 2 from cable needle
- C4B: Slip 2 stitches to cable needle, hold in back, knit next 2 stitches, then knit 2 from cable needle
- M1: Make one (increase) - pick up the bar between stitches and knit into the back of it
Cuff (Make 2)
The cuff features a beautiful braided cable pattern that sets the tone for the entire mitt. We'll use the Contrast Color (CC) for this section to make the braid pop.
- Cast On: With CC, CO 40 stitches.
- Ribbing Rows:
- Row 1 (RS): *K2, P2; repeat from * to end.
- Row 2 (WS): *P2, K2; repeat from * to end.
- Repeat Rows 1-2 for 6 rows total (this creates a 2x2 ribbing).
- Begin Cable Pattern: Now we'll introduce the braided cables.
- Next Row (RS): Work in ribbing across first 8 stitches, then work C4F over next 4 stitches, ribbing over next 16 stitches, C4B over next 4 stitches, ribbing over last 8 stitches.
- Next Row (WS): Work in ribbing as established (knit the knits and purl the purls as they appear).
- Next Row (RS): Work in ribbing across first 8 stitches, then work C4B over next 4 stitches, ribbing over next 16 stitches, C4F over next 4 stitches, ribbing over last 8 stitches.
- Next Row (WS): Work in ribbing as established.
- Repeat: Repeat the last 4 rows (the two cable crossing rows and the two plain rows) until the cuff measures 3 inches from the cast-on edge, ending with a WS row. This creates the intricate braided effect.
Hand Section
Now we switch to the Main Color (MC) and begin the delicate lace pattern on the back of the hand.
- Transition Row (RS): Switch to MC. K across all stitches, increasing 4 stitches evenly. (You should now have 44 stitches).
- Next Row (WS): Purl all stitches.
- Begin Lace Pattern:
- Row 1 (RS): K1, *YO, SSK, K2; repeat from * to last 3 stitches, YO, SSK, K1.
- Row 2 (WS): Purl all stitches.
- Row 3 (RS): K2, *K2tog, YO, K2; repeat from * to last 2 stitches, K2.
- Row 4 (WS): Purl all stitches.
- Repeat: Repeat Rows 1-4 until the hand section measures 4 inches from the cuff, ending with a WS row. The lace pattern creates a beautiful, airy texture.
Thumb Gusset
This section creates a shaped opening for your thumb, ensuring a comfortable and functional fit.
- Set-Up Row (RS): K22, place marker, M1 (increase), K1, M1, place marker, K21. (You now have 46 stitches).
- Next Row (WS): Purl all stitches.
- Increase Row (RS): Knit to marker, M1, knit to next marker, M1, knit to end. (You now have 48 stitches).
- Repeat: Repeat the last two rows (purl one row, increase row) until there are 9 stitches between the markers. This forms the thumb gusset.
- Separate Thumb (RS): Knit to marker, place the 9 thumb stitches on a stitch holder, remove markers, knit to end. (You now have 39 stitches on your needle).
- Next Row (WS): Purl all stitches.
- Continue: Continue in the lace pattern (as established) over the 39 stitches until the hand section measures 6 inches from the cuff, ending with a WS row.
Top Ribbing
This ribbed edge adds a polished finish and helps the mitts stay in place.
- Next Row (RS): *K2, P2; repeat from * to last 3 stitches, K2, P1.
- Next Row (WS): *P2, K2; repeat from * to last 3 stitches, P2, K1.
- Repeat: Repeat these two rows for 1 inch.
- Bind Off: Bind off loosely in ribbing pattern. This ensures the edge remains stretchy.
Thumb
Now we'll finish the thumb opening to create a neat, comfortable tube.
- Transfer Stitches: Transfer the 9 thumb stitches from the holder back onto your knitting needles.
- Pick Up Stitches: With the RS facing, pick up and knit 3 stitches from the base of the thumb. (You should now have 12 stitches).
- Knit Tube: Work in stockinette stitch (knit RS, purl WS) for 1 inch.
- Bind Off: Bind off all stitches.
Finishing
The final touches will make your mitts look professional and polished.
- Weave in Ends: Using a tapestry needle, carefully weave in all loose ends on the inside of the mitts.
- Block: Block gently to shape. This helps even out the stitches and gives the cables and lace a beautiful, defined look.
Second Mitt
Repeat all the steps to create the second mitt. However, when working the thumb gusset, place the increases on the opposite side to create a mirror image. This ensures you have a left and a right mitt for a perfect, symmetrical fit.
Congratulations! You've completed your very own pair of Aurora Wraparound Mitts. These beautiful, handcrafted accessories are perfect for keeping your hands warm while leaving your fingers free for typing, texting, or simply showing off your knitting skills. Enjoy wearing them, and don't forget to share your creations!