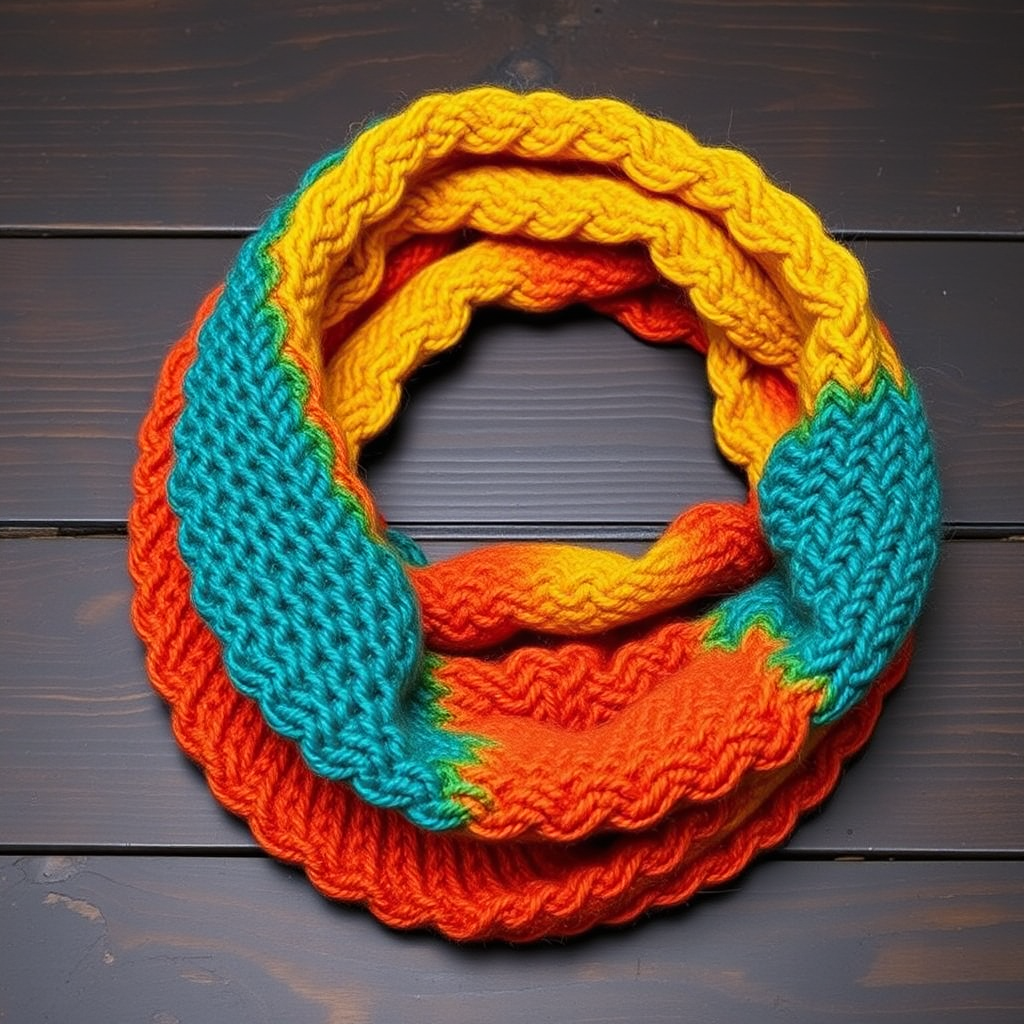
The Ember Dune Cowl: A Free Knitting Pattern for a Textured, Asymmetrical One-Skein Wonder

Wrap Yourself in Texture: Introducing the Ember Dune Cowl
There's something magical about a one-skein project that delivers maximum impact. The Ember Dune Cowl is exactly that—a modern, asymmetrical wonder that transforms a single skein of your favorite worsted-weight yarn into a sculptural, cozy accessory. The entire surface is covered in a dense, bumpy seed stitch, creating a rustic, handcrafted feel that's both elegant and approachable. The dramatic twist in the middle gives it an infinity-like loop that sits beautifully around the neck, making it a standout piece in any wardrobe. Best of all, this pattern is beginner-friendly and perfect for mindful knitting.
Materials Needed
Before you begin, gather the following supplies. The sample shown uses Malabrigo Rios in 'Piedras' (a rich, heathered terracotta and clay color), but any worsted-weight yarn will work beautifully.
- Yarn: 1 skein (approx. 200–250 yards) of worsted weight yarn. Sample uses 220 yards. Look for a tonal or heathered colorway to enhance the seed stitch texture.
- Needle: US 8 (5.0 mm) 16-inch circular knitting needle (used to work flat, so a straight needle of the same size also works).
- Notions: Stitch holder or spare needle (for the twist), tapestry needle for seaming and weaving ends, scissors.
- Gauge: 18 stitches and 28 rows = 4 inches in seed stitch (blocked). Gauge is important for the final size and drape, so take a moment to check it.
Step-by-Step Instructions
This cowl is worked flat in one piece, then seamed to create a twisted, asymmetrical loop. Follow these steps carefully, and you'll have a beautiful, sculptural cowl in no time.
Understanding the Seed Stitch Pattern
The entire cowl uses a simple two-row repeat. Memorize it, and you'll fly through the project.
- Row 1 (Right Side): *Knit 1, Purl 1; repeat from * to end of row.
- Row 2 (Wrong Side): *Purl 1, Knit 1; repeat from * to end of row.
- Repeat: Continue repeating these two rows for the entire body of the cowl.
Tip: On Row 2, you are essentially knitting the purl stitches from the previous row and purling the knit stitches. This creates the classic seed stitch texture.
Step 1: Cast On
Using the long-tail cast-on method, cast on 40 stitches. This creates a neat, elastic edge that will be seamed later. Make sure your cast-on is not too tight—you want it to match the stretch of the seed stitch.
Step 2: Work the Body
Work in seed stitch (as established above) until the piece measures 22 inches from the cast-on edge. End after completing a Wrong Side row. Do not bind off—you need these live stitches for the twist and seaming.
Tip: Measure your work occasionally to ensure you're on track. The 22-inch length is crucial for the final asymmetrical drape.
Step 3: Create the Twist
This is the step that gives the cowl its unique, sculptural shape. Carefully remove the needle from the live stitches (or slide them onto a stitch holder to keep them safe). Take the piece and give it a single, full 360-degree twist in the middle. After the twist, the cast-on edge and the live stitches should be on opposite sides of the twist, ready to be joined.
Tip: Hold the piece up to visualize the final shape. The twist should be centered and even. If it looks off, simply untwist and try again.
Step 4: Seaming the Cowl
You have two excellent options for seaming. Choose the one you're most comfortable with.
Option A: Kitchener Stitch (Grafting)
This creates an invisible, seamless join. Thread a tapestry needle with a length of yarn (about 3 times the width of your work). Arrange the live stitches on one needle and the cast-on edge stitches on another needle (pick up one stitch per cast-on loop). Hold the needles parallel with wrong sides together. Work the Kitchener stitch as follows:
- Insert tapestry needle purlwise into first stitch on front needle, pull yarn through, slip stitch off.
- Insert tapestry needle knitwise into next stitch on front needle, pull yarn through, leave stitch on.
- Insert tapestry needle knitwise into first stitch on back needle, pull yarn through, slip stitch off.
- Insert tapestry needle purlwise into next stitch on back needle, pull yarn through, leave stitch on.
- Repeat these four steps until all stitches are grafted. Weave in the end.
Option B: Three-Needle Bind-Off
This is a faster, sturdy alternative that creates a visible seam (which can be hidden inside the twist). Place the live stitches on one needle. With a second needle, pick up the cast-on edge stitches (one stitch per cast-on loop). Hold the needles parallel with wrong sides together. Using a third needle, knit one stitch from the front needle and one from the back needle together. Then bind off as usual: *knit the next two stitches together (one from front, one from back), then pass the previous stitch over the new stitch. Repeat from * until all stitches are bound off. Weave in the end.
Step 5: Finishing
Weave in all remaining ends with a tapestry needle. To block the cowl and set the beautiful drape, soak it in cool water for 15–20 minutes. Gently squeeze out excess water (do not wring). Lay flat on a towel, shape it to your desired dimensions, and let it dry completely. The twist will create a beautiful, sculptural drape that sits elegantly around your neck.
Congratulations! You've just created the Ember Dune Cowl—a one-skein wonder that's as fun to knit as it is to wear. The rich seed stitch texture and asymmetrical twist make it a modern classic you'll reach for again and again.