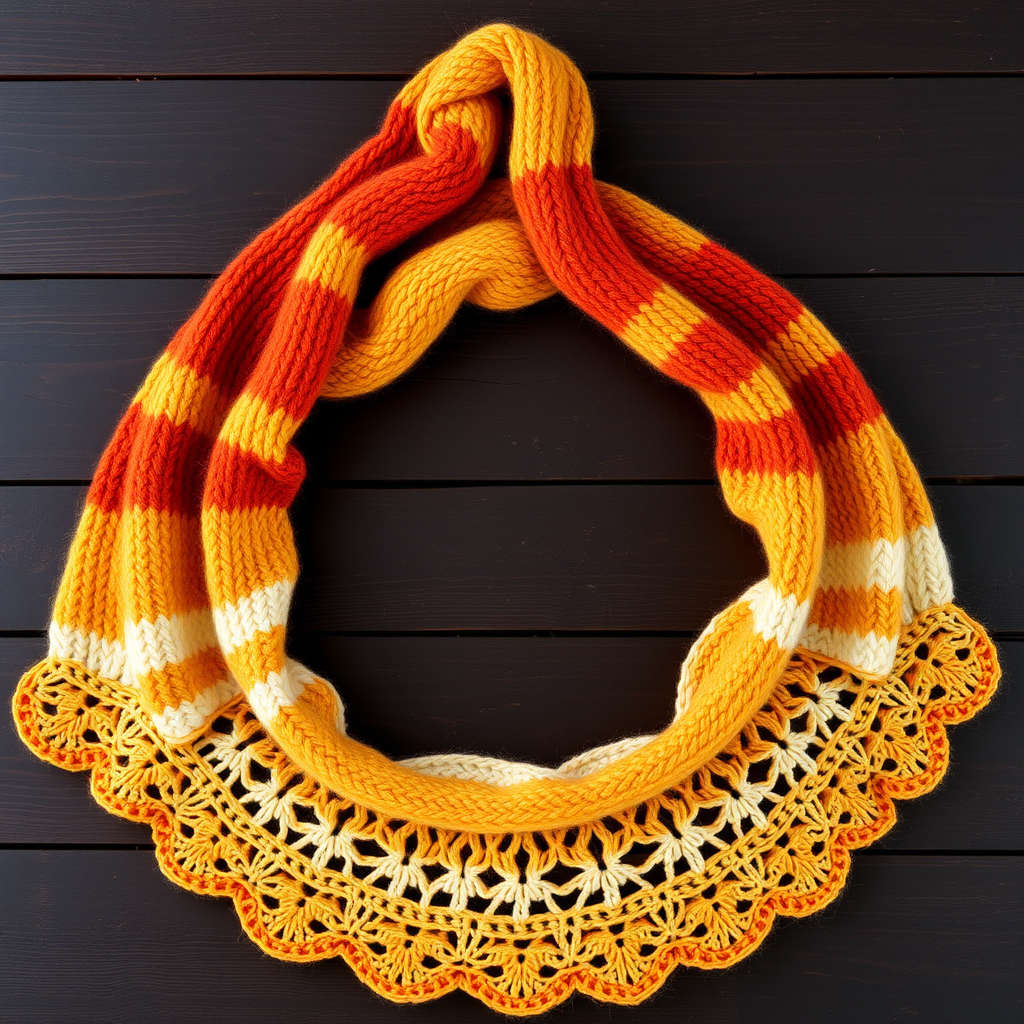
The Gilded Fern Shawlette: A Free Knitting Pattern for a Textured, Asymmetrical Triangle Wrap

The Gilded Fern Shawlette: A Modern, Textured Triangle Wrap
Wrap yourself in the subtle luxury of the Gilded Fern Shawlette, a modern asymmetrical triangle designed to drape beautifully over the shoulders. This pattern combines a delicate, leafy lace stitch with a rich, tonal yarn to create a sophisticated accessory perfect for holiday gatherings or a cozy night in. The asymmetrical shape creates a graceful, contemporary drape, while the fern-like lace pattern adds organic texture and visual interest. Whether you're a seasoned knitter looking for a quick, satisfying project or a beginner ready to tackle lace, this shawlette is a rewarding and beautiful knit.
Materials Needed
- Yarn: Fingering weight yarn, approximately 400 yards (365 meters). The sample shown uses Malabrigo Sock (100% Superwash Merino) in the 'Piedras' colorway, a rich tonal blend of warm browns, deep greens, and hints of gold.
- Needle: US 6 (4.0 mm) circular needle, 32-inch (80 cm) or longer, for working flat. A circular needle is used to accommodate the increasing number of stitches.
- Notions: Stitch marker (optional, but helpful for marking the increase point), tapestry needle for weaving in ends.
- Gauge: 20 stitches and 28 rows = 4 inches (10 cm) in Stockinette stitch, after blocking. Gauge is important for achieving the correct size and drape.
Step-by-Step Instructions
Notes
The shawl is worked flat from the top center point outwards, increasing on one side to create an asymmetrical shape. The lace pattern is a 4-row repeat. A stitch marker is helpful to mark the increase point.
Abbreviations
- k: knit
- p: purl
- yo: yarn over
- k2tog: knit two together
- ssk: slip, slip, knit (slip next two stitches knitwise, one at a time, then knit them together through the back loops)
- st(s): stitch(es)
- RS: right side
- WS: wrong side
Pattern
Cast On
Using the long-tail cast on, cast on 3 stitches.
Foundation Rows
Row 1 (RS): k1, yo, k1, yo, k1. (5 sts)
Row 2 (WS): k1, p3, k1. (5 sts)
Row 3 (RS): k1, yo, k1, yo, k1, yo, k1. (8 sts)
Row 4 (WS): k1, p6, k1. (8 sts)
Begin Lace Pattern
Row 5 (RS): k1, yo, k2, *yo, ssk, k2, k2tog, yo, k1; repeat from * to last 3 sts, yo, k2, yo, k1. (Increase: 2 sts)
Row 6 (WS): k1, purl to last st, k1.
Row 7 (RS): k1, yo, k3, *k2tog, yo, k1, yo, ssk, k3; repeat from * to last 4 sts, k2tog, yo, k2, yo, k1. (Increase: 2 sts)
Row 8 (WS): k1, purl to last st, k1.
Repeat Rows 5-8 until the shawl measures approximately 20 inches (51 cm) from the cast-on edge along the longer side, ending with a WS row. The number of repeats will depend on your gauge.
Edging
Row 1 (RS): k1, yo, knit to last st, yo, k1. (Increase: 2 sts)
Row 2 (WS): k1, purl to last st, k1.
Repeat Rows 1-2 three more times (8 rows total).
Bind Off
Bind Off (WS): Knitwise, bind off loosely. Weave in all ends. Block the shawl to open up the lace pattern, pinning the points to shape the asymmetrical triangle.
Finishing
Blocking is essential for this shawl. Soak the finished piece in lukewarm water with a gentle wool wash for 15-20 minutes. Gently squeeze out excess water (do not wring). Lay the shawl flat on a blocking mat, gently stretching it to open the lace pattern. Pin the points to create the asymmetrical triangle shape. Allow to dry completely before removing pins. This will enhance the drape and definition of the lace.