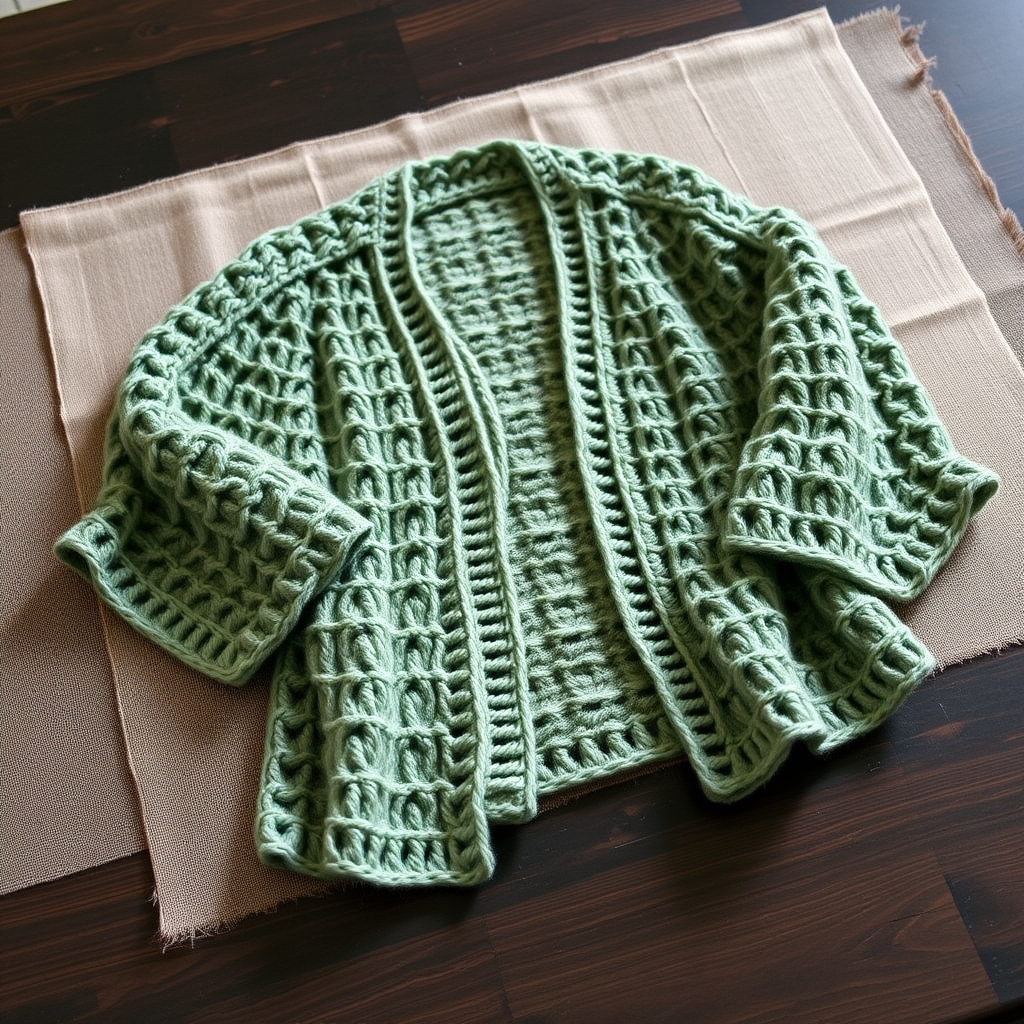
Cardigan Knitting Patterns
The Harvest Moon Patchwork Cardigan Free Pattern
Anonymous
•
July 03, 2026

The Harvest Moon Patchwork Cardigan Free Pattern
Introduction
Embrace the cozy charm of autumn with the Harvest Moon Patchwork Cardigan, a delightful blend of textures and colors that captures the essence of fall. This pattern combines various knitting techniques to create a unique, eye-catching piece perfect for layering. With its vibrant colors and patchwork design, this cardigan is not only a stylish addition to your wardrobe but also a fun project for knitters of all skill levels.
Materials Needed
- 5 skeins of worsted weight yarn in the following colors:
- Mustard Yellow
- Burnt Orange
- Deep Red
- Forest Green
- Cream
- US 8 (5mm) knitting needles
- Tapestry needle for weaving in ends
Step-by-Step Instructions
Back Panel
- Cast on 90 stitches using the mustard yellow yarn.
- Work in stockinette stitch (knit one row, purl the next) for 4 inches. This creates a smooth fabric.
- Change to burnt orange yarn and continue in stockinette stitch for another 4 inches.
- Switch to deep red yarn and repeat the stockinette stitch for 4 inches.
- Next, change to forest green yarn and work for 4 inches in stockinette stitch.
- Finally, switch to cream yarn and complete the last 4 inches in stockinette stitch.
- Bind off all stitches to finish the back panel.
Front Panels (Make 2)
- Cast on 45 stitches using the mustard yellow yarn.
- Work in stockinette stitch for 4 inches.
- Change to burnt orange yarn and continue in stockinette for 4 inches.
- Switch to deep red yarn and work for 4 inches in stockinette stitch.
- Change to forest green yarn and repeat for 4 inches.
- Finally, switch to cream yarn and complete the last 4 inches in stockinette stitch.
- Bind off all stitches to finish the front panels.
Sleeves (Make 2)
- Cast on 50 stitches using the mustard yellow yarn.
- Work in stockinette stitch for 3 inches.
- Change to burnt orange yarn and continue in stockinette for 3 inches.
- Switch to deep red yarn and work for 3 inches in stockinette stitch.
- Change to forest green yarn and repeat for 3 inches.
- Finally, switch to cream yarn and complete the last 3 inches in stockinette stitch.
- Bind off all stitches to finish the sleeves.
Assembly
- Begin by sewing the shoulder seams of the front panels to the back panel. Align the edges and use a tapestry needle to sew them together securely.
- Next, attach the sleeves to the body of the cardigan. Align the top of the sleeve with the armhole and sew them together.
- Sew the side seams of the cardigan, connecting the front panels to the back panel. Make sure to match the edges neatly.
- Finally, sew the sleeve seams to close the sleeves. Weave in all loose ends with your tapestry needle for a clean finish.
Optional
For added style, consider adding buttons or a belt for closure. This will enhance the cardigan's functionality and give it a personalized touch.