The Retro Granny Square Tote Free Pattern
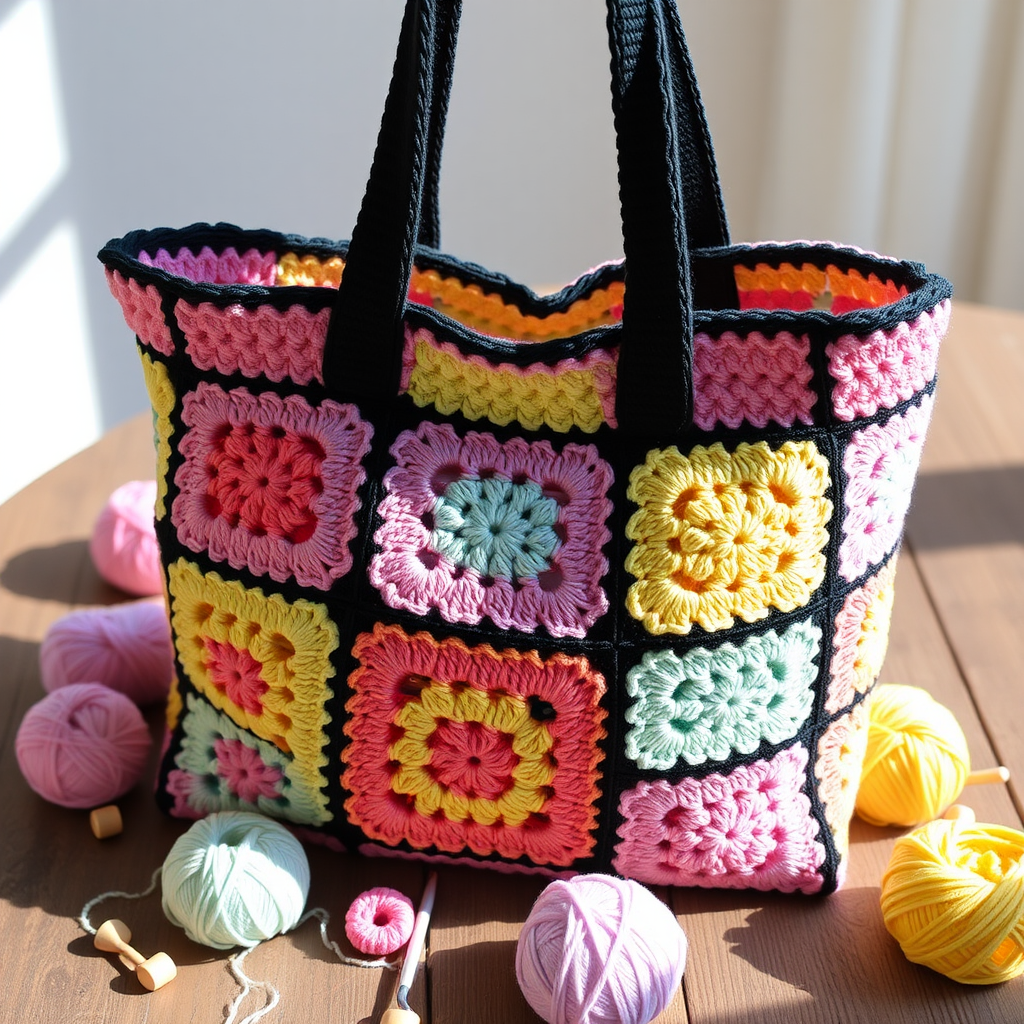
The Retro Granny Square Tote Free Pattern
Introduction
Embrace the nostalgia of the Y2K era with this vibrant and versatile granny square tote. This crochet pattern is perfect for carrying your essentials while adding a touch of vintage flair to your outfit. With a mix of pastel colors and a striking black outline, this tote is not only functional but also a stylish accessory. Whether you're heading to the beach or running errands, this tote will be your go-to bag!
Materials Needed
- Yarn: Worsted weight cotton yarn in assorted colors (pastel pink, lavender, mint green, sunny yellow, and contrasting black for joining)
- Hook: 5.0 mm crochet hook
- Gauge: 4 inches = 4 granny squares
Step-by-Step Instructions
1. Granny Square (Make 13)
Each granny square is made in rounds. Follow these steps:
- Round 1: Start with a magic ring. Chain 3 (this counts as your first double crochet), then make 2 double crochets (dc) into the ring. Chain 2, then repeat the following 3 times: *3 dc into the ring, chain 2*. Finally, join with a slip stitch (sl st) to the top of the initial chain-3. You should have 12 dc.
- Round 2: Slip stitch to the chain-2 space. Chain 3, then make 2 dc in the same space. Chain 2, then repeat the following around: *3 dc in the next chain-2 space, chain 2, 3 dc in the same space*. Join with a sl st to the top of the initial chain-3. You should have 24 dc.
- Round 3: Slip stitch to the chain-2 space. Chain 3, then make 2 dc in the same space. Chain 2, then repeat the following around: *3 dc in the next space, 3 dc in the next chain-2 space, chain 2, 3 dc in the same space*. Join with a sl st to the top of the initial chain-3. You should have 36 dc.
- Fasten off and weave in the ends of your yarn.
2. Assembly
Now it's time to put your squares together:
- Arrange 9 squares in a 3x3 grid for the front panel and 4 squares in a 2x2 grid for the back panel.
- Join the squares using single crochet (sc) or whip stitch, ensuring the right sides of the squares are facing out.
3. Side Panels and Bottom
To give your tote structure:
- Crochet a strip of single crochet stitches approximately 3 inches wide and long enough to wrap around the sides and bottom of the tote.
- Attach the strip to the front and back panels using single crochet or whip stitch, making sure it is securely fastened.
4. Handles
For the handles, follow these steps:
- Chain 80 (or your desired length for the handles). Single crochet in the second chain from the hook and across the chain. Turn your work.
- Row 2: Chain 1, then single crochet across the row.
- Repeat Row 2 until the handle is 1 inch wide.
- Attach the handles to the inside of the tote using a strong whip stitch to ensure they are secure.
5. Finishing
To complete your tote:
- Weave in any remaining ends of yarn to tidy up your work.
- Block your tote to shape, ensuring it maintains a sturdy rectangular shape with a flat bottom and wide sides.
Congratulations! You have successfully created your very own Retro Granny Square Tote. Enjoy showcasing your handmade creation and carrying your essentials in style!


