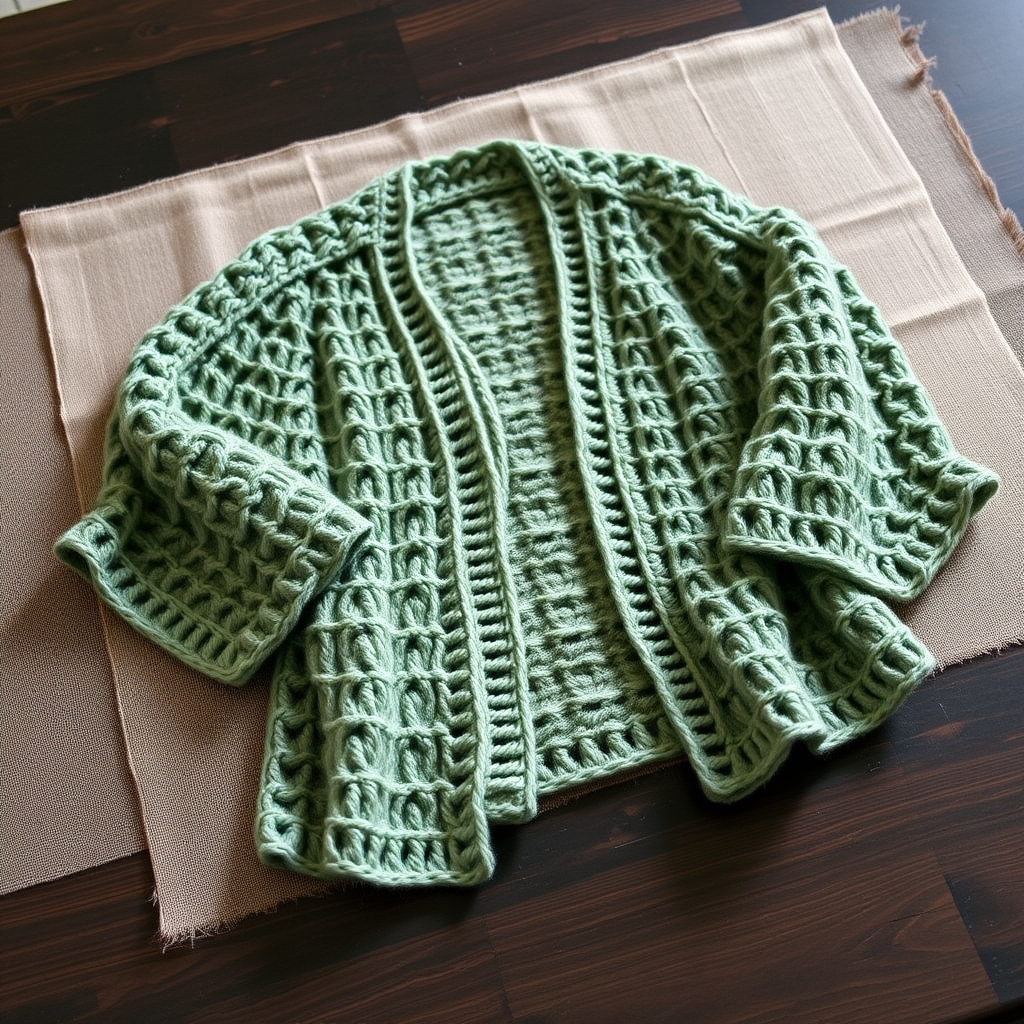
Cardigan Knitting Patterns
The Retro Wave Cardigan Free Pattern
Anonymous
•
July 03, 2026

The Retro Wave Cardigan Free Pattern
Introduction
Dive into the nostalgia of the early 2000s with this vibrant Retro Wave Cardigan. Featuring bold stripes and a relaxed fit, this piece is perfect for adding a pop of color to any outfit. Whether you're looking to brighten up your wardrobe or create a unique handmade gift, this cardigan is an excellent project for knitters of all skill levels.
Materials Needed
- Yarn: Worsted weight yarn in four contrasting colors (e.g., electric blue, neon green, hot pink, and bright yellow)
- Needles: US 8 (5mm) knitting needles
- Gauge: 18 stitches and 24 rows = 4 inches in stockinette stitch
Step-by-Step Instructions
Back Panel
- Cast on 90 stitches using your chosen color.
- Work in a 2x2 ribbing pattern for 2 inches. To do this, knit 2 stitches, then purl 2 stitches, and repeat until the end of the row. On the next row, follow the same pattern.
- Switch to stockinette stitch: knit one row, then purl the next. Begin your stripe pattern as follows:
- Work with Color A for 10 rows.
- Change to Color B and work for 10 rows.
- Change to Color C and work for 10 rows.
- Change to Color D and work for 10 rows.
- Repeat the stripe sequence until the piece measures 24 inches from the cast-on edge.
- Bind off all stitches loosely to maintain elasticity.
Front Panels (Make 2)
- Cast on 45 stitches for each front panel.
- Work in a 2x2 ribbing pattern for 2 inches, just like the back panel.
- Switch to stockinette stitch and follow the same stripe pattern as the back panel until each piece measures 24 inches.
- Bind off all stitches loosely.
Sleeves (Make 2)
- Cast on 50 stitches for each sleeve.
- Work in a 2x2 ribbing pattern for 2 inches.
- Switch to stockinette stitch and begin your stripe pattern:
- Follow the same color sequence as before.
- Increase 1 stitch at each end every 8th row until you have 70 stitches.
- Continue knitting until the sleeve measures 18 inches from the cast-on edge.
- Bind off all stitches loosely.
Assembly
- Block all pieces to the specified measurements to ensure they are even and flat.
- Sew the shoulder seams of the back and front panels together.
- Attach the sleeves to the armholes, ensuring they are aligned properly.
- Sew the side seams of the body and the sleeve seams together, making sure to keep the seams neat.
- Weave in all loose ends using a tapestry needle to finish your cardigan beautifully.
Congratulations! You have now completed your very own Retro Wave Cardigan. Enjoy wearing this vibrant piece that not only showcases your knitting skills but also adds a fun touch to your wardrobe!