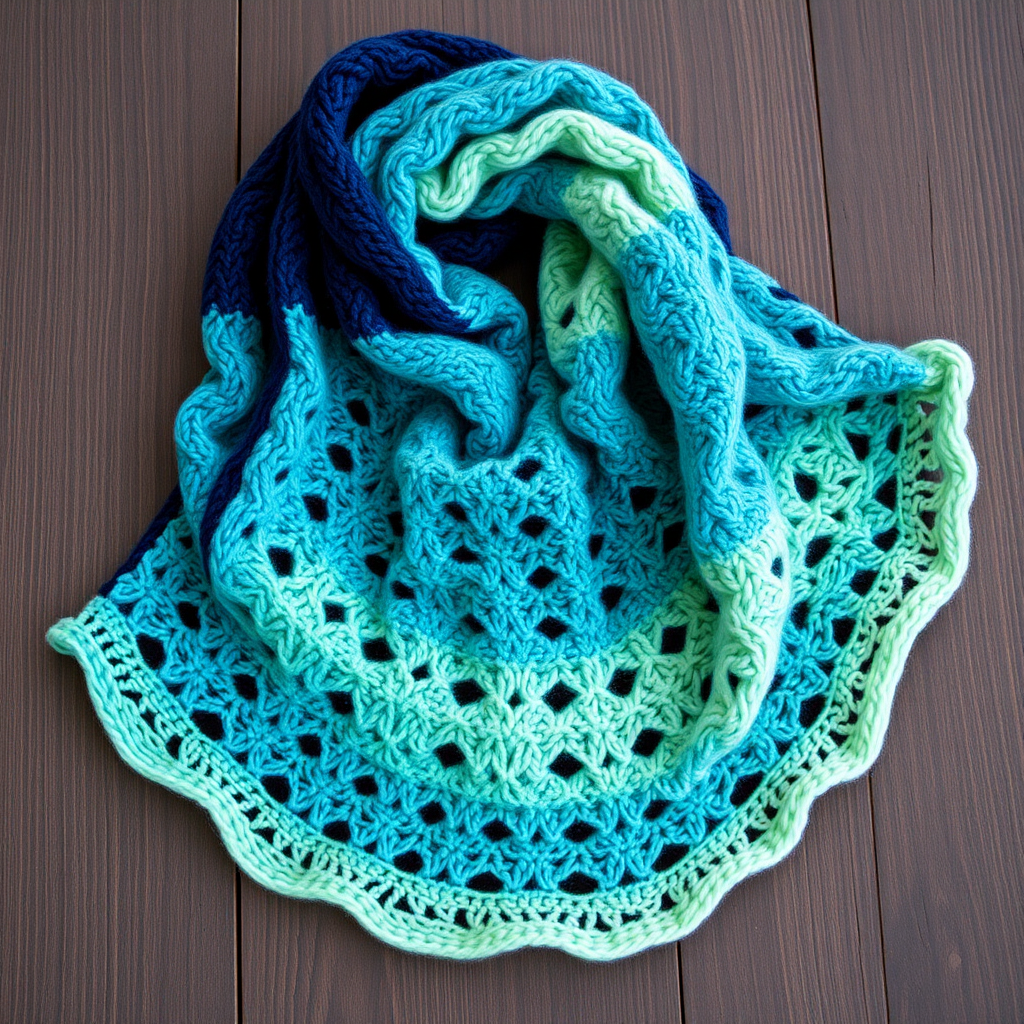
The Tidal Lace Fingerless Mitts Free Pattern – A Knitted Ocean Wave Stitch with Shell Edging

The Tidal Lace Fingerless Mitts: A Free Knitting Pattern for Coastal Charm
Ride the wave of coastal calm with these stunning fingerless mitts. Featuring a rhythmic wave lace pattern that mimics the ebb and flow of the sea, this pattern is perfect for knitters looking to add a touch of beachcombed elegance to their accessory collection. The delicate shell edging adds a refined finish, making these mitts ideal for cool breezes by the shore or cozy evenings at home. Whether you're a seasoned knitter or a confident beginner ready for a new challenge, this free pattern will guide you through creating a beautiful, handmade gift for yourself or a loved one.
Materials Needed
Before you begin, gather the following materials to ensure a smooth and enjoyable knitting experience:
- Yarn: Worsted weight cotton or cotton-blend yarn (approximately 150-200 yards). Choose a sea-glass gradient or a solid ocean blue to capture the coastal aesthetic perfectly.
- Needles: US 6 (4.0 mm) knitting needles, or the size needed to obtain the correct gauge. A tapestry needle is also required for weaving in ends and finishing.
- Notions: Stitch markers (at least 2), a stitch holder or scrap yarn for the thumb stitches, and a tape measure.
Gauge: 20 stitches and 28 rows = 4 inches in stockinette stitch. Always knit a swatch first to ensure your tension matches the pattern for the perfect fit.
Step-by-Step Instructions
This pattern is worked flat and seamed, or you can work it in the round if you prefer. The instructions below are for flat knitting, which is easier for beginners to manage the lace pattern. Make two identical mitts.
Getting Started: The Cuff
- Cast On: Loosely cast on 36 stitches. A long-tail cast-on works beautifully here.
- Ribbing: Work in 2x2 ribbing (k2, p2) for 2 inches, which is approximately 12 rows. This creates a snug, comfortable cuff that will keep the mitts in place.
Knitting the Wave Lace Pattern
This is the heart of the design. The lace pattern creates the illusion of rolling waves through a combination of yarn overs (yo), knit two together (k2tog), and slip slip knit (ssk) decreases. Follow the rows below carefully, repeating them until your work measures 4 inches from the cast-on edge. Always end with a wrong-side (WS) row before moving on.
- Row 1 (RS): k2, *yo, k2tog, k6, ssk, yo, k2; repeat from * to last 2 stitches, k2.
- Row 2 (WS): Purl all stitches.
- Row 3 (RS): k2, *k1, yo, k2tog, k4, ssk, yo, k1; repeat from * to last 2 stitches, k2.
- Row 4 (WS): Purl all stitches.
- Row 5 (RS): k2, *k2, yo, k2tog, k2, ssk, yo, k2; repeat from * to last 2 stitches, k2.
- Row 6 (WS): Purl all stitches.
- Row 7 (RS): k2, *k3, yo, k2tog, k2, ssk, yo, k1; repeat from * to last 2 stitches, k2.
- Row 8 (WS): Purl all stitches.
Pro Tip: Place a stitch marker after the first 2 stitches and before the last 2 stitches. This will help you keep track of the pattern repeat and ensure your edges stay neat.
Shaping the Thumb Gusset
Now we will add increases to create space for your thumb. This is done using the "make one" (m1) technique, which creates a neat, invisible increase.
- Setup Row (RS): k2, *yo, k2tog, k6, ssk, yo, k2; repeat from * to last 6 stitches, place marker, m1, k1, m1, k5. (You now have 38 stitches).
- Row 1 (WS): Purl all stitches.
- Row 2 (RS): Work the wave pattern across the first 30 stitches (up to the marker), then m1, k3, m1, knit to end. (40 stitches).
- Row 3 (WS): Purl all stitches.
- Row 4 (RS): Work the wave pattern to the marker, m1, k5, m1, knit to end. (42 stitches).
- Continue: Keep increasing on every right-side row, adding 2 stitches to the gusset each time (k7, then k9, etc.). Continue this pattern until you have 13 stitches between the markers. This typically takes about 6 increase rows.
Separating the Thumb
- Next Row (RS): Work the wave pattern to the marker. Slip the next 13 stitches onto a stitch holder or scrap yarn. Cast on 1 stitch (this bridges the gap), then knit to the end of the row. You should now have 30 stitches on your needle.
- Continue the Body: Continue working in the wave lace pattern (without any gusset increases) until the mitt measures 7 inches from the cast-on edge, or the desired length to cover your palm. Always end with a wrong-side row.
Adding the Shell Edging
This delicate scalloped edge is the signature finish of these mitts. It uses the same wave pattern to create a beautiful, organic curve.
- Row 1 (RS): k2, *yo, k2tog, k6, ssk, yo, k2; repeat from * to last 2 stitches, k2.
- Row 2 (WS): Purl all stitches.
- Row 3 (RS): k2, *k1, yo, k2tog, k4, ssk, yo, k1; repeat from * to last 2 stitches, k2.
- Row 4 (WS): Purl all stitches.
- Row 5 (RS): k2, *k2, yo, k2tog, k2, ssk, yo, k2; repeat from * to last 2 stitches, k2.
- Row 6 (WS): Purl all stitches.
- Bind Off: Bind off all stitches loosely. A stretchy bind-off (like the "knit two together" bind-off) is recommended to maintain the scalloped shape.
- Transfer Stitches: Carefully transfer the 13 thumb stitches from the holder back onto your knitting needle.
- Pick Up Stitch: With the right side facing, pick up and knit 1 stitch from the cast-on edge at the base of the thumb. This closes the gap and prevents holes.
- Knit the Thumb: Work in stockinette stitch (knit on RS, purl on WS) for 1 inch.
- Bind Off: Bind off all stitches loosely.
- Weave in Ends: Using your tapestry needle, carefully weave in all loose yarn ends on the inside of the mitts.
- Blocking: This is a crucial step for lace knitting. Gently wet-block the mitts by soaking them in lukewarm water, squeezing out excess water (do not wring), and laying them flat to dry. Pin them out to open up the lace pattern and define the shell edging beautifully.
- Repeat: Repeat the entire process to create the second mitt.
Knitting the Thumb
Finishing Touches
Once finished, you'll have a beautiful pair of Tidal Lace Fingerless Mitts that are as functional as they are elegant. The combination of the wave stitch and shell edging makes them a unique and thoughtful handmade gift. Enjoy the process and the beautiful result!