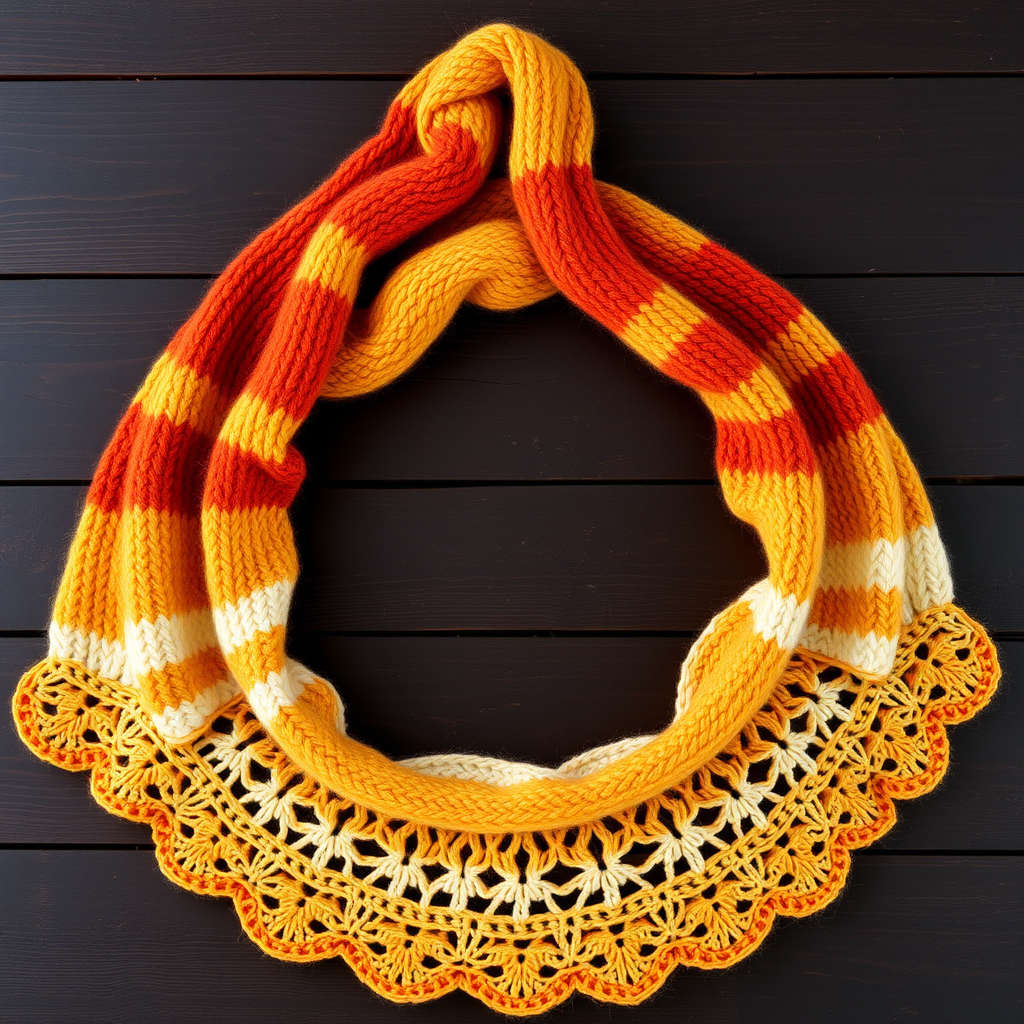
The Tidepool Lace Shawl Free Pattern – A Knitted Ocean Memory

The Tidepool Lace Shawl Free Pattern – A Knitted Ocean Memory
Wrap yourself in the ebb and flow of the sea with this crescent-shaped shawl, where delicate lace pools mimic tidepools catching the light. Knitted from a single skein of gradient yarn, it is a meditative project that rewards you with a wearable piece of coastal art. Whether you're a seasoned knitter looking for a mindful project or a confident beginner ready to tackle lace, this pattern offers a soothing rhythm and a stunning result. The gentle increases and simple 4-row lace repeat create a fabric that drapes beautifully, evoking the serene movement of ocean waves.
Materials Needed
Before you begin, gather the following supplies. The beauty of this shawl lies in its simplicity—just one skein of gorgeous yarn and a circular needle are all you need to create a statement piece.
- Yarn: Fingering weight yarn, 100% merino or silk blend, approximately 400-450 yards. A hand-dyed gradient from deep teal to sandy gold works beautifully, or choose a solid color to highlight the lace texture. (Example: Malabrigo Sock in 'Azul Profundo')
- Needle: US 6 (4.0 mm) circular knitting needle, 32-inch or longer. The long cord is essential for holding the increasing number of stitches and for using the magic loop method if preferred.
- Notions: Stitch markers (at least 4), tapestry needle for weaving in ends, blocking pins and mats for finishing.
- Gauge: 20 stitches and 28 rows = 4 inches in stockinette stitch after blocking. Gauge is flexible for a shawl; focus on achieving a fabric you love with good drape.
Step-by-Step Instructions
This shawl is worked from the top center down, increasing on both sides of a central spine to create a crescent shape. The lace pattern is a simple 4-row repeat that combines yarn overs and decreases to form small 'wave' motifs. Follow along carefully, and you'll be amazed at how quickly the pattern emerges.
Abbreviations
- k = knit
- p = purl
- yo = yarn over
- k2tog = knit two together (right-leaning decrease)
- ssk = slip, slip, knit (slip two stitches knitwise one at a time, then knit them together through the back loop – left-leaning decrease)
- pm = place marker
- sm = slip marker
- st(s) = stitch(es)
- RS = right side
- WS = wrong side
Setup: Creating the Top Tab
We begin with a small garter stitch tab that forms the top center of the shawl. This technique creates a neat, seamless edge.
- Cast on 3 stitches loosely.
- Knit 6 rows (this creates a garter stitch strip).
- Now, rotate your work 90 degrees clockwise. Pick up and knit 3 stitches along the side edge of the strip.
- Rotate again and pick up and knit 3 stitches from the cast-on edge. You should now have 9 stitches total on your needle.
Pro Tip: This tab is the foundation. Ensure your picked-up stitches are even to avoid any puckering.
Shaping the Crescent: Initial Increases
We'll now establish the central spine and the garter stitch borders. The increases happen on every RS row, creating the crescent shape.
- Row 1 (RS): k3, yo, k1, yo, k1 (center stitch), yo, k1, yo, k3 – you now have 13 sts.
- Row 2 (WS): k3, purl to last 3 sts, k3.
- Row 3 (RS): k3, yo, k1, yo, k2, yo, k1 (center), yo, k2, yo, k1, yo, k3 – you now have 19 sts.
- Row 4 (WS): k3, purl to last 3 sts, k3.
Now, place your markers. Place a marker after the first 3 stitches and before the last 3 stitches (these mark the garter borders). Then place a marker on either side of the center stitch. You will have 4 markers total: edge, left section, center, right section, edge.
The Lace Pattern: Wave Motifs
This is the heart of the shawl. The pattern is a multiple of 4 + 1, but the increases will naturally add stitches. Trust the pattern and the markers to keep you on track.
Row 1 (RS): k3, sm, *yo, k2tog, yo, k1* repeat from * to * until 1 st before center marker, yo, k1, sm, k1 (center), sm, yo, k1, then repeat from * to * across the right side until 3 sts before edge marker, yo, k2tog, yo, sm, k3. (Note: The pattern naturally increases by 2 stitches on each side of the center per RS row.)
Row 2 (WS): k3, sm, purl to last 3 sts, sm, k3.
Row 3 (RS): k3, sm, *k2, yo, ssk* repeat from * to * until 1 st before center marker, yo, k1, sm, k1 (center), sm, yo, k1, then repeat from * to * across the right side until 3 sts before edge marker, k2, yo, ssk, sm, k3.
Row 4 (WS): k3, sm, purl to last 3 sts, sm, k3.
Repeat these 4 rows until the shawl measures approximately 20 inches from the center cast-on edge, or until you have used most of your yarn, ending with a WS row. The shawl will have a gentle crescent shape.
Understanding the Pattern: Row 1 creates a right-leaning decrease with a double yarn over, while Row 3 uses a left-leaning decrease. This combination creates the subtle wave effect. The yarn overs are always paired with decreases to keep the stitch count stable between the increase points.
Edging: A Picot-Like Finish
This simple edging adds a delicate, scalloped border that echoes the ocean theme. It's worked across all stitches.
- Row 1 (RS): k3, sm, *yo, k2tog* repeat from * to * until 3 sts before edge marker, yo, k2tog, yo, sm, k3. (This adds a picot-like edge.)
- Row 2 (WS): k3, sm, purl to last 3 sts, sm, k3.
- Row 3 (RS): k3, sm, *k1, yo, k2tog* repeat from * to * until 3 sts before edge marker, k1, yo, k2tog, yo, sm, k3.
- Row 4 (WS): Bind off all stitches loosely knitwise (or use a stretchy bind-off like Jeny's surprisingly stretchy bind-off).
Finishing: Blocking Your Masterpiece
Blocking is where the magic happens. The lace will look crumpled and unimpressive until this step, but trust the process—it transforms the shawl.
- Weave in all ends with a tapestry needle.
- Soak the shawl in lukewarm water with a drop of wool wash for 20 minutes.
- Gently squeeze out excess water (do not wring).
- Lay flat on a towel and roll up to remove more water.
- Pin out the shawl to its full dimensions on blocking mats, stretching the lace points gently. Pay special attention to the top edge and the bottom points.
- Allow to dry completely. The lace will open up and the gradient will shine.
Once dry, your Tidepool Lace Shawl is ready to wear. Drape it over your shoulders on a cool evening, and let the memory of the ocean wrap around you. This pattern is a joy to knit and a treasure to own—a true piece of wearable coastal art.