The Whispering Pines Fingerless Mitts: A Free Knitting Pattern for Textured, Modern Hand Warmers
Embrace the Quiet Beauty of the Forest: The Whispering Pines Fingerless Mitts
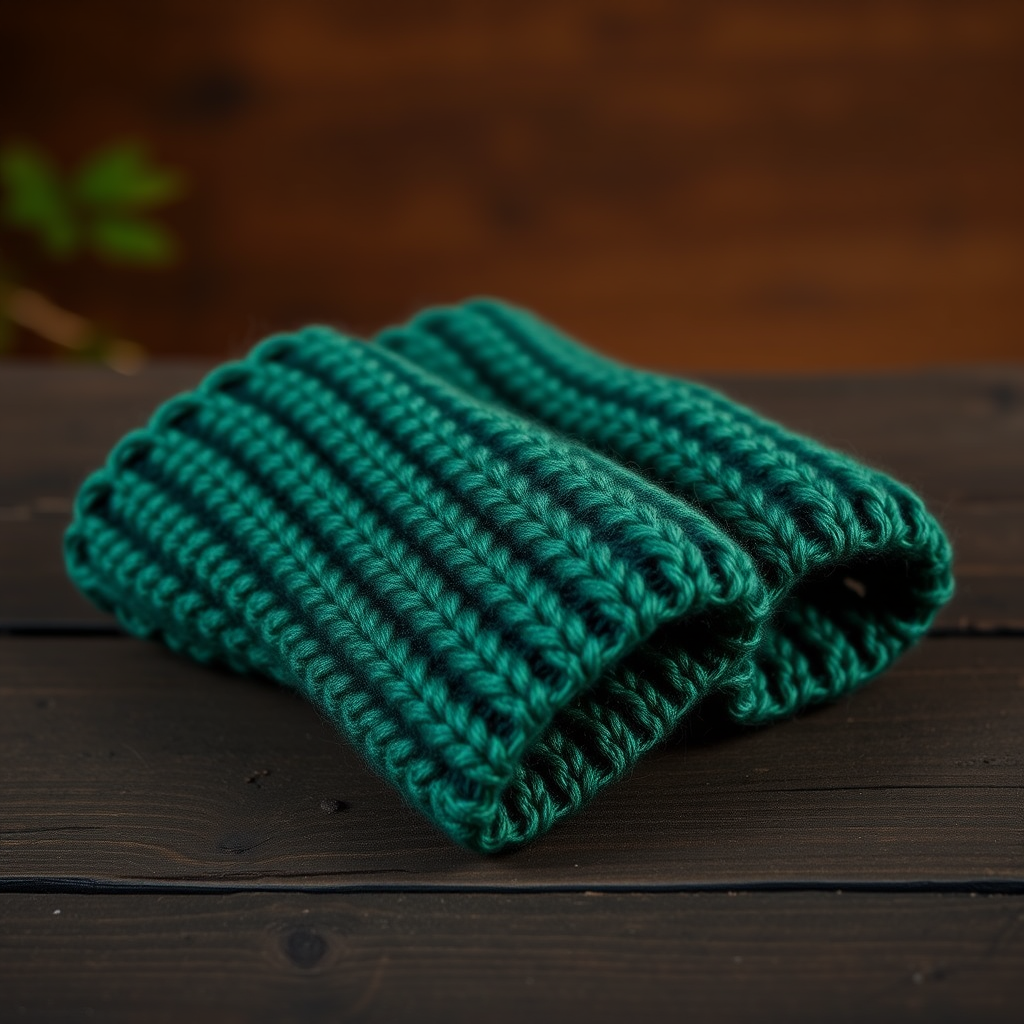
There is a certain magic in the quiet stillness of a winter forest—the way the light filters through the branches, the soft crunch of snow underfoot, and the intricate patterns of pine needles against the sky. With the Whispering Pines Fingerless Mitts, you can capture that serene beauty in a pair of cozy, modern hand warmers. This free knitting pattern features a unique pine needle stitch that creates a textured, raised diagonal pattern, adding depth and warmth to your winter wardrobe. Perfect for layering on chilly days or gifting to a loved one, these mitts are a delightful project for knitters ready to explore texture in the round.
Materials Needed
Before you begin, gather the following supplies to ensure a smooth and enjoyable knitting experience:
- Yarn: Worsted weight wool or wool blend yarn (approx. 150-200 yards). The sample shown uses a deep forest green and a soft heather grey.
- Needles: US Size 6 (4.0 mm) knitting needles (or size needed to obtain gauge). You will also need a set of double-pointed needles (DPNs) or a circular needle for working the thumb in the round (magic loop method works well).
- Notions: Stitch markers, stitch holder or waste yarn, tapestry needle for weaving in ends.
- Gauge: 20 stitches and 28 rows = 4 inches in stockinette stitch, blocked. Always check your gauge to ensure the perfect fit.
Step-by-Step Instructions
Follow these detailed instructions to create your own pair of Whispering Pines Fingerless Mitts. The pattern is written for working in the round, so all even-numbered rows of the pattern are knit rounds.
Abbreviations
- CO = cast on
- K = knit
- P = purl
- k2tog = knit two together
- p2tog = purl two together
- yo = yarn over
- sl = slip
- psso = pass slipped stitch over
- st(s) = stitch(es)
- rep = repeat
- RS = right side
- WS = wrong side
- M1L = make one left (increase)
- M1R = make one right (increase)
- PM = place marker
Special Stitch: Pine Needle Pattern (worked over a multiple of 6 + 2 sts)
Note: When working in the round, all rows are knit on the right side. Therefore, Row 2, 4, 6, and 8 become knit rounds instead of purl rounds.
- Row 1 (RS): K2, *yo, k2, sl1, k1, psso, k1; rep from * to last 2 sts, k2.
- Row 2 (WS): Purl all sts. (In the round: Knit all sts)
- Row 3: K2, *k1, yo, k2, sl1, k1, psso; rep from * to last 2 sts, k2.
- Row 4: Purl all sts. (In the round: Knit all sts)
- Row 5: K2, *k2, yo, k1, sl1, k1, psso, k1; rep from * to last 2 sts, k2.
- Row 6: Purl all sts. (In the round: Knit all sts)
- Row 7: K2, *k3, yo, sl1, k1, psso; rep from * to last 2 sts, k2.
- Row 8: Purl all sts. (In the round: Knit all sts)
Mitt (Make 2)
- Cast On and Ribbing: CO 38 sts. Join for working in the round, being careful not to twist. Place a marker for the beginning of the round. Work in K2, P2 ribbing for 1.5 inches.
- Increase Round: Knit all sts, increasing 4 sts evenly spaced across the round. You should now have 42 sts.
- Begin Pine Needle Pattern: Work Rounds 1-8 of the Pine Needle Pattern (remember: when working in the round, all rows are knit on RS, so Row 2, 4, 6, 8 are knit rounds). Repeat the 8-round pattern until the piece measures 4 inches from the cast-on edge, ending after a Round 8.
- Thumb Gusset Setup:
- Next Round: Work pattern across the first 21 sts, place marker (PM), M1L (make one left), k1, M1R (make one right), PM, work pattern across the remaining 20 sts. (44 sts total)
- Continue Thumb Increases: Continue in pattern, working increases every other round as follows: Knit to marker, M1L, slip marker, knit to next marker, M1R, slip marker, knit to end. Work the new stitches into stockinette until they can be incorporated into the pattern. Repeat until you have 13 sts between the markers (total 54 sts).
- Separate Thumb:
- Next Round: Work pattern to marker, remove marker, place 13 thumb sts on a stitch holder or waste yarn, remove second marker, cast on 1 st over the gap, work pattern to end. (42 sts total)
- Complete the Mitt Body: Continue in pattern until the mitt measures 7 inches from the cast-on edge, or desired length to the base of your fingers. Work in K2, P2 ribbing for 1 inch. Bind off loosely in pattern.
Thumb
- Transfer the 13 thumb sts to DPNs. Pick up and knit 3 sts along the cast-on edge of the thumb opening. (16 sts total)
- Knit 1 round even.
- Work in K2, P2 ribbing for 0.5 inch. Bind off loosely in pattern.
Finishing
Weave in all ends using a tapestry needle. Block the mitts gently to open up the stitch pattern and even out the texture. Lay flat to dry, and your Whispering Pines Fingerless Mitts are ready to wear!
Enjoy the warmth and texture of your handmade creation, and let the quiet beauty of the forest accompany you through every chilly day.