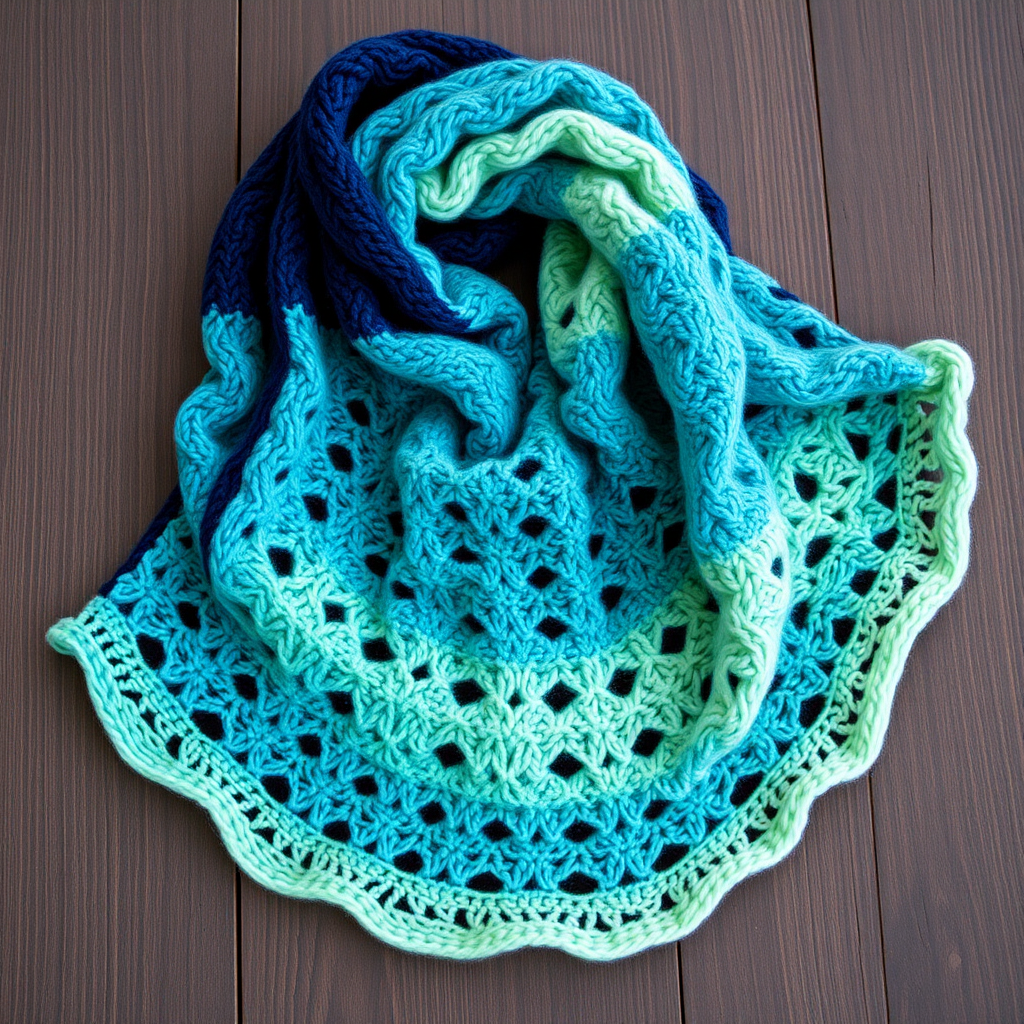
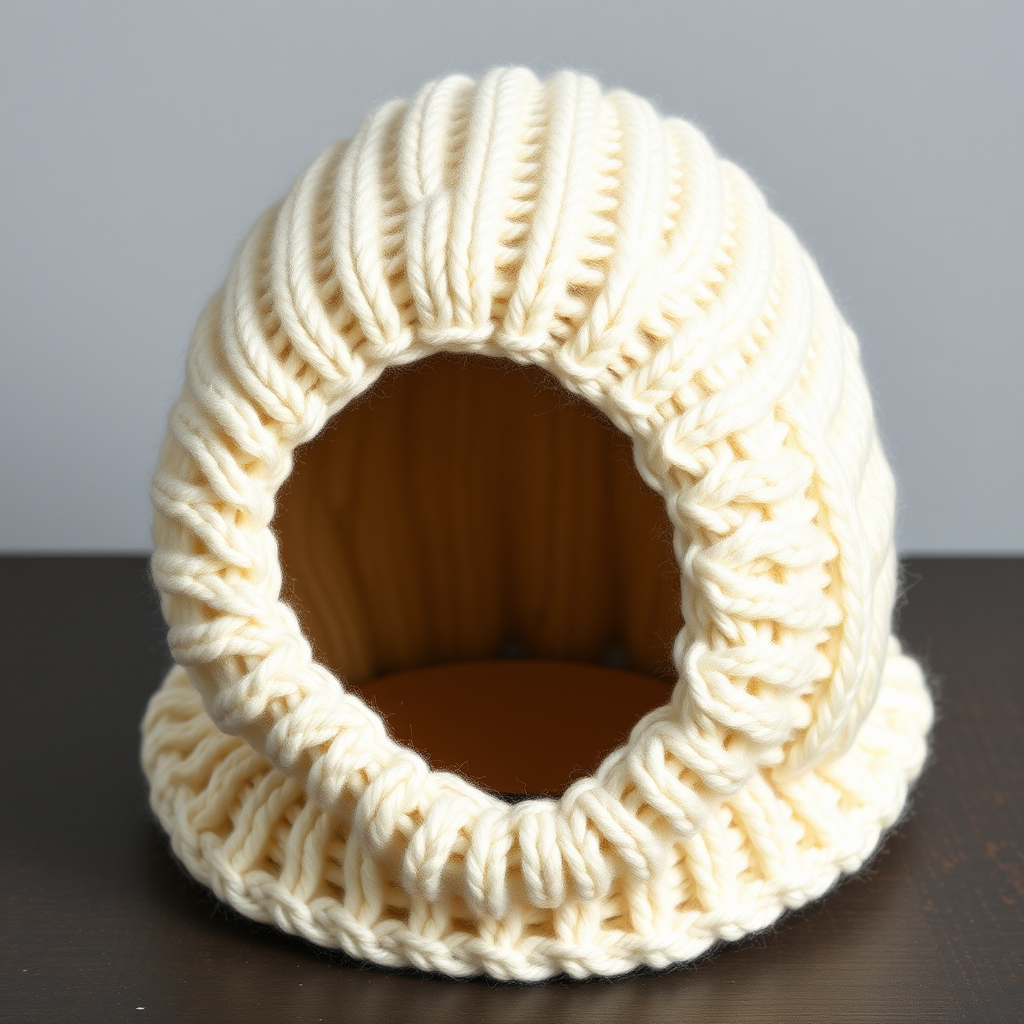
The Whispering Woods Ear Warmer: A Free Knitting Pattern for a Textured, Modern Headband

Wrap Yourself in Cozy Elegance: The Whispering Woods Ear Warmer
There’s something magical about a quick knit that looks far more complex than it is. The Whispering Woods Ear Warmer is exactly that—a modern, textured headband that brings the quiet beauty of the forest to your winter wardrobe. With its interplay of slipped stitches and delicate cables, this pattern creates a stunning, dimensional fabric that feels luxurious and looks handcrafted. Perfect for beginners who want to try cables or experienced knitters looking for a satisfying, fast project, this ear warmer works up in just a few hours. Let’s get started on creating your new favorite accessory.
Materials Needed
Before you begin, gather these supplies. The pattern is designed for worsted weight yarn, which gives the cables beautiful definition without being bulky.
- Yarn: Worsted weight yarn (approx 100-120 yards). Sample uses Malabrigo Rios in 'Diana' (a deep, earthy teal). Any worsted weight yarn will work beautifully.
- Needles: US 7 (4.5mm) 16-inch circular needle or DPNs for working in the round, or straight needles for a flat version (see notes in pattern).
- Notions: Stitch marker, cable needle (or a spare DPN), tapestry needle for weaving in ends.
- Gauge: 20 stitches x 28 rows = 4 inches in Stockinette stitch, blocked. Gauge is important for the perfect fit, so take a moment to check yours.
Step-by-Step Instructions
Follow these detailed instructions carefully. The pattern is worked in the round to create a seamless tube, but I’ve included notes for a flat version if you prefer.
Pattern Notes & Abbreviations
Notes: This pattern is worked in the round on a circular needle to create a seamless tube. If you prefer to knit flat, simply cast on 44 stitches and work the pattern back and forth, then seam the ends together. The pattern is a 4-stitch repeat.
Abbreviations:
- CO: Cast on
- K: Knit
- P: Purl
- Sl1: Slip 1 stitch purlwise with yarn in back
- C4F: Cable 4 front (slip 2 stitches to cable needle, hold in front, knit next 2 stitches, then knit the 2 from cable needle)
- C4B: Cable 4 back (slip 2 stitches to cable needle, hold in back, knit next 2 stitches, then knit the 2 from cable needle)
- Rep: Repeat
- Rnd(s): Round(s)
Getting Started: Cast On & Ribbing
Step 1: CO 44 stitches. Join to work in the round, being careful not to twist. Place a stitch marker to mark the beginning of the round.
Ribbing Rounds (Worked for 1 inch):
- Rnd 1: *K2, P2; rep from * around.
- Repeat Rnd 1 until piece measures 1 inch from cast-on edge. This creates a neat, stretchy edge that will sit comfortably over your ears.
The Main Body Pattern: Creating the Texture
Now we’ll work the beautiful cable and ribbing pattern. Pay close attention to the cable rounds—they’re what give this ear warmer its stunning, dimensional look.
- Rnd 1: *K4, P2, K2, P2; rep from * around. (This sets up the pattern: 4 knit stitches for the cable, then a 4-stitch ribbed section).
- Rnd 2: *K4, P2, K2, P2; rep from * around.
- Rnd 3: *C4F, P2, K2, P2; rep from * around. (This creates the first cable twist, leaning to the left).
- Rnd 4: *K4, P2, K2, P2; rep from * around.
- Rnd 5: *K4, P2, K2, P2; rep from * around.
- Rnd 6: *K4, P2, K2, P2; rep from * around.
- Rnd 7: *C4B, P2, K2, P2; rep from * around. (This creates the second cable twist, leaning to the right).
- Rnd 8: *K4, P2, K2, P2; rep from * around.
Repeat Rounds 1-8 until the piece measures approximately 6 inches from the cast-on edge, or desired width (ear warmers are typically 4-6 inches wide). End after completing a Rnd 8. This ensures the pattern is symmetrical when you finish.
Finishing the Ear Warmer
Finishing Ribbing: Work the same ribbing as the beginning (K2, P2) for 1 inch. This mirrors the cast-on edge and gives a polished, professional look.
Bind Off: Bind off loosely in pattern (knit the knits and purl the purls). A loose bind-off is crucial so the edge isn’t too tight and the ear warmer sits comfortably. Weave in all ends with a tapestry needle.
Blocking: Block gently to open up the cables and even out the stitches. Wet block or steam block as preferred. Lay flat to dry. This step makes a huge difference in the final look—the cables will relax and the texture will pop beautifully.
And there you have it—your very own Whispering Woods Ear Warmer. Slip it on, feel the cozy texture, and enjoy the quiet luxury of handcrafted elegance. Happy knitting!