Whimsical Woodland Gnome Crochet Elf Hat Free Pattern – A Cozy Forest Spire

Whimsical Woodland Gnome Crochet Elf Hat Free Pattern – A Cozy Forest Spire
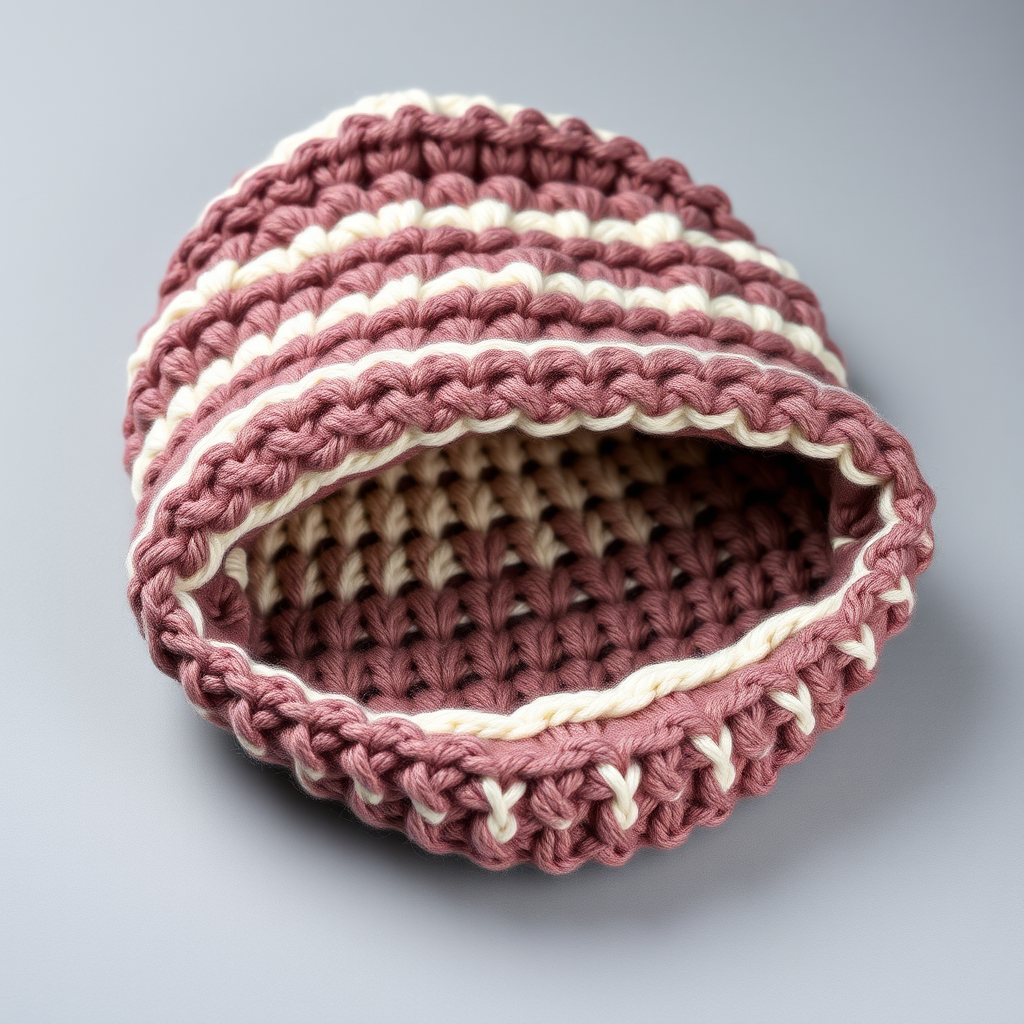
Bring a touch of woodland magic to your handmade wardrobe with this charming crochet elf hat! Inspired by the whimsy of forest gnomes, this pointed hat features a soft, textured cream brim and a playful spiral tip topped with a fluffy rust-orange pom pom. The deep forest green body is worked in dense single crochet, creating a warm, plush fabric that's perfect for chilly days. Whether you're crafting for a costume, a photo shoot, or just to add a bit of enchantment to your winter accessories, this beginner-friendly pattern is a joy to make. Let's get started!
Materials Needed
Before you begin, gather the following supplies to ensure a smooth crocheting experience:
- Yarn: Worsted weight yarn in three colors:
- Forest Green (main color) – approximately 200 yards
- Cream (brim) – approximately 50 yards
- Rust Orange (pom pom) – small amount
- Crochet Hook: 5.5 mm (I-9) crochet hook
- Other Tools: Yarn needle for weaving in ends, scissors, and a pom pom maker (or cardboard circles)
Gauge: 14 sc x 16 rows = 4 inches (10 cm) in single crochet. Note: Gauge is important for achieving the correct size, but this hat is forgiving – a slightly looser or tighter tension will still yield a lovely result.
Step-by-Step Instructions
Hat Body (Worked in Continuous Rounds)
Tip: Use a stitch marker to keep track of your rounds, as you'll be working in a spiral without joining.
- Magic Ring: Make a magic ring with forest green yarn, leaving a 6-inch tail for weaving in later.
- Round 1: Work 6 single crochet (sc) into the ring. Pull the tail tight to close the circle completely. (6 stitches)
- Round 2: Work 2 sc in each stitch around. This doubles your stitch count. (12 stitches)
- Round 3: *Sc in the next stitch, 2 sc in the next stitch* – repeat from * to * around. (18 stitches)
- Round 4: *Sc in the next 2 stitches, 2 sc in the next stitch* – repeat around. (24 stitches)
- Round 5: *Sc in the next 3 stitches, 2 sc in the next stitch* – repeat around. (30 stitches)
- Round 6: *Sc in the next 4 stitches, 2 sc in the next stitch* – repeat around. (36 stitches)
- Rounds 7-12: Sc in each stitch around for 6 rounds. Do not increase – this forms the crown of the hat. (36 stitches each round)
- Round 13 (Increase for Head): *Sc in the next 5 stitches, 2 sc in the next stitch* – repeat around. (42 stitches)
- Rounds 14-20: Sc in each stitch around for 7 rounds. Continue straight without increases – this creates the main body of the hat that covers the head. (42 stitches each round)
- Round 21 (Increase for Brim Flare): *Sc in the next 6 stitches, 2 sc in the next stitch* – repeat around. (48 stitches)
- Rounds 22-24: Sc in each stitch around for 3 rounds. This slight increase and straight section creates a subtle flare at the bottom edge. (48 stitches each round)
- Fasten Off: Cut the yarn, leaving a 6-inch tail. Pull the tail through the last loop on your hook and weave it in securely with a yarn needle.
Brim (Worked in Rows)
Note: The brim is worked back and forth in rows, creating a slightly ribbed texture that contrasts beautifully with the smooth hat body.
- Attach Cream Yarn: With the right side of the hat facing you, attach the cream yarn to the bottom edge with a slip stitch in any stitch.
- Row 1: Chain 1 (this counts as your turning chain), sc in each stitch across the bottom edge. Turn your work. (48 stitches)
- Row 2: Chain 1, sc in each stitch across. Turn. (48 stitches)
- Row 3: Chain 1, sc in each stitch across. Turn. (48 stitches)
- Row 4: Chain 1, sc in each stitch across. Do not turn after this row. (48 stitches)
- Fasten Off: Cut the yarn, leaving a 6-inch tail. Pull through the last loop and weave in the ends thoroughly.
Spiral Tip
This charming detail creates a curled, whimsical point at the top of the hat.
- Attach Forest Green Yarn: With the hat upside down, attach the forest green yarn to the very top of the hat – the center of the magic ring where you started. Use a slip stitch to secure it.
- Round 1: Chain 2 (this counts as your first stitch), work 6 sc into the top point area. (6 stitches)
- Round 2: 2 sc in each stitch around. (12 stitches)
- Round 3: *Sc in the next stitch, 2 sc in the next stitch* – repeat around. (18 stitches)
- Round 4: *Sc in the next 2 stitches, 2 sc in the next stitch* – repeat around. (24 stitches)
- Rounds 5-8: Sc in each stitch around for 4 rounds. This creates a small, curled tube that will naturally spiral. (24 stitches each round)
- Fasten Off with Long Tail: Cut the yarn, leaving a 12-inch tail. Thread the tail through a yarn needle. Weave the needle through the front loop of each stitch in the last round, then pull tight to gather the top of the tube closed. Secure with a knot and weave in the remaining tail.
Pom Pom
- Create the Pom Pom: Using the rust orange yarn, make a pom pom approximately 3 inches in diameter. You can use a store-bought pom pom maker or two cardboard circles with a hole in the center. Wrap the yarn generously around the maker, cut the edges, and tie tightly in the middle. Trim any uneven strands to create a perfectly round, fluffy ball.
- Attach the Pom Pom: Using the yarn tail from the pom pom, securely tie it to the tip of the spiral. Make a few strong knots and weave the ends into the pom pom to hide them.
Finishing Touches
- Weave in All Loose Ends: Take your yarn needle and carefully weave in every loose end from the hat body, brim, and spiral tip. Make sure they are secure and invisible from the outside.
- Optional Decoration: For extra woodland charm, consider adding a small crocheted leaf or mushroom motif to the brim. A simple green leaf or a tiny red mushroom with white spots would look adorable and enhance the gnome aesthetic.
- Blocking (Optional): If desired, lightly steam block the hat to even out the stitches and give it a professional finish. Place a damp cloth over the hat and gently press with a warm iron (avoid direct contact with acrylic yarn).
Your Whimsical Woodland Gnome Elf Hat is now complete! Slip it on and enjoy the cozy, magical feeling of your handmade creation. This hat makes a wonderful gift for children and adults alike, and it's sure to bring smiles wherever it goes. Happy crocheting!