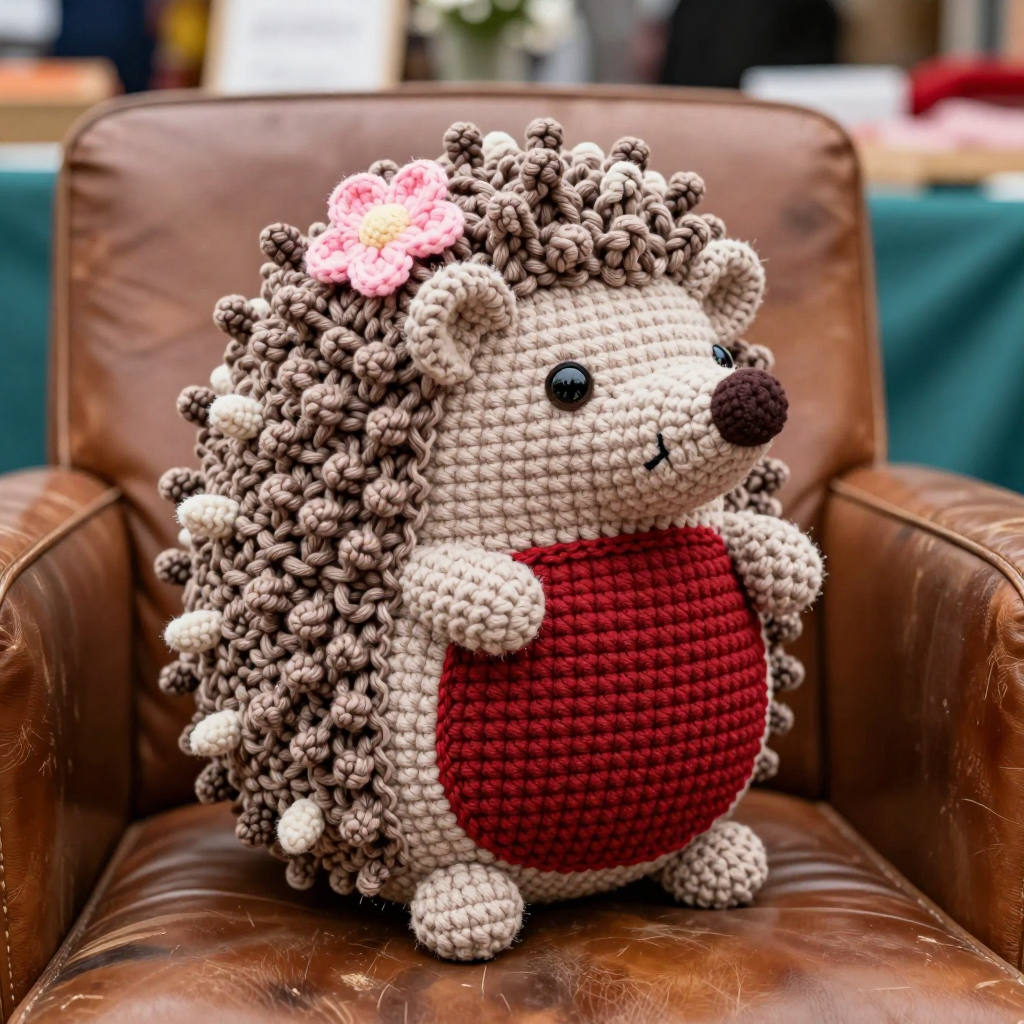
Woodland Toadstool Explorer Pack Free Pattern

Woodland Toadstool Explorer Pack Free Crochet Pattern
Introduction
Welcome to your very first crochet adventure! This Woodland Toadstool Explorer Pack is a whimsical little backpack shaped like a friendly woodland mushroom, complete with a spotted red cap flap and sturdy adjustable straps. It is absolutely perfect for complete beginners because every single stitch in this pattern is a single crochet, the simplest and most forgiving stitch there is. The finished pack is soft yet sturdy, with a roomy cream-colored body, a chocolate brown base trim, and a cherry-red cap that folds over the top like a fairy-tale mushroom. It feels thick and squishy in your hands, holds its shape beautifully, and is just the right size for a small explorer to carry treasures, snacks, or a favorite toy. If you have never picked up a hook before, take a breath and get excited: by the end of this pattern you will have made something genuinely adorable with your own two hands.
Materials Needed
- Yarn: Worsted weight (category 4) acrylic or cotton blend yarn. You will need approximately 300 yards in Cherry Red (the cap), 250 yards in Cream (the body), 50 yards in White (the spots), and 30 yards in Chocolate Brown (the straps and base trim).
- Crochet hook: Size J/10 (6.0 mm). (The "J/10" is the US size and "6.0 mm" is the metric size — they are the same hook.)
- Stitch markers: At least 4. These are small clips or loops of yarn you place in a stitch to mark your place. If you do not have any, a short piece of contrasting scrap yarn works perfectly.
- Tapestry needle: A large, blunt-tipped sewing needle with an eye big enough for yarn. You will use this to sew pieces together and to hide yarn tails.
- Scissors: Any sharp pair for cutting yarn.
- Finished size: The completed backpack measures approximately 9 inches (23 cm) wide, 10 inches (25 cm) tall, and 4 inches (10 cm) deep. The cap flap measures approximately 10 inches (25 cm) wide at its straight edge and 7 inches (18 cm) tall. Each strap is approximately 20 inches (51 cm) long and 1.5 inches (4 cm) wide.
Abbreviations and Beginner Glossary
Every abbreviation used in this pattern is listed below and explained in plain English. You do not need to know anything before you start — read this list once, keep it beside you, and refer back whenever you need to.
- ch – chain. Make a slip knot on your hook, then wrap the yarn over the hook and pull it through the loop on your hook. That is one chain. Chains look like a row of little V shapes.
- sc – single crochet. Insert your hook into the next stitch, wrap the yarn over the hook, pull it up through the stitch (you now have 2 loops on your hook), wrap the yarn over again, and pull it through both loops. That is one single crochet.
- sl st – slip stitch. Insert your hook into the next stitch, wrap the yarn over, and pull it through both the stitch and the loop on your hook in one motion. It makes a nearly invisible joining stitch.
- st / sts – stitch / stitches. A "stitch" is one completed single crochet (or chain). "Sts" just means more than one.
- sc2tog – single crochet two together. This is a decrease, meaning it turns two stitches into one. Insert your hook into the next stitch, wrap yarn over, pull up a loop (2 loops on hook). Insert your hook into the following stitch, wrap yarn over, pull up a loop (3 loops on hook). Wrap yarn over and pull through all 3 loops. That is one sc2tog.
- 2 sc in next st – work two single crochets into the same single stitch. This is an increase, meaning it turns one stitch into two.
- rep from * – repeat from the asterisk. Go back to the star symbol in the instruction and do that section again, as many times as the instruction tells you.
- magic ring – an adjustable loop of yarn you make with your fingers (or by wrapping yarn around your fingers twice and working into it) that you crochet into, then pull tight so the center closes with no hole. If the magic ring feels tricky, you may instead chain 4 and join with a slip stitch to form a ring, then work your stitches into that ring.
- join with sl st – after working all the stitches of a round, insert your hook into the first stitch of that round and make a slip stitch. This closes the round into a circle.
- Ch 1 at the start of a round – this makes a tiny "step up" so your round begins at the right height. It does not count as a stitch.
- turn – flip your work over so you are working back across the row you just made, in the opposite direction.
- fasten off – cut the yarn a few inches from your work, then pull the tail all the way through the last loop on your hook to lock it.
- weave in ends – thread a yarn tail onto your tapestry needle and sew it back and forth through the inside of your work so it is hidden and secure.
- whipstitch – a simple sewing stitch: bring your needle up through both layers, then over the edge and back up again, making small diagonal stitches along the seam.
- block – gently wet or steam your finished piece and pin it into shape while it dries so it looks neat and even.
Gauge
Gauge: 12 single crochet stitches x 14 rows = 4 inches (10 cm) in single crochet.
Why gauge matters: Gauge is simply how big your stitches come out. If your stitches are bigger than the pattern's, your backpack will come out larger than the listed finished size; if they are smaller, it will come out smaller. Checking gauge first means your straps will fit the body and your cap will line up with the top edge.
How to make a gauge swatch: With your J/10 (6.0 mm) hook and Cream yarn, chain 16. Single crochet in the second chain from the hook and in each chain across (15 stitches). Work 15 rows of single crochet (chain 1, turn at the start of each row). Lay the swatch flat and measure a 4-inch (10 cm) section across the middle. Count how many stitches fit in 4 inches and how many rows fit in 4 inches. If you have more than 12 stitches, your stitches are too small — try a larger hook. If you have fewer than 12, your stitches are too big — try a smaller hook. Do not worry about being perfect; being close is plenty for a beginner project like this.
Beginner Tips Before You Start
- Use a stitch marker to mark the first stitch of every round. When you work in a continuous circle it is very easy to lose track of where a round began. Place a marker in the first stitch of Round 1, and move it up each round. This one habit prevents almost every beginner mistake.
- Do not pull your yarn tight. Hold the yarn with a relaxed, even tension. If you yank it tight, your stitches will be stiff and hard to work into, and your backpack will come out too small. Loose and even is better than tight.
- Count your stitches at the end of every round and row. The number in parentheses at the end of each instruction is your checkpoint. If your count is off, fix it right then — it is much easier than discovering it ten rounds later.
- Work your first round into the magic ring slowly. The first round is the fiddliest part of any circle. Take your time, and once all 6 stitches are in, pull the tail firmly to close the center hole.
- Keep your turning chains small. When a row says "Ch 1, turn," that chain is just a tiny step up. Do not make it big or it will create a gap along your edge.
- Leave long tails when you fasten off. Leave at least 8 inches (20 cm) of yarn whenever you finish a piece. You will need that length to sew pieces together and to weave the end in securely.
Step-by-Step Instructions
Backpack Body (Cream)
You will work in joined rounds, meaning each round is closed with a slip stitch and the next round begins with a chain 1. The numbers in parentheses at the end of each round are your stitch counts.
Round 1: With Cream yarn, make a magic ring, work 6 sc into the ring. Join with sl st to the first sc. (6 sts)
Round 2: Ch 1, 2 sc in each st around. Join with sl st. (12 sts)
Round 3: Ch 1, *2 sc in next st, sc in next st; rep from * around (that means: work 2 sc in the next stitch, then 1 sc in the following stitch, then repeat that pair all the way around). Join with sl st. (18 sts)
Round 4: Ch 1, *2 sc in next st, sc in next 2 sts; rep from * around. Join with sl st. (24 sts)
Round 5: Ch 1, *2 sc in next st, sc in next 3 sts; rep from * around. Join with sl st. (30 sts)
Round 6: Ch 1, *2 sc in next st, sc in next 4 sts; rep from * around. Join with sl st. (36 sts)
Round 7: Ch 1, *2 sc in next st, sc in next 5 sts; rep from * around. Join with sl st. (42 sts)
Round 8: Ch 1, *2 sc in next st, sc in next 6 sts; rep from * around. Join with sl st. (48 sts)
Round 9: Ch 1, *2 sc in next st, sc in next 7 sts; rep from * around. Join with sl st. (54 sts)
Round 10: Ch 1, *2 sc in next st, sc in next 8 sts; rep from * around. Join with sl st. (60 sts)
Rounds 11–30: Ch 1, sc in each st around. Join with sl st. (60 sts each round) This means you work one single crochet into every single stitch of the round, with no increases or decreases, for twenty rounds in a row. This builds the straight sides of the backpack. Do not fasten off.
Round 31 (base trim): Change to Chocolate Brown yarn (cut the Cream yarn leaving an 8-inch tail, and simply begin working with the Brown). Ch 1, sc in each st around. Join with sl st, fasten off. Weave in ends. (60 sts)
Cap Flap (Cherry Red)
This piece is worked flat in rows, turning at the end of each row. It starts wide and gets narrower, creating the rounded mushroom cap shape.
Row 1: With Cherry Red, ch 31. Sc in the 2nd ch from hook and in each ch across. Turn. (30 sts)
Row 2: Ch 1, sc in each st across. Turn. (30 sts)
Row 3: Ch 1, sc2tog, sc in next 26 sts, sc2tog. Turn. (28 sts)
Row 4: Ch 1, sc in each st across. Turn. (28 sts)
Row 5: Ch 1, sc2tog, sc in next 24 sts, sc2tog. Turn. (26 sts)
Row 6: Ch 1, sc in each st across. Turn. (26 sts)
Row 7: Ch 1, sc2tog, sc in next 22 sts, sc2tog. Turn. (24 sts)
Row 8: Ch 1, sc in each st across. Turn. (24 sts)
Row 9: Ch 1, sc2tog, sc in next 20 sts, sc2tog. Turn. (22 sts)
Row 10: Ch 1, sc in each st across. Turn. (22 sts)
Row 11: Ch 1, sc2tog, sc in next 18 sts, sc2tog. Turn. (20 sts)
Row 12: Ch 1, sc in each st across. Turn. (20 sts)
Row 13: Ch 1, sc2tog, sc in next 16 sts, sc2tog. Turn. (18 sts)
Row 14: Ch 1, sc in each st across. Turn. (18 sts)
Row 15: Ch 1, sc2tog, sc in next 14 sts, sc2tog. Turn. (16 sts)
Row 16: Ch 1, sc in each st across. Turn. (16 sts)
Row 17: Ch 1, sc2tog, sc in next 12 sts, sc2tog. Turn. (14 sts)
Row 18: Ch 1, sc in each st across. Turn. (14 sts)
Row 19: Ch 1, sc2tog, sc in next 10 sts, sc2tog. Turn. (12 sts)
Row 20: Ch 1, sc in each st across. Turn. (12 sts)
Row 21: Ch 1, sc2tog, sc in next 8 sts, sc2tog. Turn. (10 sts)
Row 22: Ch 1, sc in each st across. Turn. (10 sts)
Row 23: Ch 1, sc2tog, sc in next 6 sts, sc2tog. Turn. (8 sts)
Row 24: Ch 1, sc in each st across. Turn. (8 sts)
Row 25: Ch 1, sc2tog, sc in next 4 sts, sc2tog. Turn. (6 sts)
Row 26: Ch 1, sc in each st across. Turn. (6 sts)
Row 27: Ch 1, sc2tog, sc in next 2 sts, sc2tog. Turn. (4 sts)
Row 28: Ch 1, sc in each st across. Turn. (4 sts)
Row 29: Ch 1, sc2tog twice (work one sc2tog over the first two stitches, then another sc2tog over the last two stitches). Turn. (2 sts)
Row 30: Ch 1, sc2tog. Fasten off, leaving a long tail for seaming. (1 st)
Cap Spots (White, make 5)
Round 1: With White yarn, make a magic ring, work 6 sc into the ring. Join with sl st to the first sc. (6 sts)
Round 2: Ch 1, 2 sc in each st around. Join with sl st, fasten off leaving a long tail for sewing. (12 sts)
Repeat Rounds 1–2 four more times so you have five spots in total.
Straps (Chocolate Brown, make 2)
Row 1: With Chocolate Brown, ch 61. Sc in the 2nd ch from hook and in each ch across. Turn. (60 sts)
Row 2: Ch 1, sc in each st across. Fasten off, leaving a long tail for sewing. (60 sts)
Repeat Rows 1–2 once more so you have two straps in total.
Assembly and Finishing
Step 1 – Attach the cap flap to the body. Hold the backpack body with the opening facing up. Take the Cherry Red cap flap and align its long straight edge (the Row 1 edge, which is 30 stitches wide) with the top back edge of the body. The cap should sit against the back half of the top opening, so the front half of the opening stays clear for the flap to fold over. Thread a long tail of Cherry Red yarn onto your tapestry needle and whipstitch the cap to the body: bring the needle up through both layers, then over the edge and back up again, making small, even diagonal stitches all the way across. Work a second pass of stitching over the same seam for extra strength.
Step 2 – Sew on the spots. Arrange the five White spots on the right side of the red cap, spacing them evenly and leaving a little room from the edges. Thread each spot's tail onto your tapestry needle and sew around its outer edge with small stitches, going through the spot and the cap. Sew all five spots, then weave the tails through the inside of the cap.
Step 3 – Attach the straps. Take one Chocolate Brown strap. Place one short end against the top corner of the body, just inside the cap edge, on the back of the pack. Whipstitch it firmly in place, then go over the same area a second time to reinforce it. Now bring the other end of that strap down to the bottom corner of the body on the same side and whipstitch it in place the same way, reinforcing with a second pass. Repeat with the second strap on the opposite side of the pack. Check that both straps are the same length and sit level before you finish sewing.
Step 4 – Weave in all ends. Thread every remaining yarn tail onto your tapestry needle. Push the needle through the inside of the work, going back and forth through several stitches in two different directions, then trim the yarn close to the fabric. Never tie a knot and cut right at the knot — weaving back and forth is what keeps ends secure.
Step 5 – Block lightly. Dampen the finished backpack with a light mist of water (or press it gently with a steam iron held just above the surface — never touch the iron to the yarn). Stuff the body lightly with a towel or plastic bag so it holds its round shape, lay the cap flap flat, and let everything dry completely. This smooths out any uneven stitches and helps the pack keep its shape.
Pro Tips and Variations
- Change the colors: Make a blue-capped "frost toadstool" with a pale blue cap and white spots, or a sunny yellow cap with orange spots. You can also work the base trim in a contrasting color like dark green for a mossy woodland look.
- Adjust the size: To make a smaller toddler pack, stop the body increases at Round 8 (48 sts) and work Rounds 11–30 as written; then make the cap flap starting with a chain of 25 instead of 31. To make a larger pack, add one more increase round (Round 11: *2 sc in next st, sc in next 9 sts; rep around, 66 sts) and work the body rounds to 66 stitches.
- Substitute yarn: Cotton blend yarn gives a firmer, more durable pack that holds its shape well; acrylic is softer and easier for beginners to work with. If you switch yarn weight, always re-check your gauge first, and remember that a different weight will change the finished size.
- Add a closure: Sew a small button or a short loop of yarn to the front of the body and a matching loop or button to the tip of the cap flap, so the pack can be closed securely when it is full of treasures.