Aurora Frost Eskimo Baby Hat Free Pattern – Cozy Knit with Faux Fur Pom

Aurora Frost Eskimo Baby Hat Free Pattern – Cozy Knit with Faux Fur Pom
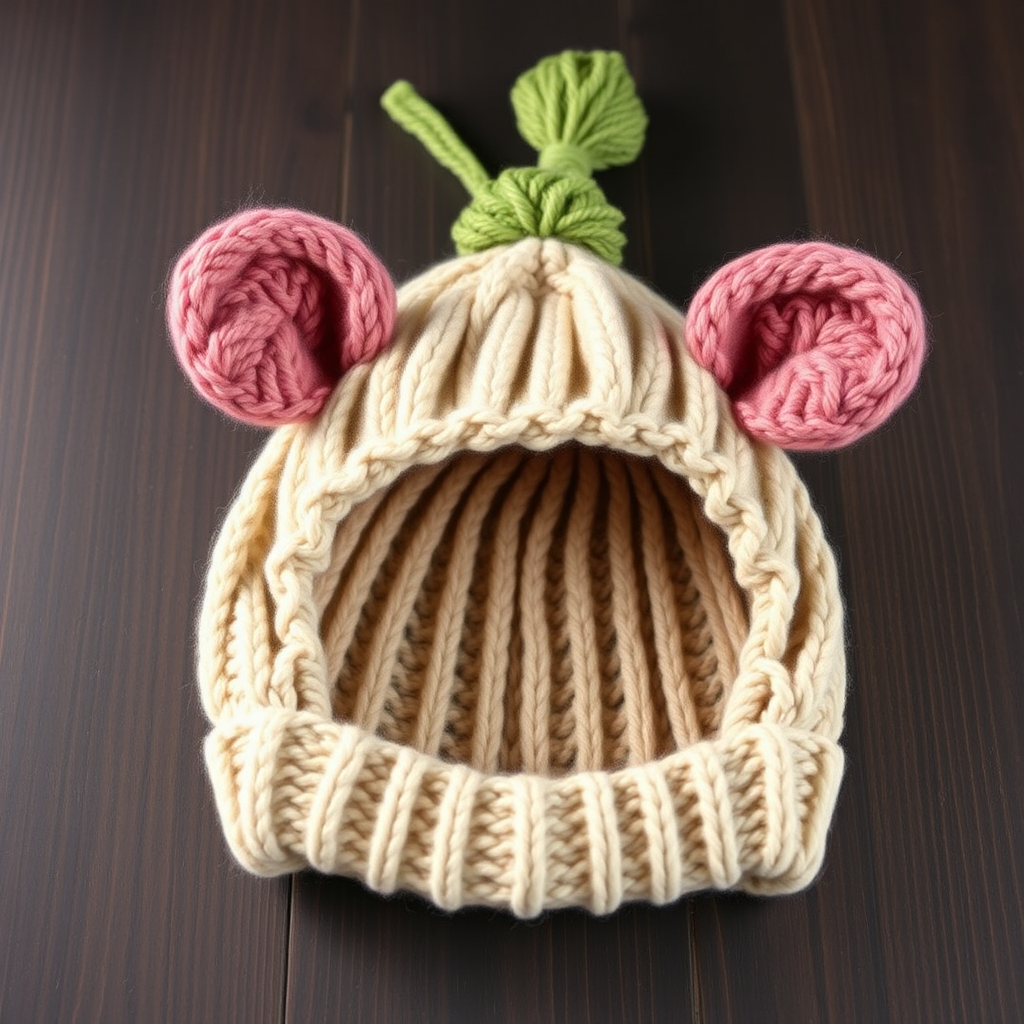
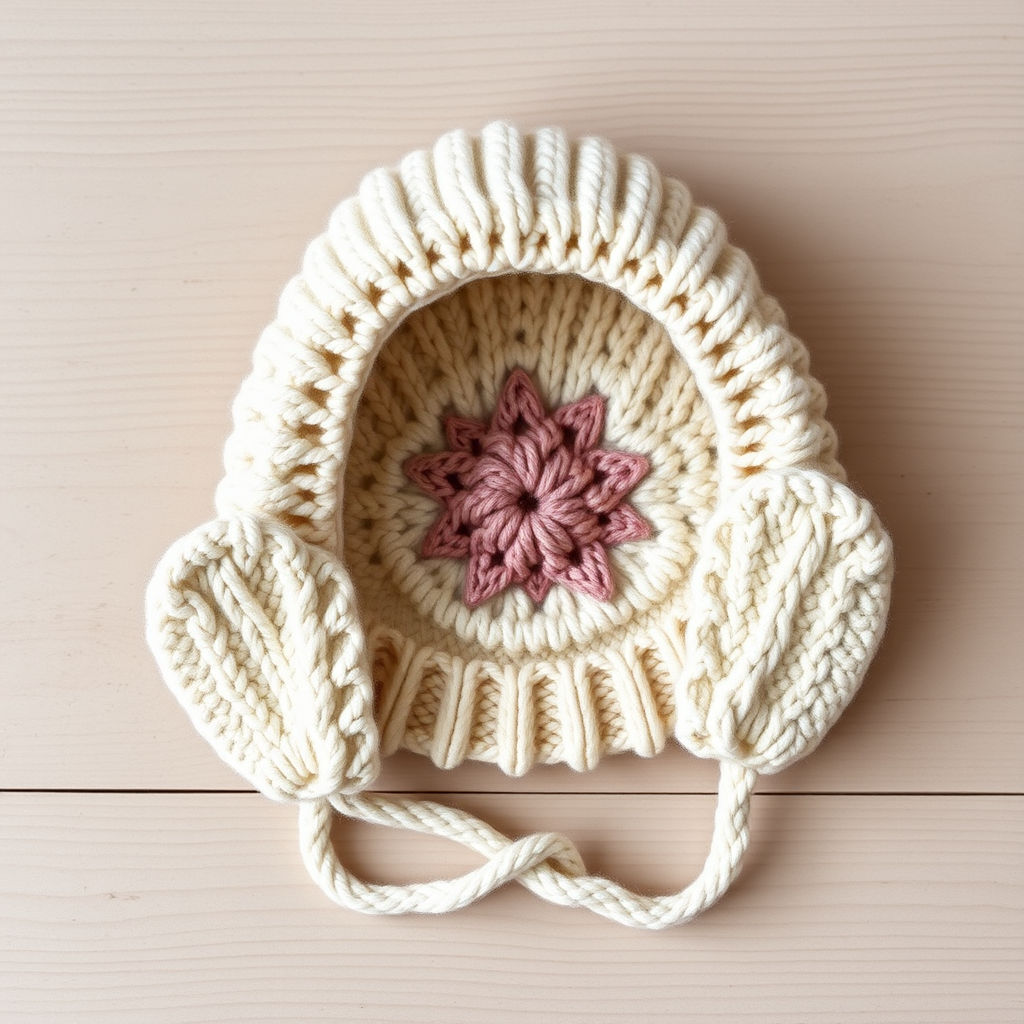
Wrap your little one in Arctic-inspired warmth with this plush, textured knit hat featuring a faux fur pom and ear-flap ties. The chunky yarn and intricate cable-and-rib design create a premium, heirloom-quality look that will keep your baby snug and stylish all winter long. This free pattern is perfect for intermediate knitters looking to expand their skills, but with detailed instructions, even confident beginners can tackle this beautiful project.
The Aurora Frost Eskimo Baby Hat combines the timeless appeal of cable knitting with the modern convenience of super bulky yarn, meaning you'll have a gorgeous finished piece in just a few evenings of knitting. The soft, heathered 'Linen' cream color with a contrasting 'Oatmeal' band creates a sophisticated, neutral palette that complements any baby wardrobe.
Materials Needed
Before you begin, gather the following supplies to ensure a smooth knitting experience:
Yarn
- Main Color (MC): 2 skeins of Lion Brand Wool-Ease Thick & Quick (or any super bulky weight yarn, 6 wpi) in 'Linen'
- Contrast Color (CC): 1 skein in 'Oatmeal' for the optional brim trim
Needles & Notions
- US 11 (8.0 mm) 16-inch circular knitting needle
- US 11 (8.0 mm) double-pointed needles (DPNs) for crown shaping
- Stitch markers (at least 2)
- Cable needle
- Tapestry needle for weaving in ends
- Scissors
- Faux fur pom (in matching cream tone)
Gauge
10 sts x 14 rows = 4 inches in stockinette stitch (knit in the round). Always take time to check your gauge – this ensures the perfect fit for your little one.
Sizes & Abbreviations
Sizes
This pattern includes two sizes: Newborn (0-3 months) and 3-6 months. Finished circumference: 12 (13) inches.
Abbreviations
- CO: cast on
- K: knit
- P: purl
- K2tog: knit two together (decrease)
- P2tog: purl two together (decrease)
- C4F: cable 4 front (slip 2 sts to cable needle, hold in front, k2, k2 from cable needle)
- C4B: cable 4 back (slip 2 sts to cable needle, hold in back, k2, k2 from cable needle)
- PM: place marker
- RM: remove marker
Step-by-Step Instructions
Follow these detailed instructions carefully, and you'll have a beautiful, professional-looking baby hat in no time. The pattern is worked from the brim up, with ear flaps added afterward.
Brim (Worked Flat, Then Joined)
With MC, CO 60 (66) sts. Work back and forth in rows:
- Row 1 (RS): *K2, P2* repeat to end.
- Row 2 (WS): *P2, K2* repeat to end.
Repeat Rows 1-2 until brim measures 2 (2.5) inches from CO edge, ending with a WS row. This ribbed brim will create a snug, stretchy band that fits comfortably around baby's head.
Join in the Round
Place a marker at the beginning of the round, being careful not to twist your stitches. Join to work in the round. Continue in K2, P2 ribbing for 2 more rounds. This ensures a seamless transition from the flat brim to the circular body of the hat.
Body of Hat
Now you'll begin the beautiful cable-and-rib pattern that gives this hat its distinctive texture. The pattern repeat is 8 stitches, so you'll have 7 (8) repeats around the hat.
- Round 1: *K6, P2* repeat to end.
- Round 2: *C4F, K2, P2* repeat to end. (This creates the cable crossing)
- Round 3: *K6, P2* repeat to end.
- Round 4: *K6, P2* repeat to end.
- Round 5: *C4B, K2, P2* repeat to end. (Cable crossing in the opposite direction)
- Round 6: *K6, P2* repeat to end.
Repeat Rounds 1-6 until hat measures 4.5 (5) inches from CO edge, ending with Round 6. The alternating C4F and C4B crossings create a beautiful braided effect that runs vertically up the crown.
Shape Crown
Now you'll decrease to shape the top of the hat. Switch to DPNs when stitches become too few for the circular needle.
- Round 1: *K2tog, K2, K2tog, P2* repeat to end. (45 (50) sts remain)
- Round 2: *K4, P2* repeat to end.
- Round 3: *K2tog, K2tog, P2* repeat to end. (30 (33) sts remain)
- Round 4: *K2, P2* repeat to end.
- Round 5: *K2tog, P2tog* repeat to end. (15 (17) sts remain)
- Round 6: *K2tog* repeat to end, ending with K1 (0) if odd. (8 (9) sts remain)
Cut yarn, leaving a 12-inch tail. Thread tail through remaining sts, pull tight, and secure. This gathers the top of the hat neatly for a rounded finish.
Ear Flaps (Make 2)
With MC, CO 12 (14) sts. Work flat:
- Row 1 (RS): K2, P2, K4, P2, K2 (12 sts) or K2, P2, K6, P2, K2 (14 sts)
- Row 2 (WS): P2, K2, P4, K2, P2 (or P2, K2, P6, K2, P2)
- Row 3: K2, P2, C4F, P2, K2 (or for 14 sts: K2, P2, C4F, K2, P2, K2)
- Row 4: Repeat Row 2.
- Row 5: K2, P2, K4, P2, K2 (or K2, P2, K6, P2, K2)
- Row 6: Repeat Row 2.
Repeat Rows 3-6 until flap measures 2.5 (3) inches from CO, ending with a WS row. This creates a mini version of the hat's cable pattern for a cohesive look.
Shape the flap:
- Next row (RS): K2tog, work in pattern to last 2 sts, K2tog. (10 (12) sts)
- Work 1 WS row even.
- Repeat decrease row every other row until 4 sts remain.
- Work 1 WS row even.
Create the I-cord tie: With the 4 remaining stitches, work a 6-inch I-cord: K4, slide sts to other end of needle, repeat until cord is 6 inches. Bind off. This creates a sturdy, chunky tie that's easy for little hands to grab and safe for baby.
Sew flaps to the inside of the hat, positioning them over the ears (about 1 inch up from the brim). Make sure they're evenly spaced on either side.
Finishing
Weave in all ends using your tapestry needle. Attach faux fur pom securely to the top of the hat, making sure it's centered and firmly attached.
Optional contrast band: For a professional finishing touch, add a CC (Oatmeal) knit band around the brim: CO 60 (66) sts with CC, work K1, P1 rib for 4 rows, bind off, and sew over the brim edge for a contrast trim. This adds visual interest and a designer look.
Tips for Success
- Check your gauge: Super bulky yarns can vary, so always knit a swatch first to ensure the correct fit.
- Use stitch markers: Place markers between pattern repeats to easily track where you are in the cable sequence.
- Keep cables loose: When working C4F and C4B, don't pull the yarn too tight, or the cables will pucker.
- Block gently: After finishing, lightly steam block (don't press) to even out the stitches and enhance the cable definition.
This Aurora Frost Eskimo Baby Hat makes a wonderful gift for baby showers, newborn photos, or simply to keep your own little one warm and stylish. The combination of chunky yarn, intricate cables, and the luxurious faux fur pom creates a premium, heirloom-quality piece that will be treasured for years to come. Happy knitting!