Heirloom Honeycomb Baby Flopsy Hat Free Pattern – A Knitted Bumblebee Bonnet

Heirloom Honeycomb Baby Flopsy Hat: A Knitted Bumblebee Bonnet
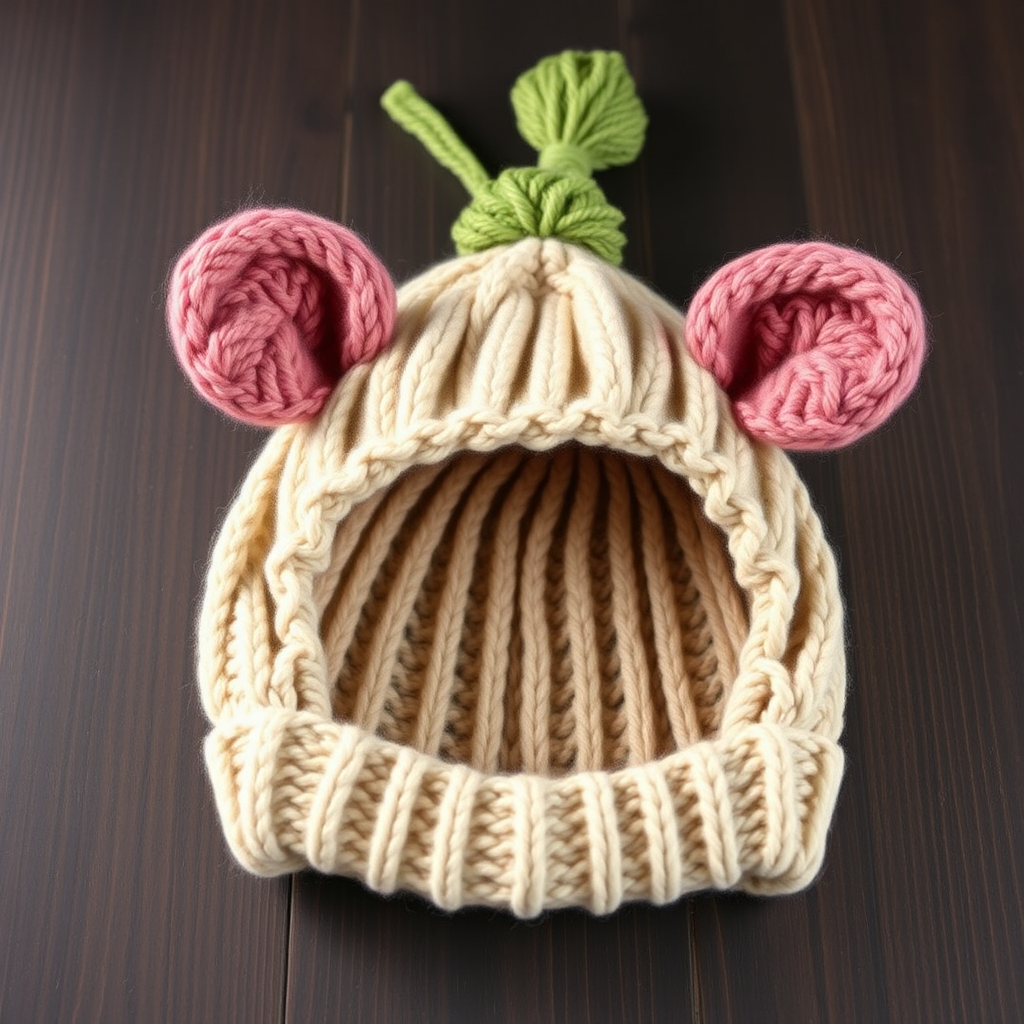
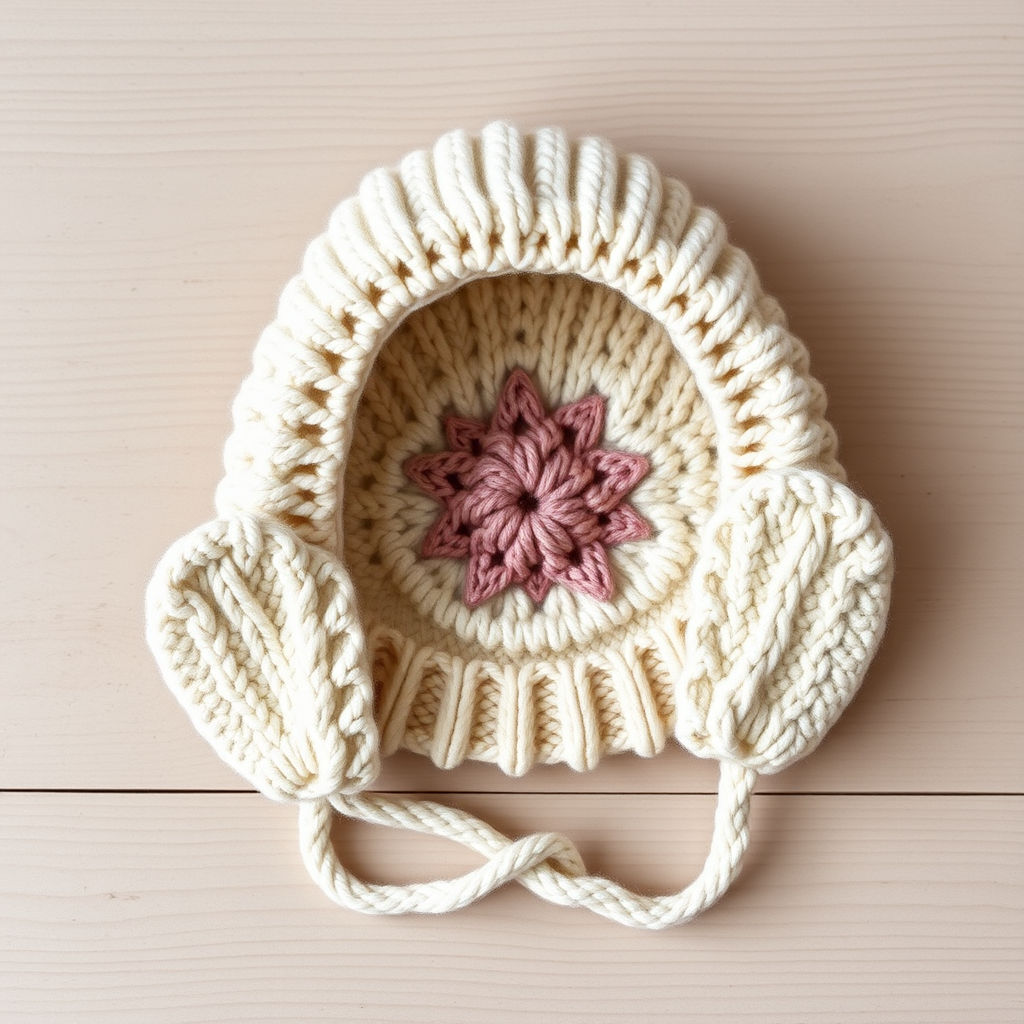
Wrap your little one in the softest, most charming hat of the season with this honeycomb-textured flopsy bonnet, complete with tiny knitted bee antennae. This pattern creates a cozy, flexible fit that stays put, perfect for newborns and babies up to 12 months. The intricate honeycomb stitch—alternating knit and purl blocks—creates a hexagonal, waffle-like texture that's both visually stunning and incredibly stretchy, gently hugging your baby's head without being too tight. This heirloom-quality design is reminiscent of a bumblebee, with no other embellishments needed—just pure, handmade charm.
Whether you're a seasoned knitter or a confident beginner looking for a rewarding project, this free pattern will guide you through every step. The hat is knitted flat in one piece from the bottom up, then seamed at the back, making it a straightforward and portable project. The result is a slouchy, flopsy hat with a folded brim that will become a treasured keepsake.
Materials Needed
Before you begin, gather the following materials to ensure a smooth knitting experience:
- Yarn: Worsted weight (Category 4) cotton or bamboo blend yarn. You'll need approximately 100g (200 yards) in golden yellow (MC) for the main body and 20g (40 yards) in black (CC) for the antennae.
- Needles: US 7 (4.5mm) 16-inch circular knitting needle and double-pointed needles (or a long circular for magic loop).
- Notions: Stitch markers, tapestry needle for seaming and weaving in ends.
- Gauge: 20 stitches and 28 rows = 4 inches in honeycomb stitch pattern (blocked). Always check your gauge to ensure the correct fit.
Step-by-Step Instructions
This pattern is designed to be beginner-friendly, with clear instructions and a simple stitch pattern. Follow along carefully, and you'll have a beautiful flopsy hat in no time.
Abbreviations
K = knit, P = purl, K2tog = knit two together, P2tog = purl two together, sl = slip stitch purlwise, yo = yarn over, PM = place marker, RM = remove marker, RS = right side, WS = wrong side.
Honeycomb Stitch Pattern (over a multiple of 6 stitches)
This stitch pattern creates the beautiful honeycomb texture. Repeat rows 1-4 for the pattern.
- Row 1 (RS): *K3, P3* repeat to end.
- Row 2 (WS): *K3, P3* repeat to end.
- Row 3 (RS): *P3, K3* repeat to end.
- Row 4 (WS): *P3, K3* repeat to end.
Hat Body (Worked Flat)
Note: This hat is knitted flat in one piece from the bottom up, then seamed at the back. The honeycomb stitch creates a stretchy, textured fabric that gently hugs the baby's head.
- With MC, cast on 66 stitches (for 0-6 months; adjust to 72 for 6-12 months).
- Work in honeycomb stitch pattern for 4 inches, ending with a WS row. This will form the main body of the hat.
Shape Crown
Continue in pattern, but begin decreases as follows. Maintain the honeycomb texture as much as possible while decreasing.
- Row 1 (RS): *K3, P2tog, P1* repeat to end (55 stitches).
- Row 2 (WS): *K3, P2* repeat to end.
- Row 3 (RS): *K2tog, K1, P2* repeat to end (44 stitches).
- Row 4 (WS): *K2, P2* repeat to end.
- Row 5 (RS): *K2tog, P2* repeat to end (33 stitches).
- Row 6 (WS): *K1, P2* repeat to end.
- Row 7 (RS): *K2tog, P1* repeat to end (22 stitches).
- Row 8 (WS): *K1, P1* repeat to end.
- Row 9 (RS): *K2tog* repeat to end (11 stitches).
- Cut yarn, leaving a long tail. Thread tail through remaining stitches, pull tight, and secure.
Seam
- Sew the back seam from the bottom edge to the crown using mattress stitch. This creates an invisible, professional-looking seam.
- Weave in all loose ends to keep the inside of the hat neat and comfortable for baby.
Antennae (Make 2)
These adorable bumblebee antennae are the perfect finishing touch.
- With CC, cast on 6 stitches.
- Knit in stockinette (K RS, P WS) for 2 inches. This creates a small tube.
- Next row (RS): K2tog, K2tog, K2tog (3 stitches).
- Next row (WS): P3tog. Cut yarn, pull through.
- Roll the stockinette tube into a small ball and sew the end to the base of the tube. This forms the round bee ball on top of the stem.
- Sew antennae to the top of the hat, about 1 inch apart, just above the crown decreases. Position them so they stand up nicely.
Finishing
- Weave in all remaining ends securely.
- Block gently to shape. This helps even out the stitches and gives the hat a professional finish.
- Fold up the bottom edge of the hat about 1 inch to create a flopsy brim. This adds to the charming, slouchy look.
Your Heirloom Honeycomb Baby Flopsy Hat is now complete! This beautiful, handmade bonnet is sure to be a cherished gift for a new arrival. The soft, stretchy fabric and adorable bumblebee design make it a standout piece in any baby's wardrobe. Happy knitting!