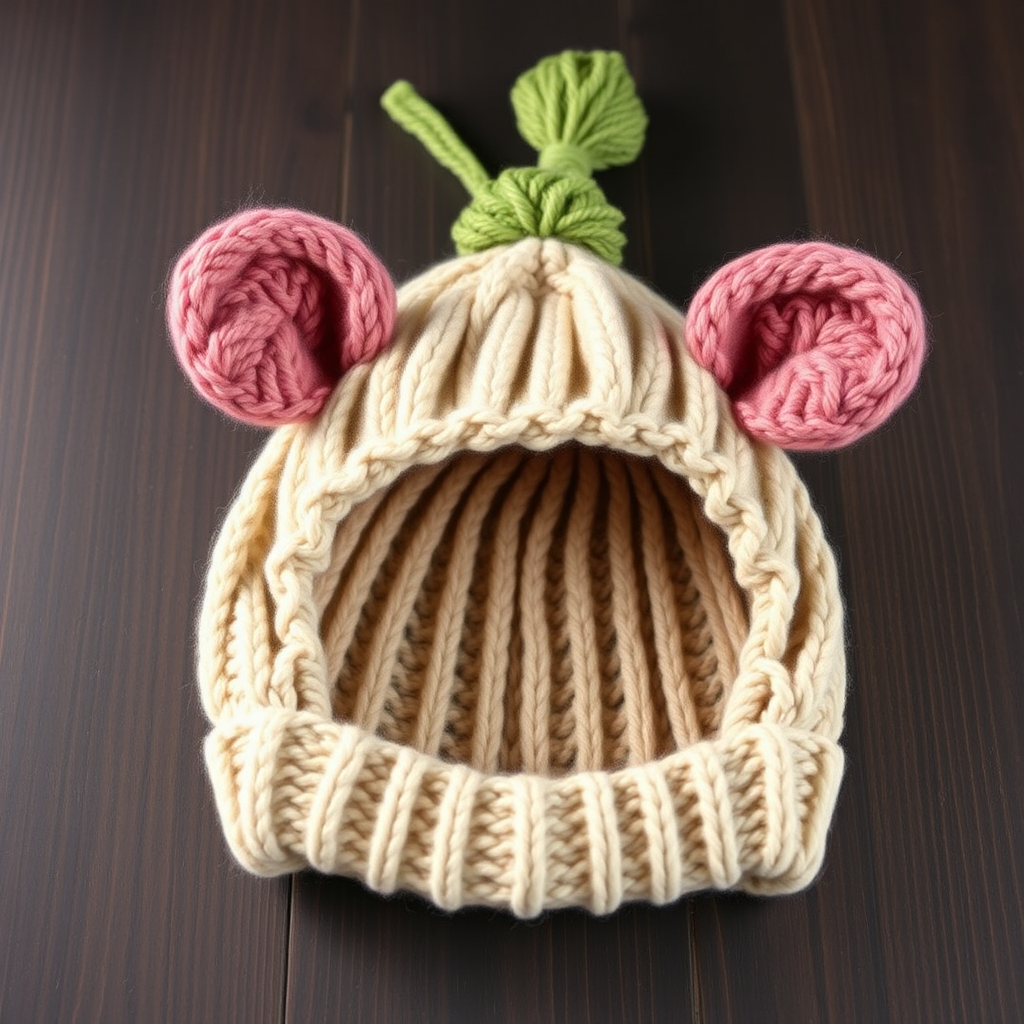
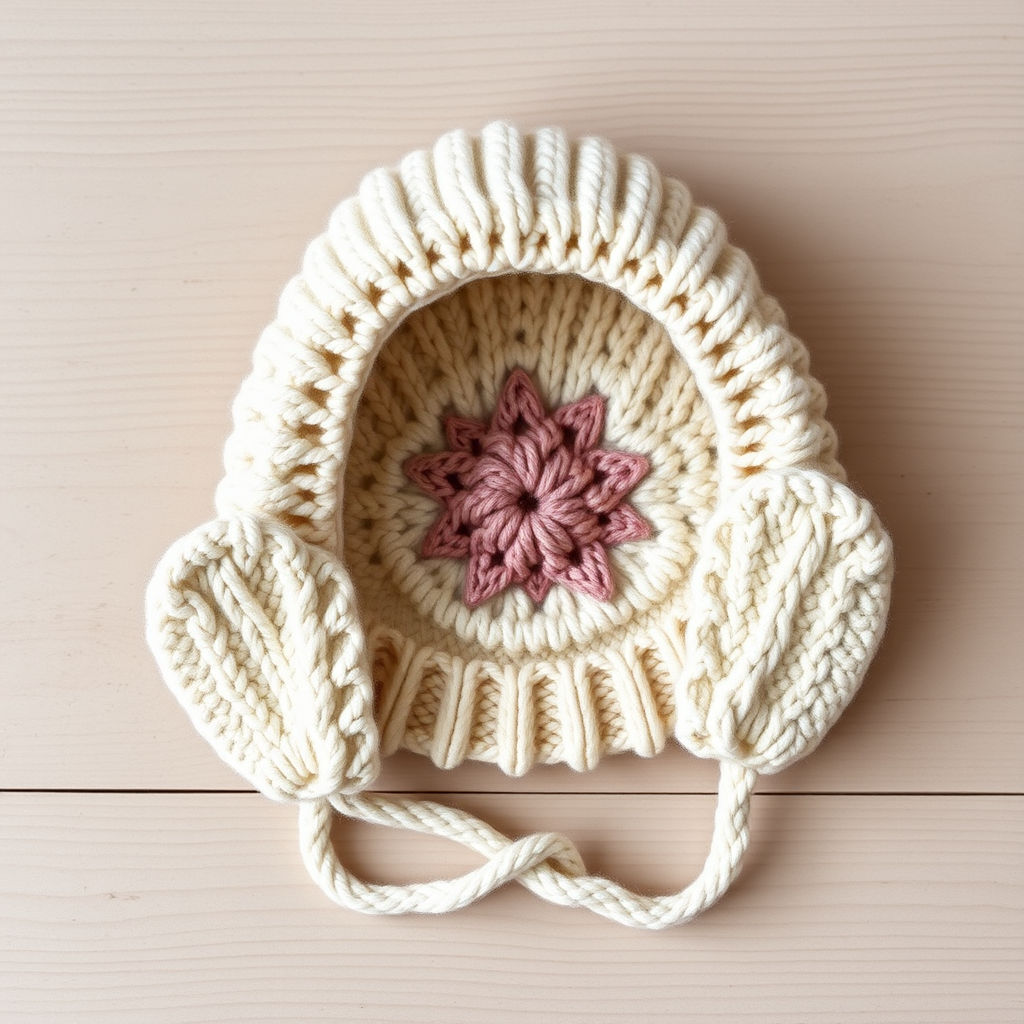
Royal Crest Baby Hat Free Pattern – A Knitted Princely Heirloom

A Knitted Princely Heirloom: The Royal Crest Baby Hat Pattern
There is something truly special about creating a handmade heirloom for a new arrival. The Royal Crest Baby Hat is more than just a cozy accessory—it's a miniature work of art, inspired by classic heraldic motifs and designed to wrap your little prince in regal charm. With its intricate cables, playful bobbles, and a timeless cream-and-sapphire palette, this hat is destined to become a cherished keepsake. Whether you're an experienced knitter looking for a rewarding project or a confident beginner ready for a delightful challenge, this free pattern will guide you through every stitch to create a truly noble masterpiece.
This pattern is thoughtfully designed to be both beautiful and practical. The soft, plush worsted-weight yarn ensures warmth without bulk, while the snug, classic fit with a folded ribbed brim keeps tiny ears cozy. The combination of twisted cables and raised bobbles creates a dimensional, textured fabric that is as delightful to touch as it is to behold. Let's gather our materials and begin crafting this princely treasure.
Materials Needed
Before you begin, ensure you have all the necessary supplies. This project is portable and requires minimal equipment, making it perfect for knitting on the go.
- Yarn: Worsted weight yarn in two colors:
- Main Color (MC): Cream — approximately 150 yards
- Contrast Color (CC): Deep sapphire blue — approximately 50 yards
- Needles: US 7 (4.5 mm) 16-inch circular needle and a set of double-pointed needles (DPNs) in the same size, or the size needed to achieve gauge.
- Notions: Stitch markers (including one unique marker for the beginning of the round), a cable needle, a tapestry needle for weaving in ends, and scissors.
- Gauge: 20 stitches and 28 rows = 4 inches in stockinette stitch. Always take time to check your gauge to ensure the correct finished size.
Sizes and Abbreviations
This pattern includes instructions for two sizes to accommodate growing babies.
- Newborn (0-3 months): Finished circumference of 12 inches.
- 3-6 months: Finished circumference of 14 inches.
Instructions will be written as Newborn (3-6 months) throughout the pattern.
Stitch Abbreviations
- CO: Cast on
- K: Knit
- P: Purl
- K2tog: Knit two stitches together (decrease)
- C4B: Cable 4 Back — Slip 2 stitches to cable needle, hold to back, knit next 2 stitches, then knit 2 stitches from cable needle.
- C4F: Cable 4 Front — Slip 2 stitches to cable needle, hold to front, knit next 2 stitches, then knit 2 stitches from cable needle.
- MB: Make Bobble — (K1, P1, K1, P1, K1) into the same stitch. Turn work. P5. Turn. K5. Turn. P2tog, P1, P2tog. Turn. K3tog. Bobble complete.
- PM: Place marker
- RM: Remove marker
Step-by-Step Instructions
Follow these detailed instructions carefully, and you'll be amazed at the beautiful result. Remember to work in the round, and be careful not to twist your stitches when joining.
Ribbing (The Folded Brim)
We begin with a stretchy, decorative ribbed brim in the deep sapphire blue.
- With your Contrast Color (CC) yarn, CO 72 (84) stitches.
- Place a unique stitch marker on your right-hand needle to mark the beginning of the round. Join in the round by knitting the first stitch from the left needle with the working yarn from the right needle, being extremely careful not to twist the cast-on edge.
- Rounds 1-6: *K2, P2*; repeat from * to end of round. This creates a classic 2x2 ribbing. Continue for all 6 rounds.
The Body (Heraldic Cables and Bobbles)
Now we switch to the cream Main Color (MC) and begin the intricate pattern that gives this hat its royal name. The pattern is a 12-round repeat that creates a stunning diamond motif.
- Round 7: *K6, MB, K5*; repeat from * to end of round. (You will have 6 (7) bobbles in this round).
- Rounds 8-9: Knit all stitches.
- Round 10: *C4B, K2, C4F, K2*; repeat from * to end of round. This creates the first part of your cable crosses.
- Rounds 11-12: Knit all stitches.
- Round 13: *K5, MB, K6*; repeat from * to end of round. (Notice the bobbles are now staggered for a pleasing texture).
- Rounds 14-15: Knit all stitches.
- Round 16: *K2, C4F, C4B, K2*; repeat from * to end of round. This completes the cable cross, forming the diamond shape.
- Rounds 17-18: Knit all stitches.
- Repeat Rounds 7-18 until the piece measures 4 (5) inches from the cast-on edge, ending with a Round 12 or Round 18 (a plain knit round). This ensures your pattern is at a good point to begin the crown decreases.
Crown Decreases (Shaping the Top)
It's time to shape the top of the hat. As the number of stitches decreases, switch from your circular needle to your double-pointed needles (DPNs) when the stitches become too tight to fit comfortably around the circular needle.
- Round 1: *K4, K2tog*; repeat from * to end of round. (60 (70) stitches remain).
- Round 2: Knit all stitches.
- Round 3: *K3, K2tog*; repeat from * to end of round. (48 (56) stitches remain).
- Round 4: Knit all stitches.
- Round 5: *K2, K2tog*; repeat from * to end of round. (36 (42) stitches remain).
- Round 6: *K1, K2tog*; repeat from * to end of round. (24 (28) stitches remain).
- Round 7: *K2tog*; repeat from * to end of round. (12 (14) stitches remain).
Finishing Touches
You're almost done! These final steps will transform your knitting into a polished, beautiful hat.
- Cut the yarn, leaving a generous 10-inch tail. Thread this tail onto your tapestry needle.
- Carefully thread the needle through the remaining stitches on your DPNs, slipping them off the needles as you go.
- Pull the tail tight to cinch the top of the hat closed, gathering all the stitches together. Secure it with a small stitch or two.
- Weave in all loose ends neatly on the inside of the hat using your tapestry needle.
- Block gently to shape the hat and even out the stitches. A light steam or a soak in lukewarm water followed by air-drying on a towel works well.
- Optional: For an extra touch of royal flair, create a small, fluffy pompom using your Contrast Color (CC) yarn and attach it securely to the crown of the hat.
And there you have it—a stunning, handcrafted Royal Crest Baby Hat. This hat is more than just a knit; it's a statement of love and craftsmanship. The intricate cables and bobbles will be admired by all who see it, and the soft, cozy fabric will keep your little one warm and snug. This pattern is a joy to knit and an even greater joy to gift. Happy knitting!