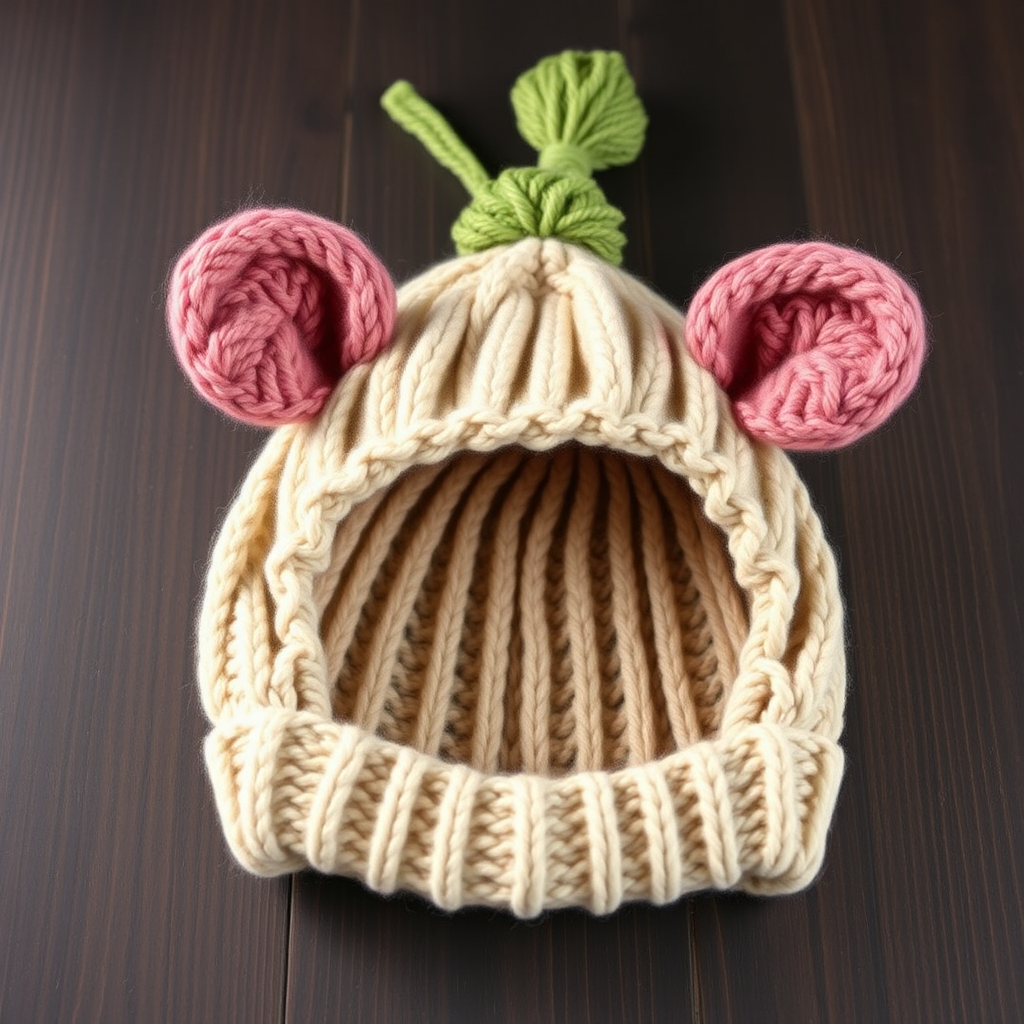
Willowmere Winter Earflap Hat Free Pattern – A Knitted Nordic Star Baby Bonnet
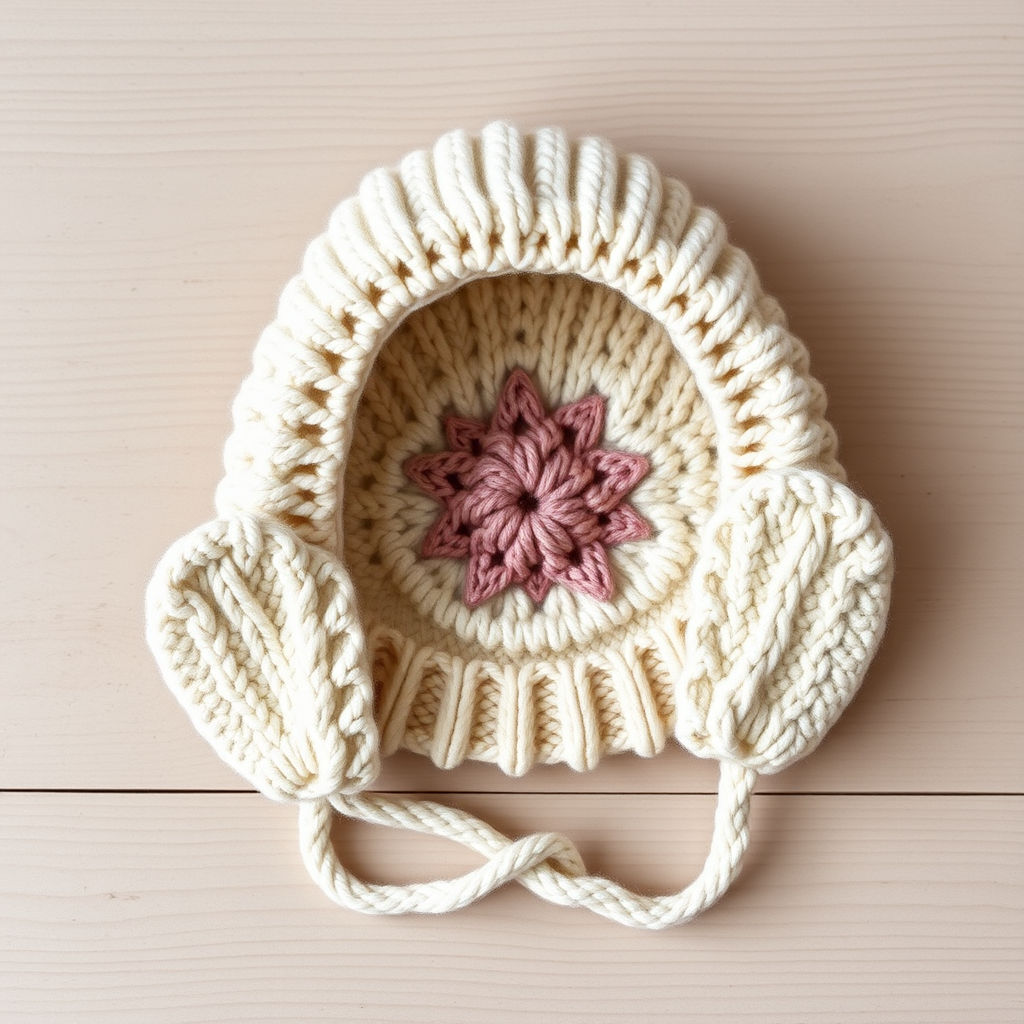
Willowmere Winter Earflap Hat Free Pattern – A Knitted Nordic Star Baby Bonnet
Wrap your little one in the cozy charm of the Willowmere Winter Earflap Hat, a knitted baby bonnet featuring a delicate Nordic star motif and soft, chunky earflaps. This heirloom-quality pattern blends classic Scandinavian style with modern comfort, perfect for chilly strolls and sweet photo moments. Whether you're a seasoned knitter or a brave beginner ready for a rewarding project, this pattern offers a delightful introduction to stranded colorwork while creating a stunning, functional keepsake.
The Willowmere Hat is worked in the round from the bottom up, with earflaps knitted separately and then joined. The crown is shaped with simple decreases, and the Nordic star motif is stranded across the front panel. The result is a beautifully structured bonnet that cradles your baby's head and keeps those tiny ears toasty warm. Let's dive into this wonderful project!
Materials Needed
Before you begin, gather the following supplies. Having everything ready will make your knitting experience smooth and enjoyable.
Yarn
- Worsted weight (Category 4) yarn in two colors:
- Main Color (MC): Soft Oatmeal (approx. 120 yards)
- Contrast Color (CC): Dusty Rose (approx. 60 yards)
Tip: Choose a soft, machine-washable wool blend for easy care and maximum comfort against baby's delicate skin.
Needles & Notions
- US Size 7 (4.5 mm) 16-inch circular knitting needle for the main body
- US Size 7 (4.5 mm) double-pointed needles (DPNs) for earflaps and crown shaping
- Stitch markers (at least 3)
- Stitch holders or waste yarn
- Tapestry needle for weaving in ends
- Scissors
Gauge
20 stitches and 26 rows = 4 inches in stockinette stitch, blocked. Always knit a gauge swatch to ensure your hat fits perfectly. If your gauge is off, adjust your needle size accordingly.
Step-by-Step Instructions
This pattern is worked in the round from the bottom up, with earflaps knitted separately and then joined. The crown is shaped with simple decreases, and the Nordic star motif is stranded across the front panel. Follow along carefully, and you'll have a beautiful bonnet in no time.
Abbreviations
- k: knit
- p: purl
- k2tog: knit two together (right-leaning decrease)
- ssk: slip, slip, knit (left-leaning decrease)
- pm: place marker
- MC: Main Color
- CC: Contrast Color
- st(s): stitch(es)
- rnd(s): round(s)
Earflaps (Make 2)
Using MC and DPNs, cast on 8 stitches. Work back and forth in stockinette (knit on RS, purl on WS) for 2 rows.
Increase Row (RS): K1, M1L (make one left), knit to last stitch, M1R (make one right), K1. (10 stitches)
Repeat the increase row on every RS row until you have 20 stitches. Work even in stockinette until the earflap measures 3 inches from the cast-on edge. Place stitches on a holder or waste yarn. Repeat for the second earflap.
Pro Tip: M1L and M1R are invisible increases that create a neat, symmetrical edge. If you're new to these, practice on a swatch first.
Hat Body
With the circular needle and MC, cast on 12 stitches for the back of the hat. Then knit across the 20 stitches of the first earflap, cast on 24 stitches for the front, knit across the 20 stitches of the second earflap, and cast on 12 stitches for the back. Total = 88 stitches.
Join in the round, being careful not to twist. Place a marker at the beginning of the round.
Ribbing
Work in k1, p1 ribbing for 6 rounds. This creates a snug, stretchy brim that will keep the hat securely on baby's head.
Main Body
Work in stockinette (knit every round) for 10 rounds. This smooth section provides a beautiful canvas for the star motif.
Nordic Star Motif (Worked over the front 24 stitches)
This is the heart of the pattern! The star is worked in stranded colorwork, carrying both yarns across the back of the work. Keep your tension even but not too tight, as the hat needs to stretch over baby's head.
Round 1: With MC, knit all stitches.
Round 2: With MC, knit 32 sts, pm, join CC, work the 24-stitch star chart (or follow written pattern below), pm, knit remaining 32 sts with MC.
Written Star Pattern (24 stitches, worked over 12 rounds):
- Round 1: With CC, knit 24 sts.
- Round 2: With MC, k2, CC k2, MC k4, CC k2, MC k4, CC k2, MC k2, CC k2, MC k4 (repeat to end of 24 sts)
- Round 3: With MC, k1, CC k4, MC k2, CC k4, MC k2, CC k4, MC k1, CC k4, MC k2 (adjust to fit 24 sts)
- Round 4: With MC, k2, CC k2, MC k4, CC k2, MC k4, CC k2, MC k2, CC k2, MC k4
- Round 5: With MC, knit all sts.
- Round 6: With MC, k1, CC k3, MC k3, CC k3, MC k3, CC k3, MC k1, CC k3, MC k3, CC k1 (adjust to fit)
- Round 7: With MC, k2, CC k2, MC k4, CC k2, MC k4, CC k2, MC k2, CC k2, MC k4
- Round 8: With MC, k3, CC k1, MC k5, CC k1, MC k5, CC k1, MC k3, CC k1, MC k5, CC k1 (adjust)
- Round 9: With MC, knit all sts.
- Round 10: Repeat Round 8.
- Round 11: Repeat Round 7.
- Round 12: With MC, knit all sts.
Colorwork Tip: When switching colors, gently spread the stitches on your right needle to prevent puckering. The floats (strands carried behind) should be loose enough to allow the fabric to stretch.
After completing the motif, continue with MC in stockinette for 8 more rounds, or until the hat measures 4.5 inches from the cast-on edge.
Crown Shaping
Now we'll shape the top of the hat with simple, evenly spaced decreases. This creates a smooth, rounded crown.
Round 1: *K9, k2tog* repeat around (80 sts).
Round 2: Knit all sts.
Round 3: *K8, k2tog* repeat around (72 sts).
Round 4: Knit all sts.
Round 5: *K7, k2tog* repeat around (64 sts).
Round 6: Knit all sts.
Round 7: *K6, k2tog* repeat around (56 sts).
Round 8: Knit all sts.
Round 9: *K5, k2tog* repeat around (48 sts).
Round 10: Knit all sts.
Round 11: *K4, k2tog* repeat around (40 sts).
Round 12: Knit all sts.
Round 13: *K3, k2tog* repeat around (32 sts).
Round 14: Knit all sts.
Round 15: *K2, k2tog* repeat around (24 sts).
Round 16: Knit all sts.
Round 17: *K1, k2tog* repeat around (16 sts).
Round 18: *K2tog* repeat around (8 sts).
Cut yarn, leaving a 6-inch tail. Thread the tail through a tapestry needle, slide it through the remaining 8 stitches, and pull tight to close the crown. Secure with a knot and weave in the end.
Shaping Tip: As you decrease, switch to DPNs when the stitches become too tight for the circular needle. Distribute stitches evenly across 3 or 4 needles.
Finishing
Weave in all loose ends carefully, especially around the colorwork section. Block gently to shape—this will even out the stitches and give your hat a professional finish.
Optional Tie Detail: For a charming finish, add a crocheted chain tie at the end of each earflap. Simply attach yarn to the bottom corner of an earflap and chain 12-15 stitches. Repeat on the other side. These ties help keep the hat securely in place on wiggly babies.
Your Heirloom is Complete!
Congratulations! You've just created a beautiful Willowmere Winter Earflap Hat. This knitted baby bonnet is more than just an accessory—it's a labor of love that will be treasured for years. The soft oatmeal and dusty rose palette is timeless, and the Nordic star motif adds a touch of Scandinavian heritage that never goes out of style.
This hat makes a wonderful gift for baby showers, newborn photos, or simply to keep your own little one cozy during winter walks. The chunky earflaps and snug ribbed brim ensure a perfect fit, while the soft, dense fabric provides warmth without bulk.
We'd love to see your finished Willowmere Hat! Share your photos on social media with the hashtag #WillowmereHat and tag us. Happy knitting!