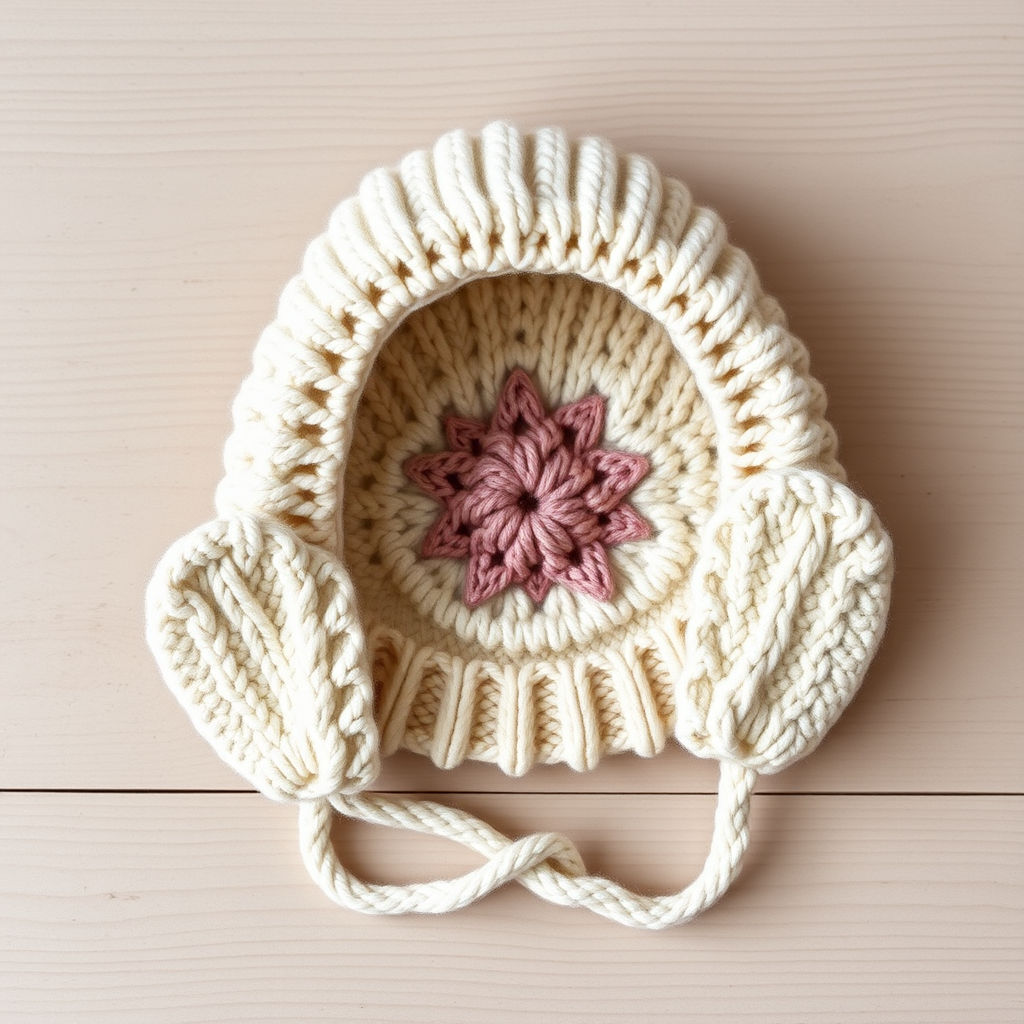
Tasseled Magical Mouse Baby Hat Free Pattern – A Knitted Whimsical Forest Friend
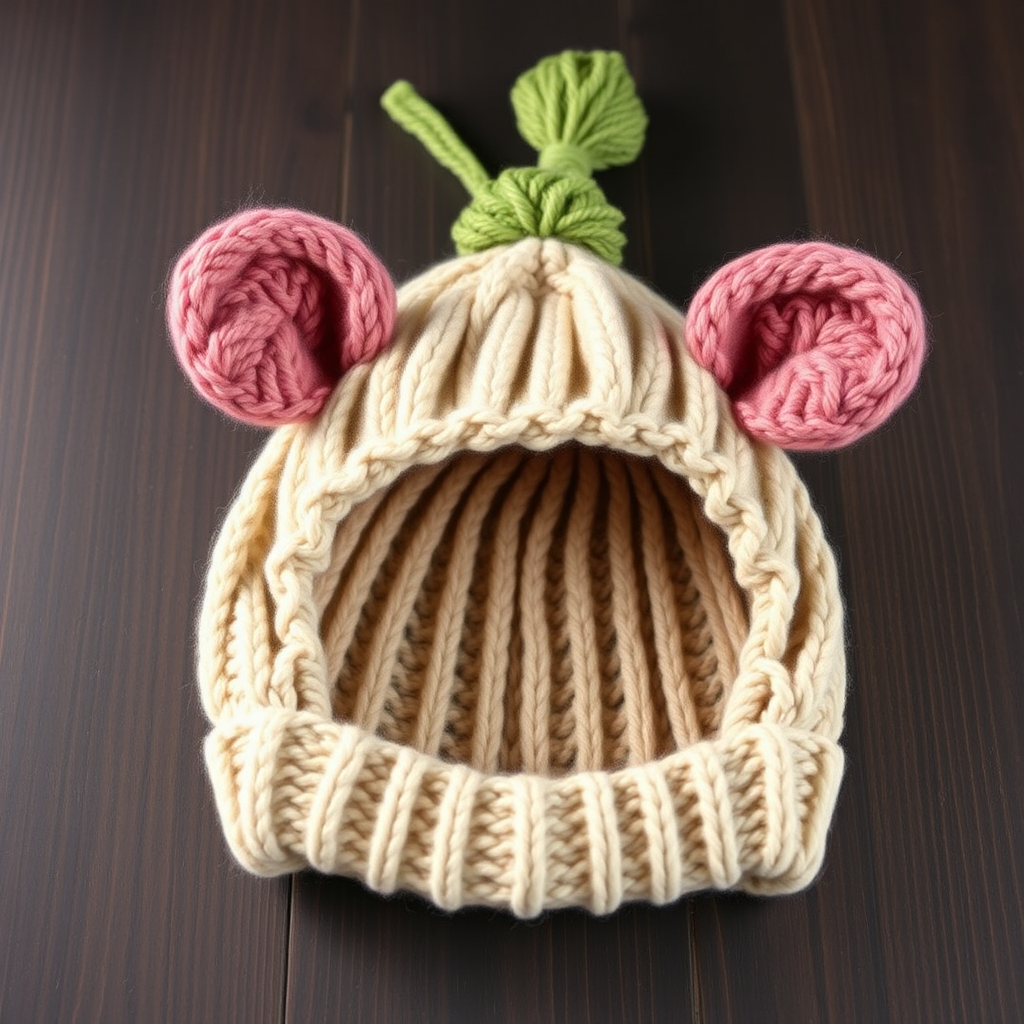
Introducing the Tasseled Magical Mouse Baby Hat
There's something truly special about knitting for a little one—especially when the project transforms an everyday accessory into a piece of storybook magic. The Tasseled Magical Mouse Baby Hat does exactly that. With its pointy mouse ears, cozy ribbed brim, and playful tassels, this hat turns your baby into a woodland sprite ready for forest adventures.
Knitted in soft, earthy tones—warm oatmeal, dusty rose, and moss green—this whimsical hat is as beautiful as it is functional. The worsted weight yarn ensures warmth and durability, while the simple stockinette body makes it an approachable project for knitters who have mastered the basics. Whether you're crafting a gift for a baby shower or making something special for your own little one, this pattern is sure to become a cherished keepsake.
In this guide, I'll walk you through every step—from casting on to adding those adorable tassels—so you can create a hat that looks like it came straight from a fairy tale.
Materials Needed
Before you begin, gather the following supplies. Having everything ready will make your knitting session smooth and enjoyable.
Yarn
- Main Color (MC): Warm oatmeal—worsted weight yarn (approx. 150-200 yards depending on size)
- Contrast Color 1 (CC1): Dusty rose—worsted weight yarn (small amount for ears)
- Contrast Color 2 (CC2): Moss green—worsted weight yarn (small amount for inner ears and tassels)
Needles & Notions
- US 6 (4.0 mm) circular needles, 16-inch length
- US 6 (4.0 mm) double-pointed needles (for decreasing at the crown)
- Tapestry needle for weaving in ends and sewing pieces together
- Stitch markers (at least one)
- Scissors
- Cardboard piece (3 inches wide) for making tassels
Gauge
20 stitches and 28 rows = 4 inches in stockinette stitch. Always knit a gauge swatch before starting to ensure your hat fits correctly. If your gauge is off, adjust your needle size accordingly.
Step-by-Step Instructions
This pattern includes three sizes: Newborn (0-3 months, 3-6 months, 6-12 months). Finished head circumference: 13 (14, 15) inches. Instructions are written for the smallest size, with larger sizes in parentheses.
Abbreviations
- CO: Cast on
- K: Knit
- P: Purl
- K2tog: Knit two stitches together (decrease)
- P2tog: Purl two stitches together (decrease)
- PM: Place marker
- SM: Slip marker
- St(s): Stitch(es)
- RS: Right side
- WS: Wrong side
Hat Body
Step 1: Using your Main Color (MC) yarn and the circular needle, CO 72 (80, 88) stitches. Carefully join in the round, being extremely careful not to twist your stitches. Place a stitch marker at the beginning of the round to mark your starting point.
Step 2: Work the ribbed brim in K2, P2 ribbing for 1.5 (1.75, 2) inches. This ribbing creates a snug, stretchy edge that will keep the hat securely on your baby's head. To work K2, P2 ribbing in the round: *K2, P2* repeat from * to end of round. Continue this pattern for the specified length.
Step 3: Once the ribbing is complete, switch to stockinette stitch—simply knit every round. Work even (without increasing or decreasing) until the piece measures 4.5 (5, 5.5) inches from the cast-on edge. This measurement includes the ribbed brim.
Decrease for Crown
Now you'll shape the top of the hat by decreasing stitches. This creates a rounded crown that fits snugly over your baby's head.
Round 1: *K6, K2tog* repeat from * to end of round. You should now have 63 (70, 77) stitches.
Round 2 and all even rounds: Knit all stitches. These plain rounds between decreases allow the shaping to be gradual and smooth.
Round 3: *K5, K2tog* repeat from * to end. You now have 54 (60, 66) stitches.
Round 5: *K4, K2tog* repeat from * to end. You now have 45 (50, 55) stitches.
Round 7: *K3, K2tog* repeat from * to end. You now have 36 (40, 44) stitches.
Round 9: *K2, K2tog* repeat from * to end. You now have 27 (30, 33) stitches.
Round 11: *K1, K2tog* repeat from * to end. You now have 18 (20, 22) stitches.
Round 13: *K2tog* repeat from * to end. You now have 9 (10, 11) stitches.
At this point, you may want to switch to double-pointed needles if the circular needle becomes too long for the remaining stitches.
Finishing the crown: Cut your yarn, leaving a 6-inch tail. Thread the tail through a tapestry needle, then pass the needle through all remaining stitches. Pull tight to gather the top of the hat closed. Secure with a knot and weave in the end on the inside of the hat.
Ears (Make 2)
The ears are the star of this hat! Each ear is made from two pieces—an outer ear in dusty rose (CC1) and an inner ear in moss green (CC2)—which are sewn together for a beautiful layered effect.
Outer Ear (make 2 with CC1):
Step 1: CO 10 stitches with CC1. You'll be working back and forth in rows (not in the round), so use straight needles or the circular needle as if it were straight.
Step 2: Work in stockinette stitch (Knit on RS, Purl on WS) for 10 rows. This creates a rectangular base for the ear.
Step 3: Begin shaping the point of the ear:
- Row 11 (RS): K2tog, K6, K2tog — you now have 8 stitches
- Row 12: Purl all stitches
- Row 13: K2tog, K4, K2tog — you now have 6 stitches
- Row 14: Purl all stitches
- Row 15: K2tog, K2, K2tog — you now have 4 stitches
- Row 16: Purl all stitches
- Row 17: K2tog, K2tog — you now have 2 stitches
- Row 18: P2tog — you now have 1 stitch
Cut the yarn and pull it through the remaining stitch to secure. Weave in the end.
Inner Ear (make 2 with CC2):
Repeat the exact same process using CC2 (moss green) yarn. CO 10 stitches, work 10 rows of stockinette, then follow the same decrease pattern (Rows 11-18) to create the inner ear shape.
Assembling the Ears:
Place one CC2 (inner) piece on top of one CC1 (outer) piece, with wrong sides together. Using a tapestry needle and CC2 yarn, whipstitch around the edges to join them, leaving the cast-on edge open (this will be the base of the ear that attaches to the hat). Repeat for the second ear.
Attaching the Ears to the Hat:
Position the ears on top of the hat, about 1 inch apart, angled slightly outward for a playful look. Using a tapestry needle and matching yarn, sew each ear securely to the hat. Make sure to catch both the outer and inner layers of the ear in your stitches for a firm attachment. Weave in all ends on the inside of the hat.
Tassels (Make 2)
These fluffy tassels add the finishing whimsical touch to each ear tip.
Step 1: Cut a piece of cardboard 3 inches wide.
Step 2: Wrap CC2 (moss green) yarn around the cardboard 30 times. The more wraps, the fuller your tassel will be.
Step 3: Carefully slide the yarn off the cardboard, keeping the loops intact.
Step 4: Cut a separate piece of yarn about 8 inches long. Tie it tightly around the middle of the yarn bundle to secure it.
Step 5: Cut through the loops at both ends of the bundle. This will create a fringe-like tassel.
Step 6: Trim the ends of the tassel to even them out, creating a neat, rounded shape.
Step 7: Using a tapestry needle, attach one tassel to the tip of each ear. Thread the tie from the tassel through the point of the ear and knot securely on the inside. Weave in the ends.
Finishing Touches
Weave in all remaining ends using your tapestry needle, making sure to secure them on the inside of the hat so they don't show on the outside.
Block gently: To give your hat a professional finish, lightly wet-block it. Soak the hat in lukewarm water with a drop of mild soap, gently squeeze out excess water (don't wring!), and lay flat to dry, shaping it as needed. This will even out your stitches and give the hat a polished look.
Optional embellishment: For extra whimsy, add a small pom-pom in CC1 (dusty rose) to the top of the hat between the ears. This creates a cute "button" effect that ties the whole design together.
Final Thoughts
And there you have it—a Tasseled Magical Mouse Baby Hat that's ready for storybook adventures! This pattern is perfect for intermediate beginners who want to try something a little more playful than a basic beanie. The techniques involved—ribbing, stockinette, decreasing, and simple seaming—are all foundational skills that will serve you well in future projects.
The best part? This hat is completely customizable. Swap the dusty rose for a sky blue, or the moss green for a sunny yellow. Add a matching scarf or booties for a full woodland ensemble. However you make it, this hat is sure to bring smiles and spark imagination.
Happy knitting, and may your little one's adventures be ever magical!