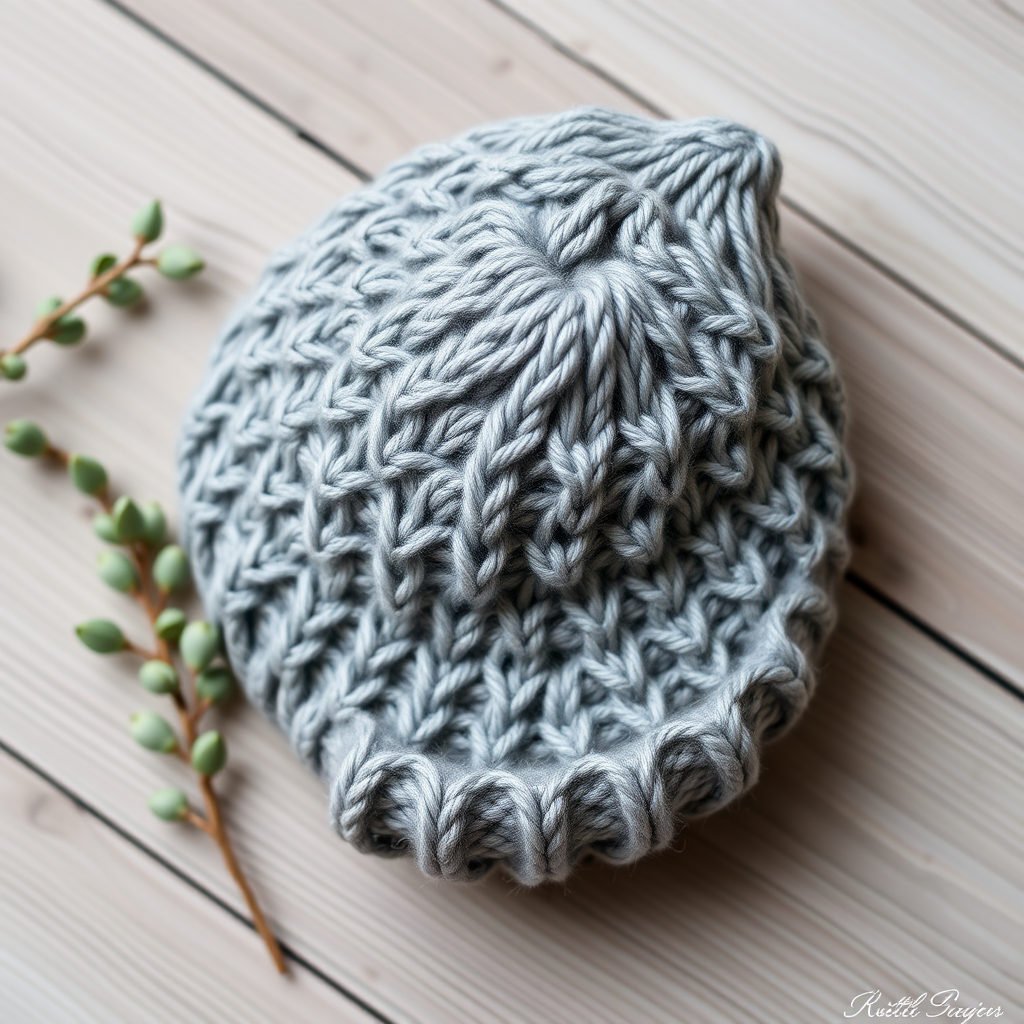
Gingham Garden Bunny Bonnet & Diaper Cover Free Pattern – A Knitted Pastoral Set

Gingham Garden Bunny Bonnet & Diaper Cover: A Heirloom Knitting Pattern
There's something undeniably precious about dressing a little one in hand-knit garments that echo a simpler, pastoral time. This Gingham Garden Bunny Bonnet and Diaper Cover set is more than just a pattern—it's a piece of heirloom artistry. With its delicate ear flaps, soft blush pink and cream checkered design, and breathable cotton blend, this set evokes sunny spring picnics and gentle garden breezes. Whether you're a seasoned knitter or a confident beginner ready for a rewarding project, this free pattern will guide you through creating a timeless treasure that will be passed down with love.
The classic gingham pattern, achieved through simple colorwork, creates a crisp, pastoral aesthetic that pairs beautifully with the soft, natural drape of cotton yarn. The bonnet's gathered crown and charming tie strings ensure a snug, adorable fit, while the matching diaper cover offers both comfort and style. Let's dive into this delightful project that promises to be as enjoyable to knit as it is to gift.
Materials Needed
Before you begin, gather the following materials to ensure a smooth and enjoyable knitting experience. This project uses simple, readily available supplies.
- Yarn: Worsted weight cotton blend (e.g., Lion Brand 24/7 Cotton) in two colors:
- Main Color (MC): Blush Pink – approximately 150g
- Contrast Color (CC): Cream – approximately 100g
- Knitting Needles: US 6 (4.0 mm) – straight or circular, as you prefer
- Crochet Hook: US G/6 (4.0 mm) – for the edging and ties
- Other Tools: Stitch holders or waste yarn, tapestry needle for weaving in ends, scissors, and a tape measure
Gauge: 20 stitches and 28 rows = 4 inches in stockinette stitch. Always check your gauge to ensure the correct size and fit.
Step-by-Step Instructions
This pattern is broken down into two main components: the bonnet and the diaper cover. Follow each section carefully, and you'll have a beautiful matching set in no time.
Part 1: The Bunny Bonnet
The bonnet is worked from the ear flaps inward, then joined to create the main body. The gingham pattern is simple to follow and creates a stunning visual effect.
Ear Flaps (Make 2)
These adorable flaps not only add charm but also keep baby's ears warm.
- With MC, cast on 8 stitches.
- Row 1 (Right Side): Knit all stitches.
- Row 2 (Wrong Side): Purl all stitches.
- Row 3 (Increase Row): K1, M1L (make one left), knit to the last stitch, M1R (make one right), K1. (10 stitches)
- Row 4: Purl all stitches.
- Repeat Rows 3 and 4 until you have 16 stitches on your needle.
- Work even in stockinette stitch (knit on RS, purl on WS) for 10 more rows.
- Place these 16 stitches onto a stitch holder or piece of waste yarn. Repeat the entire process to create the second ear flap.
Main Bonnet Body
Now, we'll join the ear flaps with the back neck section to form the bonnet's main structure.
- With MC, cast on 20 stitches for the back neck.
- Now, knit across the 16 stitches of the first ear flap from its holder, then knit the 20 back neck stitches, and finally knit across the 16 stitches of the second ear flap. You should now have a total of 52 stitches on your needle.
- Begin the Gingham Pattern:
- Row 1 (RS): *K4 with MC, K4 with CC*; repeat from * to end of row.
- Row 2 (WS): *P4 with CC, P4 with MC*; repeat from * to end of row.
- Row 3 (RS): *K4 with MC, K4 with CC*; repeat from * to end of row.
- Row 4 (WS): *P4 with MC, P4 with CC*; repeat from * to end of row.
- Rows 5-8: Reverse the colors. Start with CC blocks on the RS and MC on the WS, following the same 4-stitch block logic.
- Repeat these 8 rows until the piece measures 5 inches from the cast-on edge, ending with a wrong-side row. Tip: Always carry the unused yarn loosely up the side of your work to avoid puckering.
Shaping the Crown
This section gently gathers the top of the bonnet for a perfect fit.
- Row 1 (RS): *K2tog (knit two together), K4*; repeat from * to end of row. (43 stitches)
- Row 2 and all WS rows: Purl all stitches.
- Row 3: *K2tog, K3*; repeat from * to end. (34 stitches)
- Row 5: *K2tog, K2*; repeat from * to end. (25 stitches)
- Row 7: *K2tog, K1*; repeat from * to end. (16 stitches)
- Row 9: K2tog across the row. (8 stitches)
- Cut the yarn, leaving a long tail. Thread the tail through a tapestry needle, slide it through the remaining 8 stitches, and pull tight to gather the crown. Secure with a knot and weave in the end.
Edging and Ties
This final step adds a polished finish and the charming ties.
- With the crochet hook and CC yarn, single crochet evenly around the entire face opening and the edges of both ear flaps. This creates a neat, finished border.
- At the tip of each ear flap, create a tie by chaining 30 stitches. Fasten off and weave in the ends securely. Repeat for the second ear flap.
Part 2: The Diaper Cover
This comfortable cover is worked in two flat panels and seamed together, with a drawstring waist for a perfect fit.
Back Panel
- With MC, cast on 40 stitches.
- Work in the same Gingham Pattern used for the bonnet until the piece measures 4 inches from the cast-on edge.
- Shape Legs (Decrease Row, RS): K1, K2tog, knit to the last 3 stitches, K2tog, K1. (38 stitches)
- Repeat this decrease row on every 4th row 3 more times. (32 stitches)
- Work even in the gingham pattern until the piece measures 6 inches total.
- Bind off all stitches loosely.
Front Panel
- Cast on 40 stitches with MC.
- Work in the gingham pattern for 2 inches.
- Shape Waist (Decrease Row, RS): K1, K2tog, knit to the last 3 stitches, K2tog, K1. (38 stitches)
- Repeat this decrease row on every other row until you have 28 stitches remaining.
- Work even in the gingham pattern until the piece measures 5 inches total.
- Bind off all stitches.
Assembly and Finishing
- Sew the side seams of the front and back panels together, leaving a 2-inch opening on each side for the legs. Tip: Use a mattress stitch for an invisible seam.
- With the crochet hook and CC yarn, single crochet evenly around both leg openings and the waist edge to create a clean, finished look.
- For the drawstring, create a long chain of stitches (approximately 40-50 inches) with CC yarn. Weave this chain through the single crochet stitches at the waist, starting and ending at the front center. This allows for an adjustable, comfortable fit.
And there you have it—a stunning, handcrafted Gingham Garden Bunny Bonnet and Diaper Cover set. This project is a labor of love that results in a beautiful, functional keepsake. The soft cotton blend is gentle on baby's skin, and the classic design ensures it will be a cherished piece for years to come. Happy knitting!