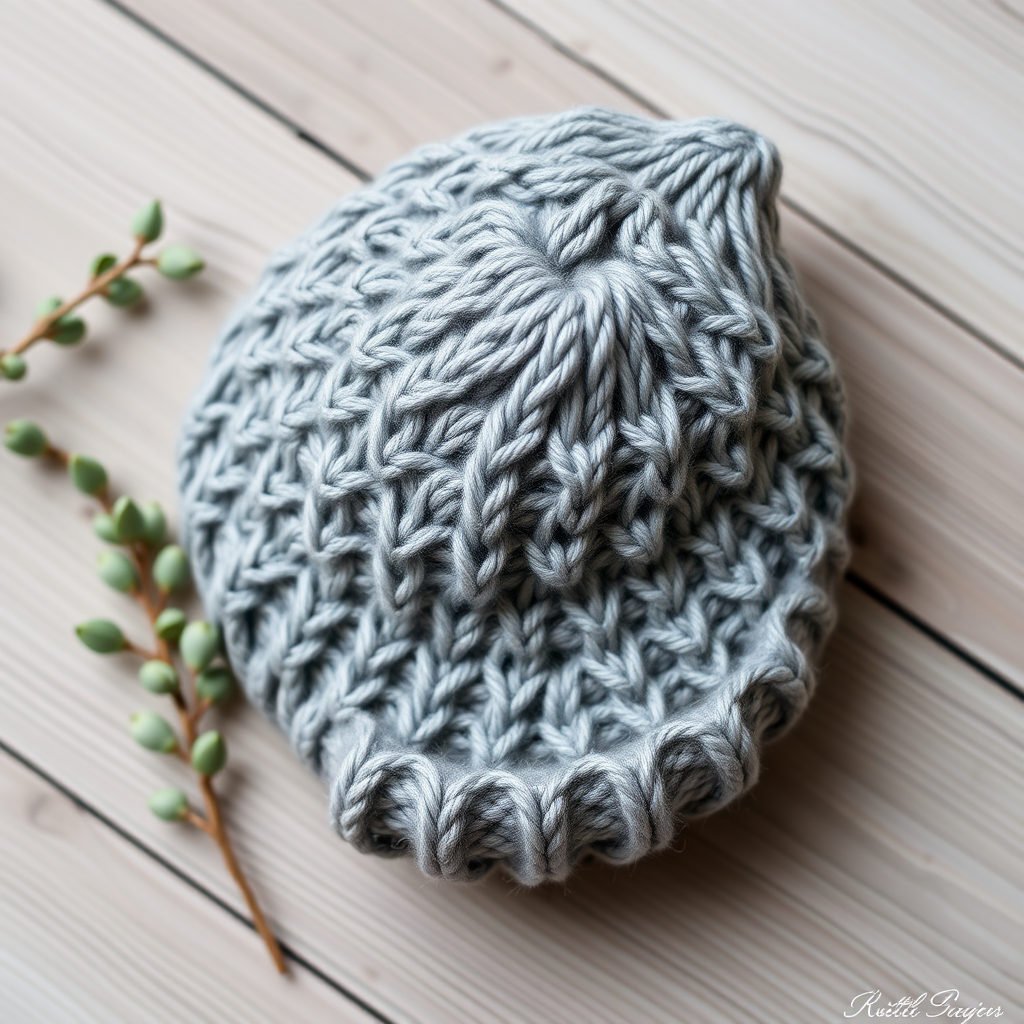
Hearthside Guardian Pumpkin Hat Free Pattern – Knit a Cozy Autumn Heirloom
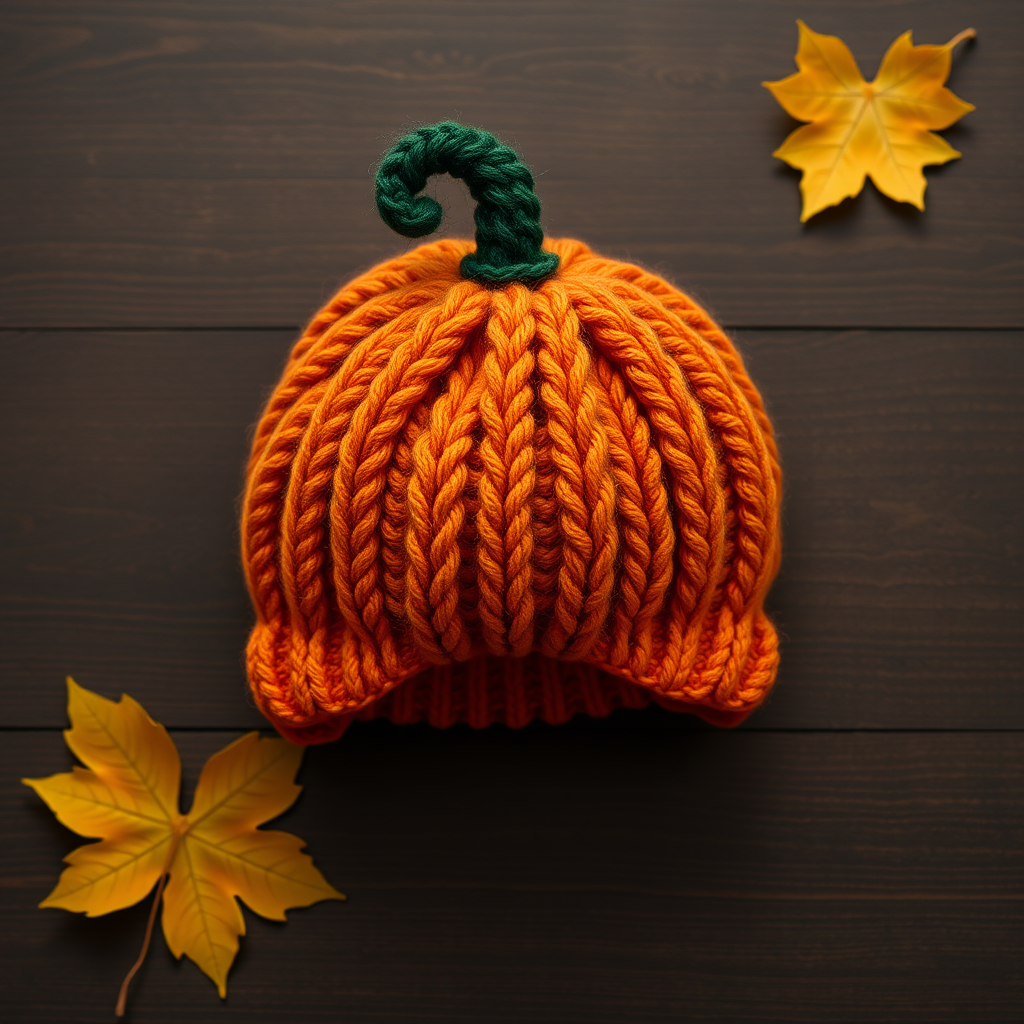
Hearthside Guardian Pumpkin Hat Free Pattern – Knit a Cozy Autumn Heirloom
Wrap your little one in the warmth of autumn with this intricately cabled pumpkin hat, designed to look like a plush, protective gourd. The soft, chunky yarn and gentle ribbing create a snug, secure fit that feels like a loving hug. This heirloom-quality pattern is perfect for beginners and experienced knitters alike, producing a stunning textured hat that mimics the natural ridges of a pumpkin. Whether you're crafting for your own baby or as a heartfelt handmade gift, this pattern will become a seasonal favorite for years to come.
Materials Needed
Before you begin, gather the following supplies to ensure a smooth knitting experience:
- Yarn: Worsted weight yarn in burnt orange (MC) and forest green (CC), approximately 120g MC and 20g CC. Choose a soft, machine-washable yarn for baby comfort.
- Needles: US 7 (4.5 mm) 16-inch circular needle and double-pointed needles (for the crown and I-cord), or size needed to obtain gauge.
- Notions: Stitch markers, cable needle, tapestry needle for weaving in ends, scissors.
- Gauge: 20 stitches and 28 rows = 4 inches in stockinette stitch. Always check your gauge to ensure the correct fit.
Step-by-Step Instructions
Sizes and Abbreviations
Sizes: 0-6 months (6-12 months, 12-24 months). Finished circumference: 14 (16, 18) inches.
Abbreviations:
- k = knit
- p = purl
- k2tog = knit two together
- p2tog = purl two together
- C4F = slip 2 stitches to cable needle, hold in front, knit next 2 stitches, then knit 2 from cable needle
- C4B = slip 2 stitches to cable needle, hold in back, knit next 2 stitches, then knit 2 from cable needle
- st(s) = stitch(es)
- rnd(s) = round(s)
Getting Started: Cast On and Ribbing
With MC (burnt orange), cast on 72 (80, 88) stitches using your preferred method. Join in the round, being extremely careful not to twist your stitches. Place a stitch marker to indicate the beginning of the round.
Ribbing: Work k2, p2 ribbing for 1.5 (1.75, 2) inches. This creates a snug, stretchy brim that will keep the hat securely on your baby's head.
Body: The Cable Pattern
Now you'll work the beautiful cable pattern that gives this hat its pumpkin-like ridges. Follow these rounds carefully:
- Rnd 1-4: *K4, p2, k2, p2, k4, p2, k2, p2* repeat to end of round.
- Rnd 5: *C4F, p2, k2, p2, C4B, p2, k2, p2* repeat to end of round. This is where the magic happens—the cables cross to create the pumpkin ridges.
- Rnd 6-8: *K4, p2, k2, p2, k4, p2, k2, p2* repeat to end of round.
- Rnd 9: *C4B, p2, k2, p2, C4F, p2, k2, p2* repeat to end of round. Notice the cables now cross in the opposite direction for a balanced, symmetrical pattern.
- Rnd 10-12: *K4, p2, k2, p2, k4, p2, k2, p2* repeat to end of round.
Repeat Rnds 1-12 until the piece measures 4.5 (5, 5.5) inches from the cast-on edge, ending with Rnd 6 or 12. This ensures you finish at a point where the cables are aligned for the crown decreases.
Crown Decreases: Shaping the Top
Switch to stockinette stitch (knit all stitches) for the crown. This smooth section will allow the hat to taper gently to a rounded point, just like a real pumpkin.
- Rnd 1: *K6, k2tog* repeat to end of round. (63, 70, 77 sts)
- Rnd 2 and all even rnds: Knit all stitches.
- Rnd 3: *K5, k2tog* repeat to end of round. (54, 60, 66 sts)
- Rnd 5: *K4, k2tog* repeat to end of round. (45, 50, 55 sts)
- Rnd 7: *K3, k2tog* repeat to end of round. (36, 40, 44 sts)
- Rnd 9: *K2, k2tog* repeat to end of round. (27, 30, 33 sts)
- Rnd 11: *K1, k2tog* repeat to end of round. (18, 20, 22 sts)
- Rnd 13: *K2tog* repeat to end of round. (9, 10, 11 sts)
Cut the yarn, leaving a long tail (at least 8 inches). Thread the tail through a tapestry needle, then pass it through the remaining stitches. Pull tight to close the top, and secure with a knot.
Leaf Stem: The Finishing Touch
Now for the charming detail that completes the pumpkin look—the curled stem.
With CC (forest green), cast on 6 stitches onto double-pointed needles. Knit an I-cord for 3 inches. To make an I-cord: knit across the 6 stitches, then slide the stitches to the other end of the needle (do not turn your work). Pull the yarn across the back and knit again. Repeat until you reach the desired length.
Bind off all stitches. Sew the stem to the top center of the hat, curling it slightly for a natural, whimsical look. Use the yarn tail to secure it firmly.
Finishing Touches
Weave in all loose ends with your tapestry needle, being careful to hide them on the inside of the hat. Block gently to shape—this helps the cables relax and the ribbing settle into place. Lay flat to dry.
Your Hearthside Guardian Pumpkin Hat is complete! This cozy, handcrafted piece will keep your little one warm while adding a touch of autumn charm to every outfit. Perfect for fall photos, pumpkin patch visits, or simply snuggling at home, this hat is sure to become a treasured family heirloom.