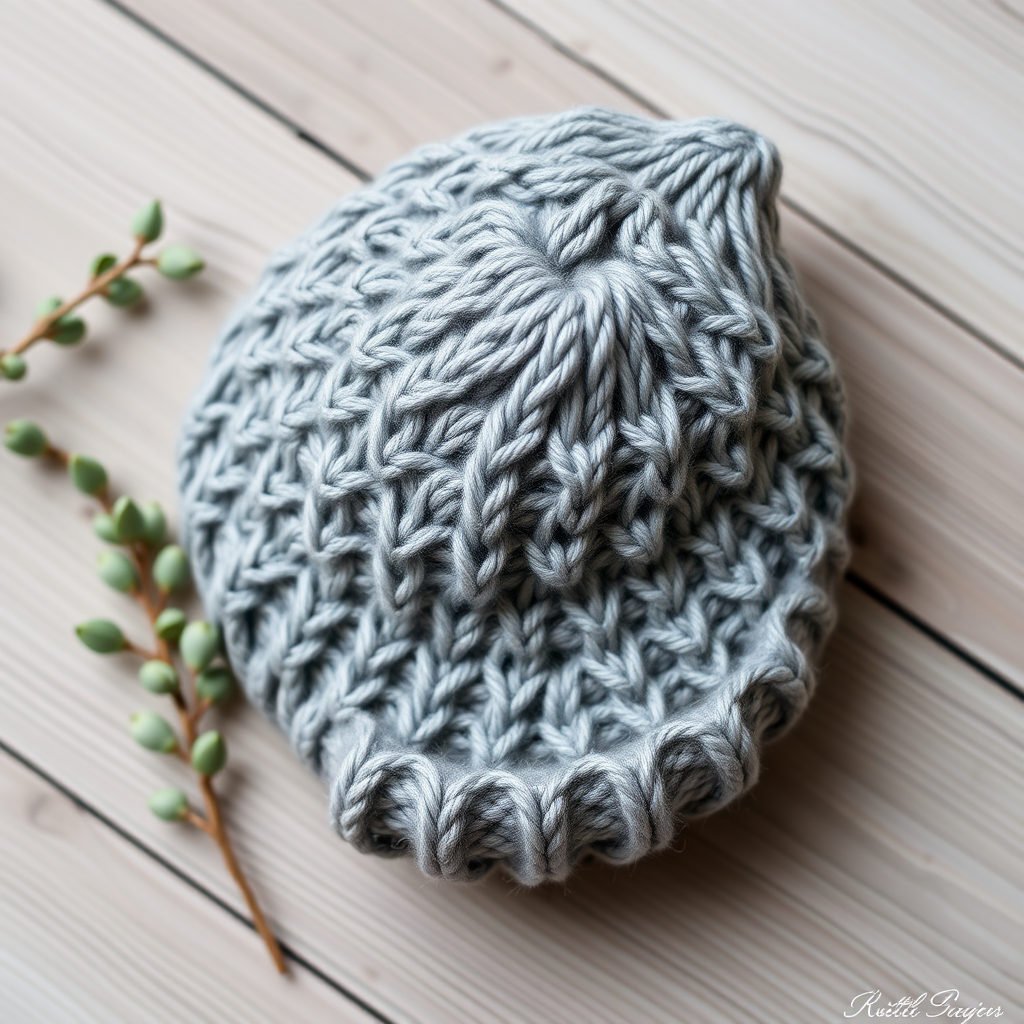
Heirloom Honeycomb Baby Beanie Free Pattern – A Knitted Hexagon Texture Hat
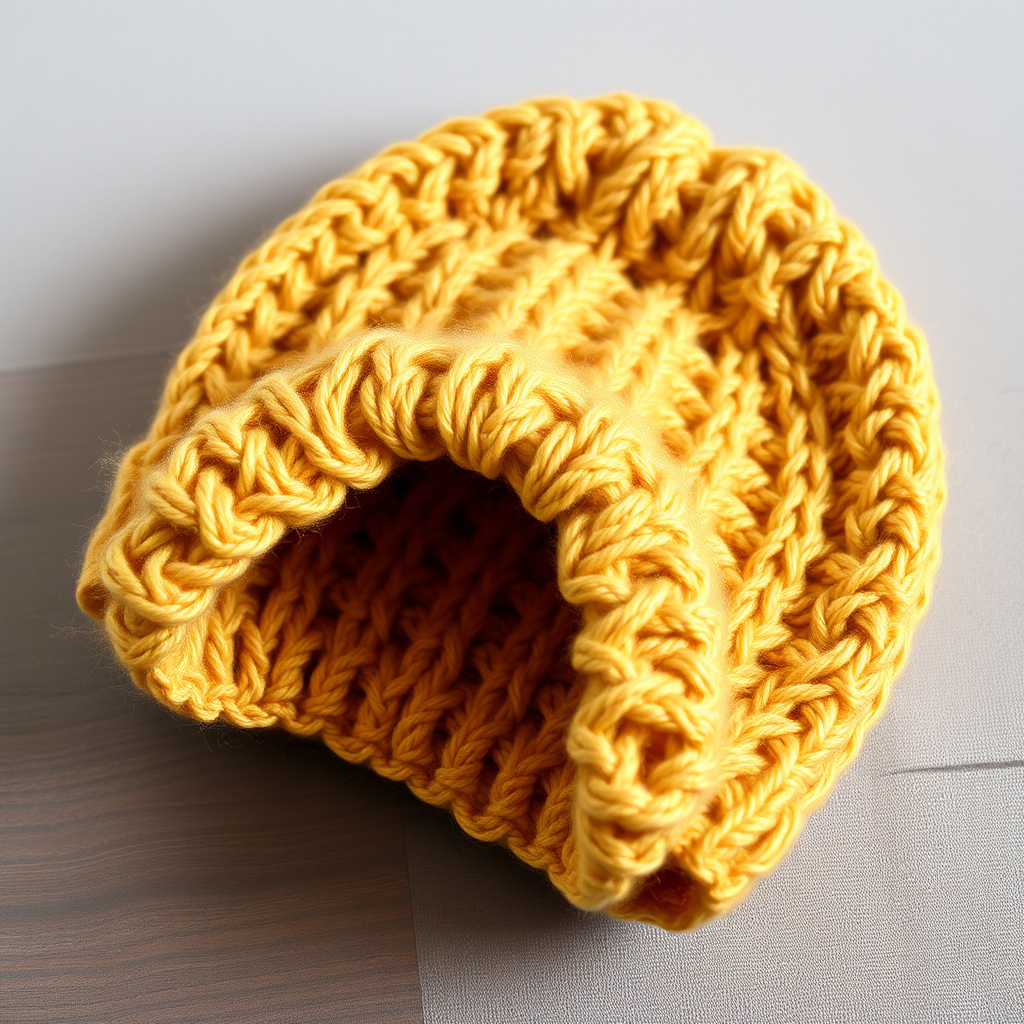
A Timeless Treasure: Knit the Heirloom Honeycomb Baby Beanie
There is something truly magical about creating a handmade garment for a little one. It’s more than just a piece of clothing; it’s a tangible expression of love, a future keepsake, and a tiny work of art. Today, I’m thrilled to share a pattern that perfectly embodies this sentiment: the Heirloom Honeycomb Baby Beanie. This isn't just any baby hat; it's a modern classic featuring a rich, dimensional hexagon stitch that mimics nature's perfect geometry. The textured crown is as beautiful as it is functional, offering a cozy, squishy warmth that will keep your little one snug. Whether you're a seasoned knitter or a confident beginner looking for a rewarding project, this free pattern is the perfect way to create a cherished baby shower gift or a special treat for your own bundle of joy.
Gathering Your Materials
Before we cast on, let's ensure you have everything you need. This pattern calls for simple, readily available materials, making it an accessible project for any knitter.
- Yarn: Worsted weight yarn (e.g., Cascade 220 Superwash) in a soft golden honey color. You will need approximately 100g / 200 yards. The warm, golden hue truly makes the honeycomb pattern shine.
- Needles: US 6 (4.0 mm) 16-inch circular knitting needle for the main body, and a set of double-pointed needles (DPNs) in the same size for the crown shaping.
- Notions: Stitch markers, a tapestry needle for weaving in ends, and scissors.
Gauge: 20 stitches and 28 rows = 4 inches in honeycomb stitch (blocked). Taking the time to check your gauge is crucial for achieving the perfect size.
Step-by-Step Instructions: Knitting Your Honeycomb Beanie
This pattern is written for the smallest size, with larger sizes in parentheses. The honeycomb stitch is a simple 6-row repeat that creates a stunning, textured fabric. Let's get started!
Sizes & Abbreviations
Sizes: Newborn (0-3 months, 3-6 months, 6-12 months)
Abbreviations: k = knit, p = purl, k2tog = knit two together, sl = slip, yo = yarn over, pm = place marker, rnd = round.
The Honeycomb Stitch Pattern (Worked in the round, multiple of 6)
This stitch is the heart of the beanie. It's a simple 6-round repeat that creates the beautiful hexagonal texture.
- Rnd 1: *K3, p3; repeat from * to end.
- Rnd 2: *K3, p3; repeat from * to end.
- Rnd 3: *P3, k3; repeat from * to end.
- Rnd 4: *P3, k3; repeat from * to end.
- Rnd 5: *K3, p3; repeat from * to end.
- Rnd 6: *K3, p3; repeat from * to end.
Repeat Rounds 1-6 for the pattern.
Knitting the Ribbing
First, we'll create a snug, comfortable brim that will keep the beanie securely in place.
- Cast on 72 (84, 96) stitches. Join in the round, being very careful not to twist your stitches. Place a stitch marker to mark the beginning of the round.
- Work in K1, P1 ribbing for 1.5 (2, 2.5) inches. This creates a neat, stretchy edge.
Creating the Honeycomb Body
Now for the fun part! We'll work the textured honeycomb pattern that gives this beanie its heirloom quality.
- Begin the honeycomb stitch pattern as written above.
- Work even in the pattern until the piece measures 4 (5, 6) inches from the cast-on edge, ending on Rnd 6 of the pattern. This ensures you are at the perfect point to begin the crown shaping.
Shaping the Crown
We'll now shape the top of the beanie with a series of simple decreases. When your stitches become too tight for the circular needle, switch to your double-pointed needles.
- Rnd 1: *K4, k2tog; repeat from * to end. (60, 70, 80 stitches remain)
- Rnd 2: *K3, k2tog; repeat from * to end. (48, 56, 64 stitches remain)
- Rnd 3: *K2, k2tog; repeat from * to end. (36, 42, 48 stitches remain)
- Rnd 4: *K1, k2tog; repeat from * to end. (24, 28, 32 stitches remain)
- Rnd 5: *K2tog; repeat from * to end. (12, 14, 16 stitches remain)
Finishing Touches
You're almost there! Just a few final steps to complete your beautiful beanie.
- Cut the yarn, leaving a 12-inch tail. Thread the tail through a tapestry needle and pass it through the remaining stitches on your needles.
- Pull the tail tight to close the hole at the top of the crown, and secure it with a few small stitches.
- Weave in all loose ends neatly on the inside of the beanie.
- Block gently to shape. This will help even out the stitches and enhance the honeycomb texture.
- For an extra touch of charm, you can optionally add a small pom-pom or a knitted i-cord tie.
And there you have it—a stunning, heirloom-quality beanie that's sure to be treasured. The combination of the warm golden yarn and the intricate honeycomb stitch creates a piece that looks far more complex than it is. This pattern is a joy to knit and an even greater joy to gift. Happy knitting!