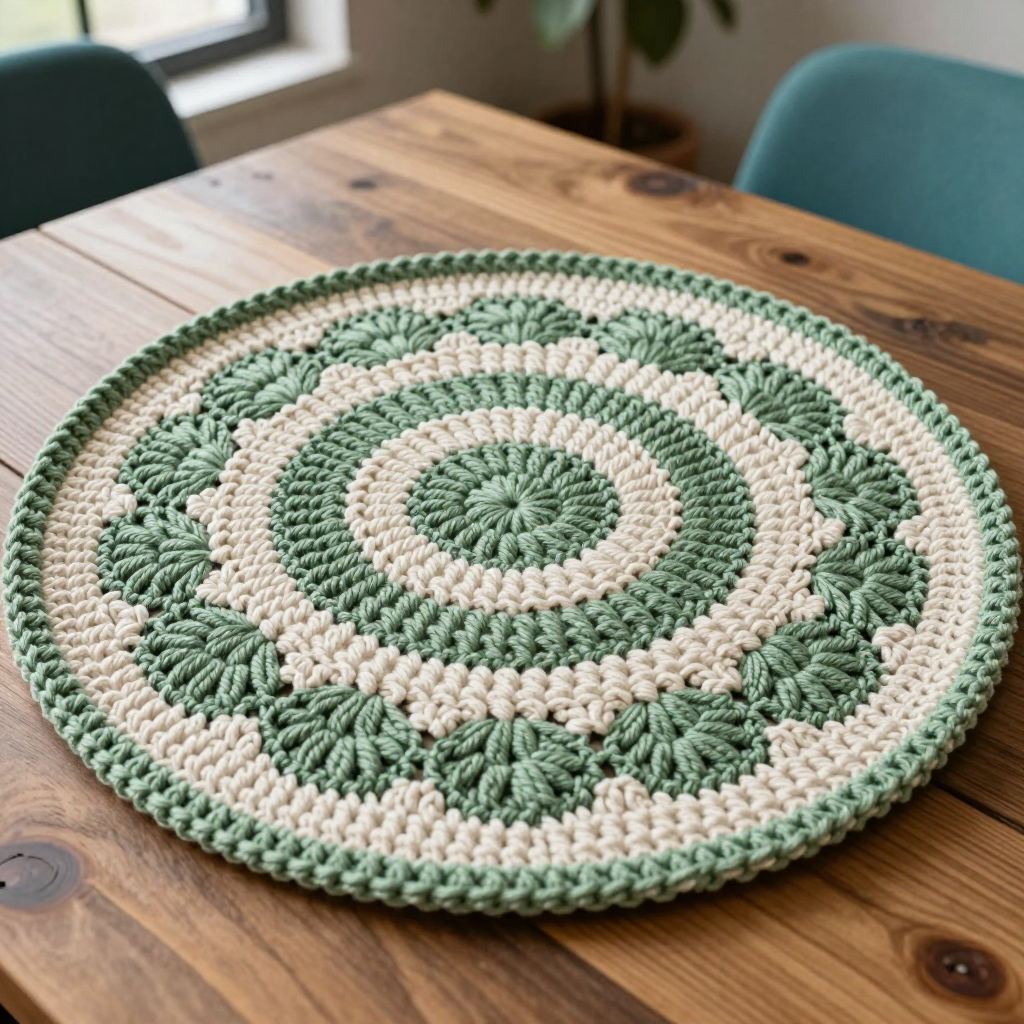
Lichen Grid Utility Pin Board Free Crochet Pattern

Lichen Grid Utility Pin Board — Free Beginner Crochet Pattern
Introduction
If you have never held a crochet hook before, this is the perfect first "big" project for you. The Lichen Grid Utility Pin Board is built from 48 simple granny squares — the most beginner-friendly motif in all of crochet — stitched together into a sturdy, streetwear-inspired display board. The finished piece measures a generous 24 x 32 inches and looks like a woven grid of moss and lichen, with a dense, nubby texture you will want to touch. Pin your yarn swatches, tags, and little treasures into the open corner spaces, or simply hang it on the wall as a textural statement piece. Best of all, every single square is identical, so by square three you will have mastered the whole pattern.
Materials Needed
- Yarn: Worsted weight (CYC 4) acrylic or cotton blend, approximately 620 yards total — 340 yards moss green (Color A) and 280 yards pale lichen green (Color B).
- Hook: 5.0 mm (US H-8) crochet hook.
- Stitch markers: At least 8, to mark corners and count squares.
- Tapestry needle: A blunt-tipped needle with a large eye for weaving in ends and seaming.
- Scissors: Any sharp pair for cutting yarn.
- Two sheets of foam core board: 20 x 30 x 3/8 in each.
- Duct tape for sealing and reinforcing the board.
- Straight pins and a thimble for pinning swatches.
- Optional: Neutral cotton fabric to wrap the board before mounting.
- Finished size: 24 x 32 in (61 x 81 cm) board face, made from a 6-square-wide by 8-square-tall grid of 4 in granny squares (48 squares total).
Abbreviations and Beginner Glossary
- ch — chain: wrap yarn over hook, pull it through the loop on your hook. One chain made.
- sl st — slip stitch: insert hook into stitch, yarn over, pull through both the stitch and the loop on your hook at once. Makes an invisible join.
- sc — single crochet: insert hook into stitch, yarn over, pull up a loop (2 loops on hook), yarn over, pull through both loops. One sc made.
- dc — double crochet: yarn over, insert hook into stitch, yarn over, pull up a loop (3 loops on hook), yarn over, pull through 2 loops, yarn over, pull through remaining 2 loops. One dc made.
- sp — space: the gap formed by a chain (a "ch-2 sp" is the hole made by two chains).
- beg — beginning: refers to the first stitch of a round.
- rep — repeat: do the instruction again.
- st(s) — stitch(es): a completed loop of yarn on your work.
- ring — a loop of chains joined into a circle to work into.
- right side (RS) — the front, prettier face of your work.
- fasten off — cut yarn leaving a 6 in tail, pull the tail through the last loop, and tug to secure.
- weave in ends — thread a tail onto a tapestry needle and run it back and forth through the fabric so it disappears.
Gauge
Gauge: One finished granny square = 4 x 4 in (10 x 10 cm) after joining. Within the square, 4 dc = 1 in (2.5 cm) and 2 dc rows = 1 in (2.5 cm).
Gauge matters because it controls the finished size. If your squares come out at 3.5 in instead of 4 in, your board will be several inches too small and the foam core will show at the edges. To check: make one complete square exactly as written, measure it flat without stretching. If it is larger than 4 in, try a 4.5 mm hook; if smaller, try a 5.5 mm hook. Always make a test square before crocheting all 48.
Beginner Tips Before You Start
- Count after every round. Each square should end Round 1 with 12 dc and 4 corner spaces. Counting now saves ripping out later.
- Do not pull your yarn too tight. Tension should feel relaxed. Tight stitches make stiff, small squares that are hard to join.
- Use stitch markers. Place one in each corner ch-2 space as you work so you always know where the next corner goes.
- Make all 48 squares before joining. Lay them out on the floor in the checkerboard first — it is much easier to rearrange loose squares than joined ones.
- Keep your ch-2 corners consistent. Two chains, no more, no less. This is what keeps every square exactly 4 inches.
- Weave in ends as you go. Forty-eight squares make 96 tails. Do a few at a time so it never feels overwhelming.
Step-by-Step Instructions
Granny Square Motif (make 48: 24 in Color A, 24 in Color B)
Round 1: With chosen color, ch 4, join with sl st to first ch to form a ring. Ch 3 (counts as first dc), 2 dc into ring, ch 2, [3 dc into ring, ch 2] 3 times, join with sl st to top of beg ch-3. (12 dc, 4 ch-2 corner sps)
Round 2: Sl st into next 2 dc and into first ch-2 sp. Ch 3, 2 dc into same sp, ch 2, 3 dc into same sp (first corner made), *ch 1, [3 dc, ch 2, 3 dc] into next ch-2 sp; rep from * around, ch 1, join with sl st to top of beg ch-3. (4 corners of 6 dc each, 4 ch-1 side sps)
Round 3: Sl st into next 2 dc and into first corner sp. Ch 3, 2 dc into same sp, ch 2, 3 dc into same sp, *ch 1, 3 dc into next ch-1 sp, ch 1, [3 dc, ch 2, 3 dc] into next corner sp; rep from * around, ch 1, join with sl st to top of beg ch-3. Fasten off, weave in ends. Square measures approx. 4 x 4 in (10 x 10 cm).
Repeat Rounds 1–3 to make all 48 squares (24 in Color A, 24 in Color B).
Layout
Arrange the 48 squares in a 6-wide x 8-tall grid in a checkerboard: A, B, A, B, A, B across each row, alternating the starting color on every row so no two same-color squares touch edge-to-edge. This creates the alternating moss and lichen grid.
Joining (flat join, worked in Color A throughout)
Hold two squares with right sides facing. With Color A, join yarn at a corner ch-2 sp with a sl st. Working through both layers, sc in each dc and in each ch-1 sp across the edge, working 1 sc in each corner ch-2 sp. Fasten off. Join all squares in each vertical column first, then join the columns horizontally, matching corner sps exactly so the grid stays square. Weave in all ends.
Border
Round 1: With right side facing, join Color A at any corner. Ch 1, sc evenly around the entire perimeter, working 1 sc in each st and 3 sc in each corner to turn cleanly. Join with sl st to first sc.
Round 2: Ch 1, sc in each sc around, working 3 sc in each corner. Join with sl st. Fasten off and weave in ends. Block lightly to 24 x 32 in.
Assembly and Finishing
Weave in all ends on the back of the panel using your tapestry needle, running each tail under several stitches in two directions so it never works loose.
Block the panel: mist it lightly with water, pin it flat to 24 x 32 in on a towel or blocking mat, and let it dry completely. This evens out the squares and sets the grid straight.
Build the board: Butt the two foam core sheets together along their 30 in edges to make a 40 x 30 in panel; seal the seam on both sides with duct tape. Trim the panel to 25 x 33 in, leaving a 1/2 in margin on all sides of the crochet panel. Optional: wrap the panel in neutral cotton fabric, pulling taut and taping the fabric to the back.
Mount the crochet: Center the crochet panel on the board, fold the 1/2 in margin to the back, and staple or tape securely. Reinforce the corners with duct tape on the back.
Pin your swatches: Use straight pins pushed at an angle into the open corner spaces of the granny squares to tuck in small swatches, tags, or yarn samples. Use a thimble when pushing pins through the crochet fabric. Rearrange freely; the open corner spaces hold pins without distorting the grid.
Pro Tips and Variations
- Change the palette: Swap moss and lichen for any two contrasting worsted colors — charcoal and cream for a monochrome look, or rust and mustard for a warmer board.
- Resize the board: Because every square is 4 in, simply add or remove squares. A 5 x 6 grid makes a 20 x 24 in board; just trim your foam core to match plus a 1/2 in margin.
- Substitute yarn: Cotton blend gives a crisper, more durable surface for pinning; acrylic is softer and lighter. Match the worsted weight and always re-check your 4 in square gauge.
- Add a hanging loop: Before mounting, crochet a 6 in chain loop in Color A and sew it to the top back corners so the board can hang from a nail or hook.