Palm Frond Ribbed Crochet Cowl Free Pattern

Palm Frond Ribbed Crochet Cowl
Introduction
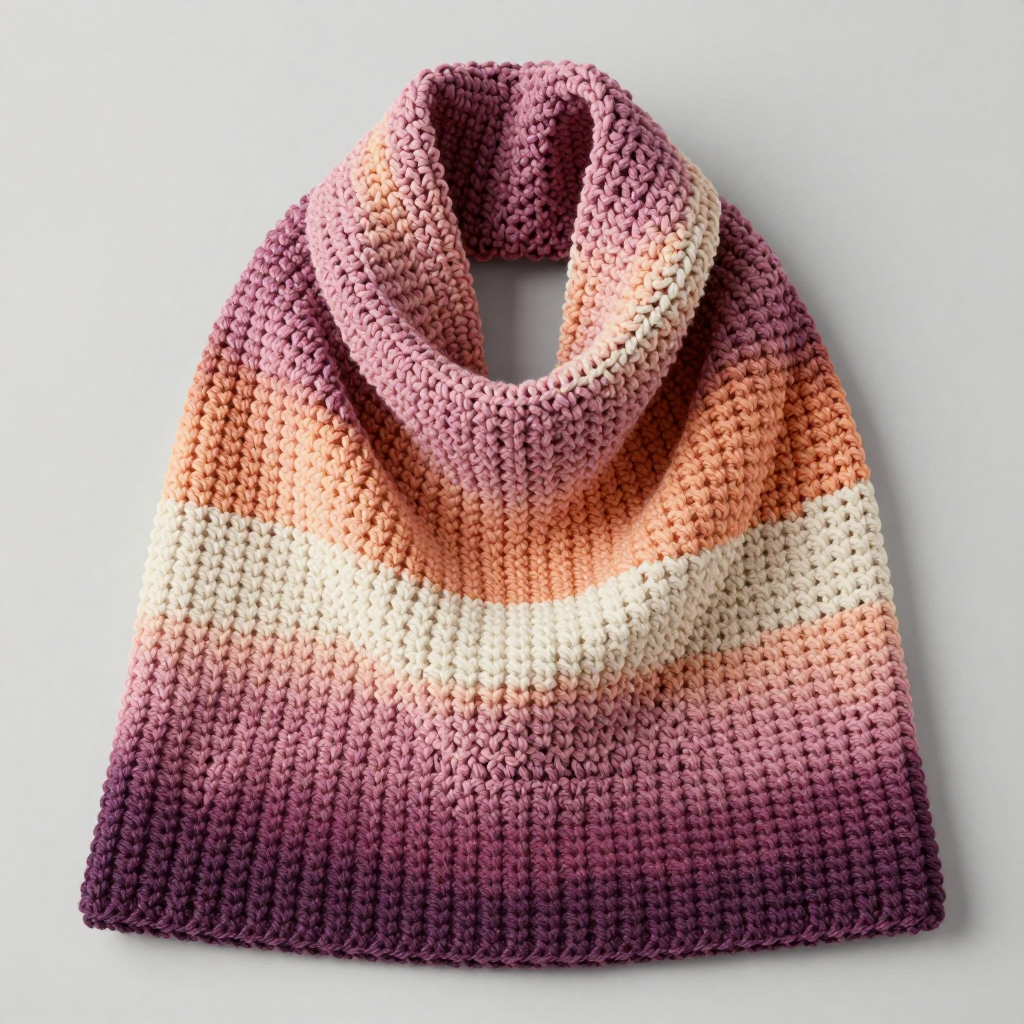
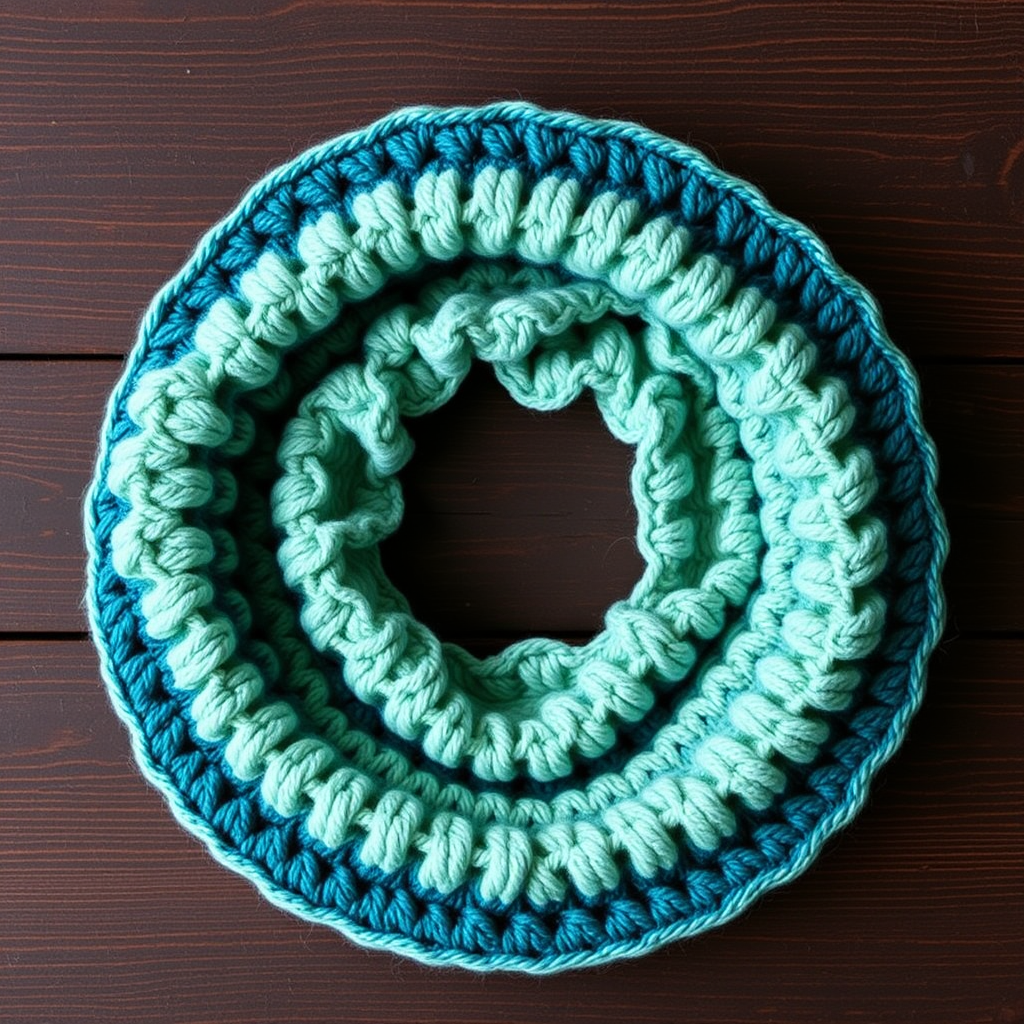
Welcome to your very first wearable crochet project! This Palm Frond Ribbed Cowl is the perfect pattern for a complete beginner because it is worked flat as a simple rectangle, uses only one main stitch, and turns into a cozy tube with one quick seam. The finished cowl is a soft, stretchy tube about 26 inches around and 9 inches tall, with pronounced horizontal ridges that feel squishy and warm against your neck. A single pale sand palm frond appliqué stitched diagonally across the front adds a tropical, handmade touch that makes it look far more advanced than it really is. If you can make a chain and a half double crochet, you can absolutely make this cowl.
Materials Needed
- Yarn (main color): Worsted weight (#4) cotton-blend yarn, approximately 220 yds (200 m) in Deep Lagoon Teal.
- Yarn (contrast color): Worsted weight (#4) cotton-blend yarn, approximately 30 yds (27 m) in Pale Sand.
- Main hook: US G/6 (4.0 mm) crochet hook.
- Appliqué hook: US E/4 (3.5 mm) crochet hook.
- Stitch markers (at least 2) to mark your first stitch and your seam.
- Tapestry needle (also called a yarn needle) — a large blunt needle with an eye big enough for yarn.
- Scissors for cutting yarn.
- Measuring tape for checking gauge and size.
Finished size: Circumference 26 in (66 cm) unstretched, stretching comfortably to 34 in (86 cm). Height 9 in (23 cm).
Abbreviations and Beginner Glossary
- ch – chain. Make a loop of yarn on your hook, wrap yarn over the hook, and pull it through the loop. That is one chain.
- hdc – half double crochet. Wrap yarn over hook, insert hook into the stitch, pull up a loop (3 loops on hook), wrap yarn over, pull through all 3 loops at once.
- hdcBLO – half double crochet in back loop only. Same as hdc, but you insert your hook only under the single back loop of the stitch below (the loop farthest from you), not under both loops. This creates the ribbing.
- sl st – slip stitch. Insert hook into stitch, wrap yarn over, pull through both the stitch and the loop on your hook at once. Very short and flat.
- sc – single crochet. Insert hook into stitch, pull up a loop (2 loops on hook), wrap yarn over, pull through both loops.
- dc – double crochet. Wrap yarn over hook, insert hook into stitch, pull up a loop (3 loops on hook), wrap yarn over, pull through 2 loops, wrap yarn over, pull through last 2 loops.
- tr – treble crochet. Wrap yarn over hook twice, insert hook into stitch, pull up a loop (4 loops on hook), wrap yarn over and pull through 2 loops three times.
- st(s) – stitch(es).
- RS – right side. The side of the fabric that faces out when worn.
- WS – wrong side. The back side of the fabric.
- Turn – flip your work over so you can crochet back the other way.
- Fasten off – cut the yarn leaving a tail, then pull the tail all the way through the last loop to lock it.
- Weave in ends – thread a yarn tail onto a tapestry needle and sew it back and forth through the fabric so it disappears.
Gauge
18 sts x 16 rows = 4 in (10 cm) in half-double-crochet ribbing (worked in back loops only), measured unstretched.
Why gauge matters: Gauge is how many stitches and rows fit into 4 inches. If your stitches are bigger than the pattern's, your cowl will come out too large; if smaller, too tight. Matching gauge makes sure your finished cowl measures 26 in around and 9 in tall.
How to make a gauge swatch: With your 4.0 mm hook and main yarn, ch 22. Work Row 1 as hdc across (21 sts), then repeat the hdcBLO row until your swatch is about 4 in tall. Lay it flat without stretching and count how many stitches fit across 4 in and how many rows fit in 4 in. If you have more stitches than 18, try a larger hook; if fewer, try a smaller hook.
Beginner Tips Before You Start
- Mark your first stitch of every row. Place a stitch marker in the very first hdc you make. It is easy to lose that stitch, and losing it makes your edges wavy.
- Do not pull the yarn too tight. Keep your tension relaxed and even. Tight stitches make the ribbing stiff and hard to work into.
- Remember the ch 1 does not count as a stitch. At the start of each row, chain 1, then make your first hdc into the very first stitch. Do not skip it.
- Work into the back loop only. Look at the top of each stitch: you will see two loops like a little "V." Insert your hook under only the loop farthest from you. This is what creates the ridges.
- Count your stitches at the end of each row. You should always have 41 hdc. Counting now saves fixing later.
- Take breaks. Ribbing is repetitive. Rest your hands every 20 minutes so you stay relaxed and consistent.
Step-by-Step Instructions
Main Cowl (worked flat in rows, then seamed)
With Deep Lagoon Teal and the 4.0 mm hook, ch 42.
Row 1 (RS): Hdc in 2nd ch from hook and in each ch across. Turn. (41 hdc)
Row 2 (WS): Ch 1 (does not count as a st), hdcBLO in each st across. Turn. (41 hdc)
Rows 3–104: Repeat Row 2. (41 hdc)
After Row 104 the piece measures approximately 26 in (66 cm) long and 9 in (23 cm) wide. Do not fasten off yet.
Seaming Into a Tube
Fold the rectangle in half with RS together so the two short ends meet. Working through both thicknesses, sl st the short ends together to form a tube. Fasten off, weave in ends, and turn the cowl RS out. The seam sits at the back of the neck.
Palm Frond Appliqué (worked flat with Pale Sand and the 3.5 mm hook)
The frond is worked as a central stem with leaflets crocheted along both sides.
Stem: Ch 26.
Row 1: Sc in 2nd ch from hook and in each ch across. Turn. (25 sc)
Row 2 (leaflets, first side): Ch 1, sc in first st, *ch 5, sl st in 2nd ch from hook, sc in next ch, hdc in next ch, dc in next ch, skip 1 st on stem, sl st in next st on stem; repeat from * along the stem, spacing leaflets about every 2 sts, until 3 sts remain. Fasten off.
Row 3 (leaflets, second side): Join Pale Sand with sl st at the base of the stem on the opposite side. Ch 1, sc in same st, *ch 6, sl st in 2nd ch from hook, sc in next ch, hdc in next ch, dc in next ch, tr in next ch, skip 1 st on stem, sl st in next st on stem; repeat from * along the stem, spacing leaflets about every 2 sts, until the tip. Fasten off, leaving a 12 in (30 cm) tail for sewing.
Assembly and Finishing
- Block the cowl lightly to settle the ribbing. Spritz with water, pat into shape, and let it dry flat. Do not over-stretch it.
- Pin the palm frond diagonally across the front of the cowl, positioning the stem tip toward the upper right and the base toward the lower left. The frond should sit slightly off-center.
- Sew the stem of the frond to the cowl using the long tail and a yarn needle, working small, invisible stitches. Catch the base of each leaflet so the frond lies flat.
- Weave in all remaining ends by threading each tail onto the tapestry needle and sewing it back and forth through the fabric for about 2 inches, then trim close.
- Gently steam the appliqué to help it lie flat against the ribbing. Hold the iron just above the fabric; do not press it down.
Pro Tips and Variations
- Change the colors: Try a sandy beige main color with a teal frond, or make the frond in a bright coral for a sunset look. Any worsted weight cotton blend will work.
- Adjust the size: To make the cowl wider or narrower, add or remove chains in multiples of 2 at the start. To make it taller or shorter, add or remove rows; each row adds about ¼ in (6 mm) of height.
- Substitute yarn: A worsted weight acrylic or wool blend works too, but cotton blend gives the crispest ribbing and best stitch definition. Always check your gauge with the new yarn.
- Add more fronds: Make two or three smaller fronds in different shades and arrange them as a cluster for a bolder tropical look.