Snuggle Sprout Newborn Hat Free Pattern – Textured Leaf-Stitch Knit Beanie
Snuggle Sprout Newborn Hat Free Pattern – Textured Leaf-Stitch Knit Beanie
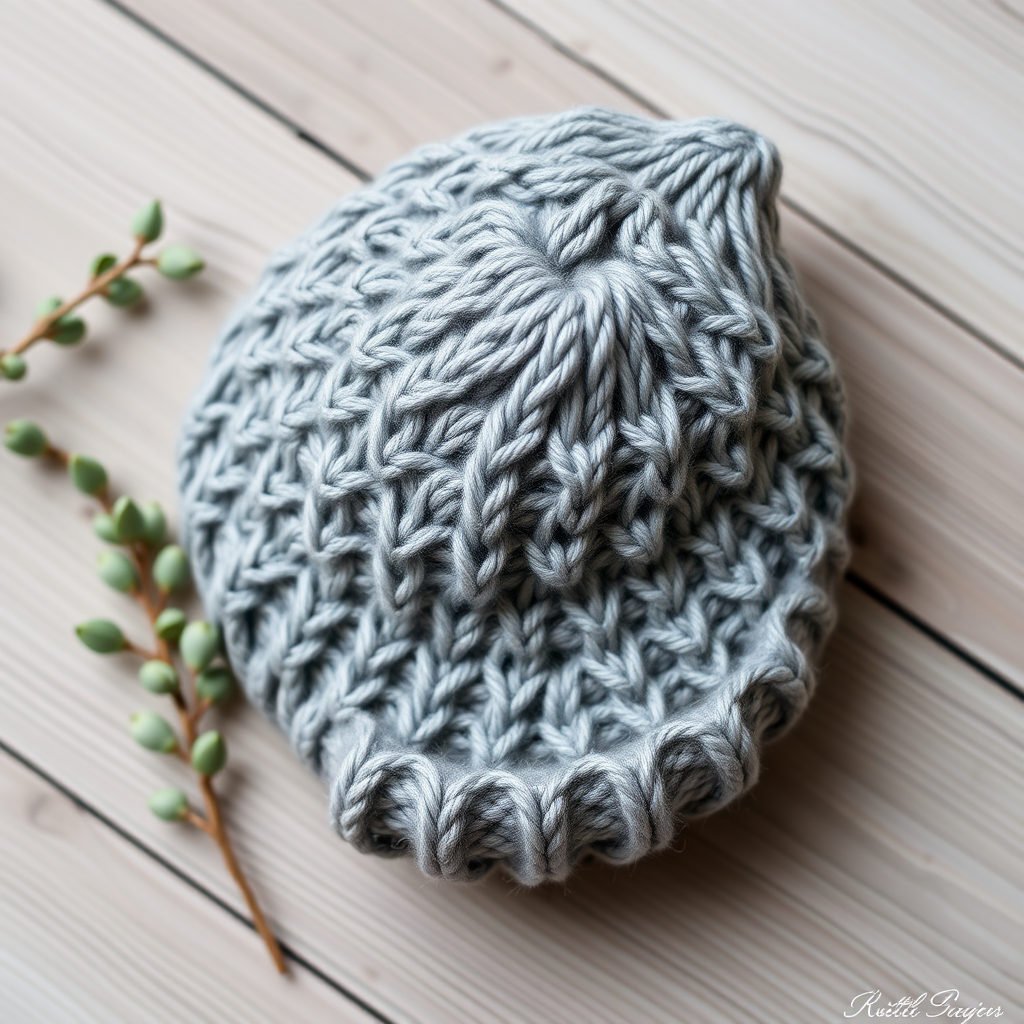
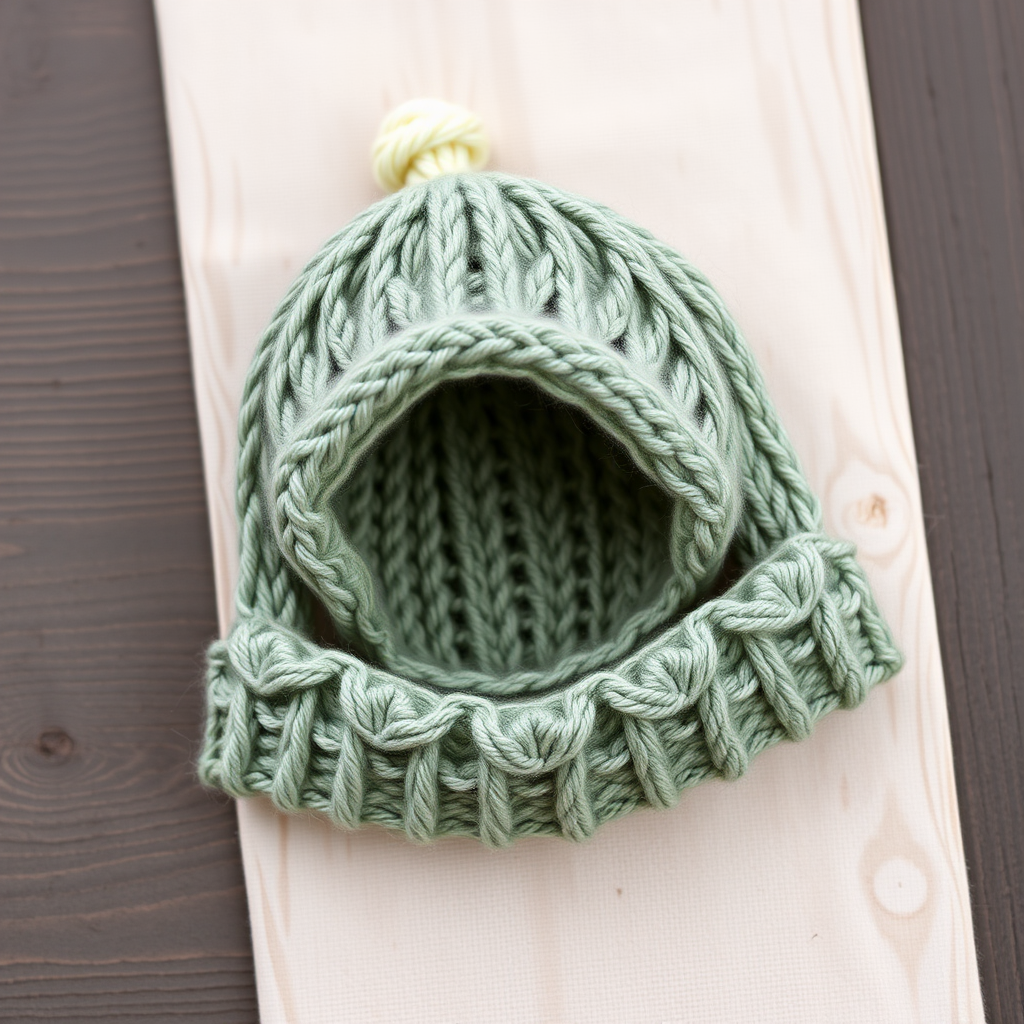
Wrap your little one in woodland charm with this quick-knit hat featuring a delicate leaf stitch pattern and a soft, rolled brim. Perfect for beginners and a heartfelt handmade gift. This pattern creates a cozy, textured beanie that looks far more complex than it actually is — the repeating leaf motif is surprisingly simple once you get into the rhythm. Whether you're a new knitter looking for your first baby project or a seasoned maker in need of a quick gift, this hat is a delightful afternoon project.
Materials Needed
Before you begin, gather the following supplies. All items are readily available at your local yarn shop or online.
- Yarn: Worsted weight yarn in sage green (approx 100g) and a small amount of cream for the stem
- Needles: US 6 (4.0mm) 16-inch circular needle and double-pointed needles for crown shaping
- Notions: Stitch marker, tapestry needle for weaving in ends, scissors
Gauge: 20 stitches and 28 rows = 4 inches in stockinette stitch. Be sure to check your gauge — if your hat comes out too big or too small, adjust your needle size accordingly.
Step-by-Step Instructions
Finished Size & Abbreviations
Finished Size: Newborn (12-13 inch head circumference)
Abbreviations:
- CO: cast on
- K: knit
- P: purl
- K2tog: knit two together
- P2tog: purl two together
- St(s): stitch(es)
- Rnd: round
- YO: yarn over
Brim
CO 72 sts. Place a stitch marker and join in the round, being very careful not to twist your stitches. Work in K1, P1 ribbing for 6 rounds. This creates a neat, stretchy edge that will roll slightly for that classic baby hat look.
Body – Leaf Stitch Pattern
Now you'll work the textured leaf pattern. The pattern is a 8-stitch repeat (6 knit stitches + 2 purl stitches). The yarn overs (YO) create the leaf shapes, and the K2tog decreases keep the stitch count consistent. Here's the full pattern:
Rnd 1: *K6, P2* repeat to end.
Rnd 2: *K6, P2* repeat to end.
Rnd 3: *K2tog, K2, YO, K2, P2* repeat to end.
Rnd 4: *K6, P2* repeat to end.
Rnd 5: *K6, P2* repeat to end.
Rnd 6: *K2tog, K1, YO, K1, YO, K1, P2* repeat to end.
Rnd 7: *K6, P2* repeat to end.
Rnd 8: *K6, P2* repeat to end.
Rnd 9: *K2tog, YO, K3, YO, P2* repeat to end.
Rnd 10: *K6, P2* repeat to end.
Rnd 11: *K6, P2* repeat to end.
Rnd 12: *K1, YO, K1, YO, K2tog, K1, P2* repeat to end.
Rnd 13: *K6, P2* repeat to end.
Rnd 14: *K6, P2* repeat to end.
Rnd 15: *K2, YO, K2tog, K2, P2* repeat to end.
Rnd 16: *K6, P2* repeat to end.
Rnd 17: *K6, P2* repeat to end.
Rnd 18: *K3, YO, K2tog, K1, P2* repeat to end.
Rnd 19: *K6, P2* repeat to end.
Rnd 20: *K6, P2* repeat to end.
Rnd 21: *K4, YO, K2tog, P2* repeat to end.
Rnd 22: *K6, P2* repeat to end.
Rnd 23: *K6, P2* repeat to end.
Rnd 24: *K5, YO, K2tog, P2* repeat to end.
Rnd 25: *K6, P2* repeat to end.
Rnd 26: *K6, P2* repeat to end.
Repeat Rnds 1-26 once more, then work Rnds 1-13 once. This gives you a total of 65 rounds of body pattern, creating a hat that's long enough to cover a newborn's head comfortably with a bit of fold-over room.
Crown Shaping
Now it's time to shape the top of the hat. Switch to double-pointed needles when stitches become too few to fit comfortably on the circular needle. This typically happens around round 3 of the decreases.
Rnd 1: *K4, K2tog* repeat to end (60 sts).
Rnd 2: *K3, K2tog* repeat to end (48 sts).
Rnd 3: *K2, K2tog* repeat to end (36 sts).
Rnd 4: *K1, K2tog* repeat to end (24 sts).
Rnd 5: *K2tog* repeat to end (12 sts).
Rnd 6: *K2tog* repeat to end (6 sts).
Cut yarn, leaving a 6-inch tail. Thread the tail through a tapestry needle, slide it through the remaining 6 stitches, pull tight to close the hole, and secure with a knot on the inside.
Stem (Optional)
This little detail adds the whimsical "sprout" look. Using cream yarn, CO 6 sts onto a double-pointed needle. Knit in i-cord for 2 inches. To work i-cord: knit 6 stitches, then slide them to the other end of the needle without turning, pull the yarn across the back, and knit again. Repeat until you reach 2 inches. Bind off.
Sew the stem to the top of the hat, curling it slightly for a natural look. Position it slightly off-center for a more organic, sprouting appearance.
Finishing
Weave in all ends using a tapestry needle. Block gently to shape — this helps even out the leaf pattern and gives the hat a professional finish. To block, wet the hat with lukewarm water, gently squeeze out excess (don't wring), lay flat on a towel, and shape to the correct dimensions. Allow to dry completely before gifting.
Tips for Success
- Mark your rounds: Use a stitch marker to track the beginning of each round. Consider using a different colored marker for the start of the pattern repeat.
- Count your stitches: After each decrease round (Rnds 3, 6, 9, 12, 15, 18, 21, 24), count your stitches to ensure you still have 72. The YO and K2tog should balance each other out.
- Keep tension even: The yarn overs should be loose enough to create an airy leaf pattern but not so loose that they create holes. Practice on a swatch if needed.
- Use lifelines: If you're new to lace patterns, thread a piece of contrasting yarn through your stitches after each pattern repeat. If you make a mistake, you can easily rip back to the lifeline without losing your work.
This Snuggle Sprout hat is a beautiful, practical project that works up quickly. The leaf stitch pattern is engaging enough to keep you interested but simple enough for a confident beginner. The finished hat makes a thoughtful gift for a baby shower, new arrival, or your own little one. Happy knitting!