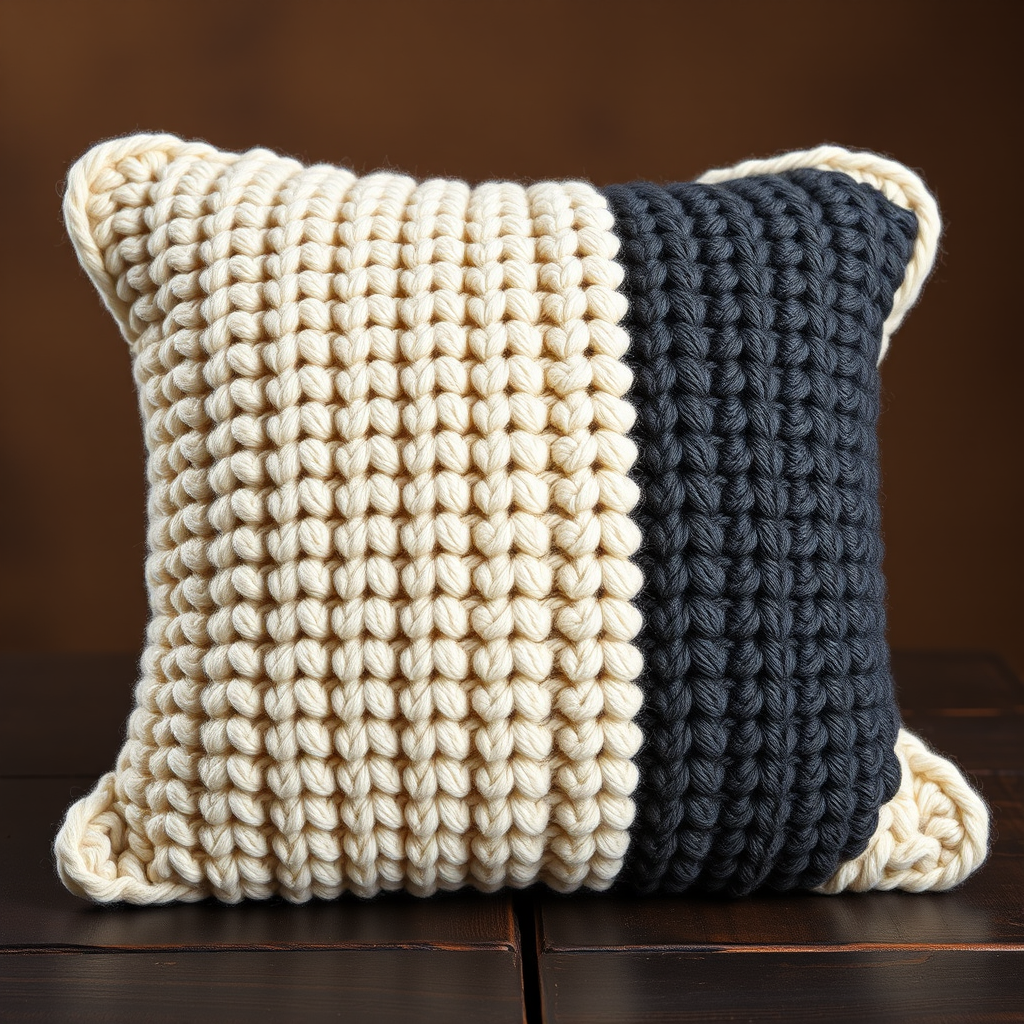
The Cascading Coral Ruffle Pillow Cover Free Pattern – A Knitted Striped Cushion with Layered Scalloped Edges

The Cascading Coral Ruffle Pillow Cover: A Free Knitting Pattern for Coastal Charm
Bring a touch of coastal elegance to your living space with this uniquely textured pillow cover, featuring soft coral and cream stripes adorned with delicate ruffled edges. This knitted design combines classic stripes with a modern, frilly finish that adds depth and charm to any room. Whether you're an experienced knitter looking for a fun weekend project or a beginner ready to tackle your first home decor piece, this pattern offers clear instructions and stunning results. The warm, seashell-inspired palette of coral, cream, and soft peach will instantly transform your sofa, bed, or reading nook into a cozy seaside retreat.
Materials Needed
Before you begin, gather the following supplies to ensure a smooth and enjoyable knitting experience:
- Yarn: Worsted weight cotton yarn in three colors:
- MC (Main Color): Coral – approximately 250g (about 5 skeins)
- CC1 (Contrast Color 1): Cream – approximately 150g (about 3 skeins)
- CC2 (Contrast Color 2): Soft Peach – approximately 100g (about 2 skeins)
- Knitting Needles: US 7 (4.5mm) straight needles
- Crochet Hook: US G/6 (4.0mm) hook for the ruffle edging
- Other Tools: Tapestry needle for seaming, stitch markers, scissors, measuring tape
- Pillow Form: 16x16 inch (40x40 cm) pillow insert
Gauge: 18 stitches and 24 rows = 4 inches (10 cm) in stockinette stitch. Always check your gauge before starting to ensure your pillow cover fits the pillow form perfectly.
Step-by-Step Instructions
This pillow cover is knitted flat in two panels and then seamed, with a crocheted ruffle edging applied to the front panel for a frilly, dimensional look. The back panel features a simple envelope closure for easy insertion of a pillow form. Follow along carefully, and you'll have a beautiful handmade pillow in no time.
Front Panel (Striped with Ruffles)
Foundation: With MC (Coral), cast on 72 stitches using your preferred method (long-tail cast on works well).
Rows 1–4: Work in garter stitch (knit every row) for a neat, sturdy edge. This will prevent curling and give your pillow a polished finish.
Row 5: Switch to stockinette stitch (knit on right side, purl on wrong side) and begin the stripe pattern. Follow this sequence:
- Work 10 rows in MC (Coral)
- Work 10 rows in CC1 (Cream)
- Work 10 rows in CC2 (Soft Peach)
Repeat this 30-row stripe sequence until the panel measures 18 inches (46 cm) from the cast-on edge. Important: End with a wrong-side row (a purl row) so your next row is a right-side row. This ensures the ruffle attaches cleanly.
Binding Off: Bind off all stitches loosely in pattern (knit the knit stitches and purl the purl stitches as they appear). Weave in the yarn ends on the wrong side of the work.
Adding the Ruffle Edging
Now comes the fun part – the cascading ruffle that gives this pillow its signature look!
- Using the crochet hook and CC1 (Cream), attach the yarn to the right edge of the front panel at the bottom corner with a slip stitch.
- Work a row of single crochet (sc) evenly along the entire right side edge. Aim for approximately 1 sc per garter ridge or every other row of stockinette – about 40-45 sc total. This creates a clean, stable base for the ruffle.
- When you reach the top edge, begin the ruffle row:
- *Single crochet (sc) in the next stitch, skip 1 stitch, work 5 double crochet (dc) in the next stitch, skip 1 stitch*
- Repeat from * to * across the entire top edge. The 5-dc clusters will naturally curl and create beautiful scalloped ruffles.
- Continue with single crochet down the left edge to match the right side.
- Fasten off and weave in all loose ends carefully with the tapestry needle.
Pro Tip: If you want a fuller, more dramatic ruffle, you can work 6 or 7 dc in each cluster instead of 5. For a subtler look, use 4 dc.
Back Panel (Envelope Closure)
Foundation: With MC (Coral), cast on 72 stitches.
Rows 1–4: Work in garter stitch (knit every row) for a matching edge.
Row 5: Switch to stockinette stitch and work in MC only (no stripes) until the panel measures 12 inches (30 cm) from the cast-on edge. End with a wrong-side row.
Next Row (Right Side): Knit across all stitches, then place a stitch marker to mark the fold line. Continue in stockinette stitch for another 6 inches (15 cm), making the panel approximately 18 inches total.
Binding Off: Bind off all stitches loosely. This extra length creates the overlap for the envelope closure.
Finishing and Assembly
Now it's time to bring both panels together into a beautiful, functional pillow cover.
- Create the Envelope Pocket: Lay the back panel flat with the right side facing up. Fold the bound-off edge over by 3 inches (7.5 cm) to create a hem. Sew down the sides of this fold using a whip stitch or mattress stitch to form a pocket. This is where the pillow form will slide in.
- Seam the Panels: Place the front panel on top of the back panel, right sides together, aligning all edges. The ruffle should be sandwiched between the layers. Using the tapestry needle and MC yarn, sew around three sides (left, right, and bottom), leaving the top open. Use a sturdy seam allowance of about ½ inch (1.25 cm).
- Turn Right Side Out: Carefully turn the cover right side out through the top opening. Gently push out the corners with a blunt tool (like a knitting needle) to create crisp corners.
- Insert the Pillow Form: Slide the 16x16 inch pillow form through the envelope opening in the back panel. Tuck the flap inside to close.
- Secure the Flap (Optional): For extra security, add a few hidden stitches with the tapestry needle to keep the flap in place.
Care Instructions
To keep your handmade pillow looking its best: hand wash in cold water with a gentle detergent, lay flat to dry, and gently reshape the ruffles while damp. Avoid wringing or twisting, as this can distort the cotton yarn and the delicate scalloped edges.
Enjoy your beautiful new Cascading Coral Ruffle Pillow Cover! This pattern is perfect for adding a handmade, artisanal touch to any room, and it makes a thoughtful, heartfelt gift for housewarmings, weddings, or any special occasion. Happy knitting!