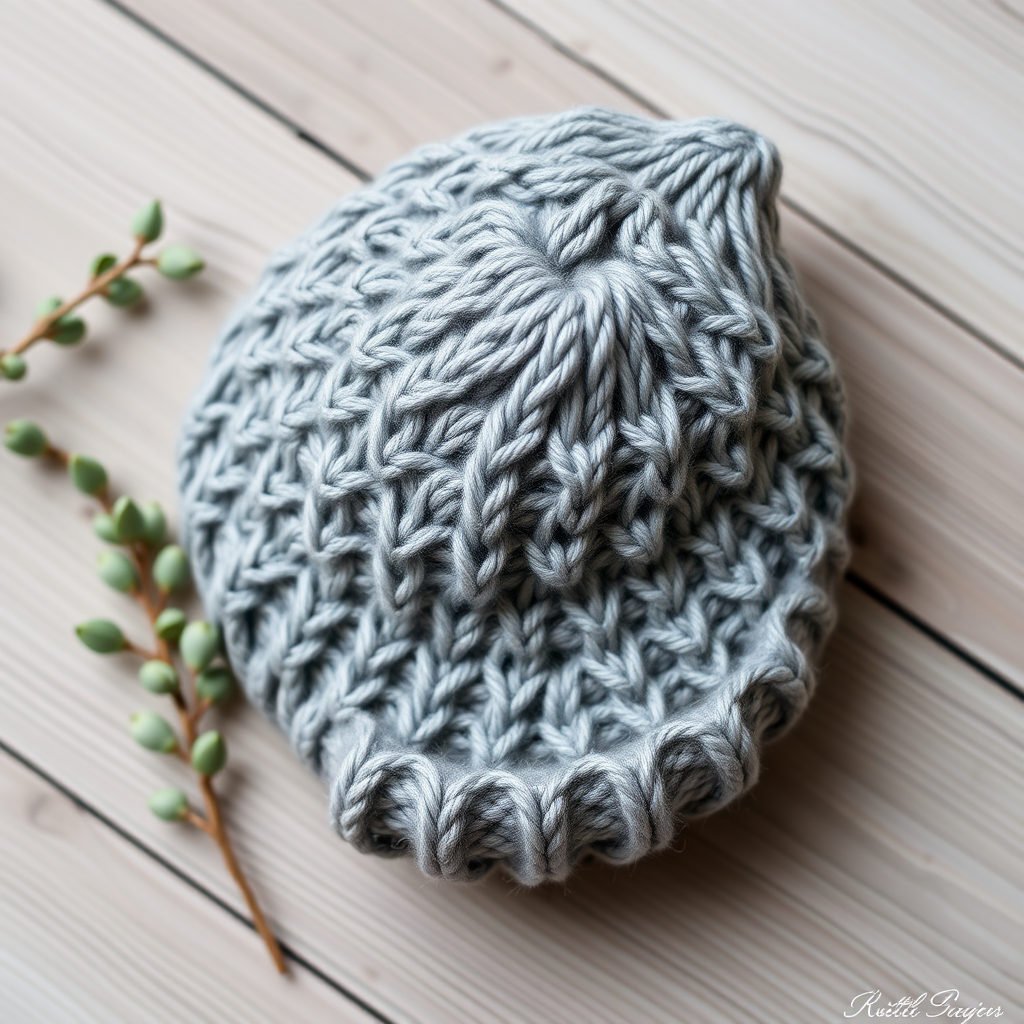
The Cloudberry Nesting Set Free Pattern – Knit a Cozy Burp Cloth & Bottle Cover
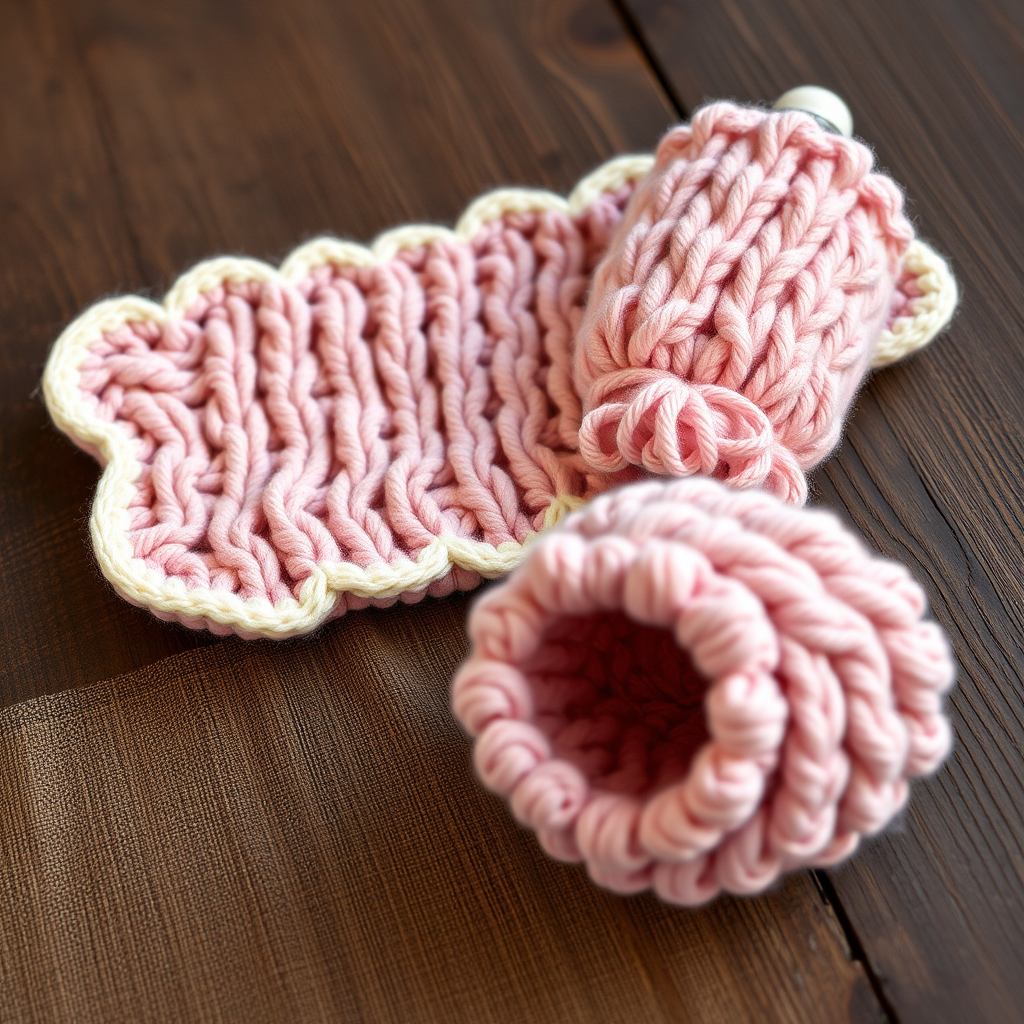
The Cloudberry Nesting Set: A Heirloom-Quality Knit for Baby's Feeding Time
There is something deeply special about creating a handmade gift for a new baby. The Cloudberry Nesting Set, featuring a generously sized burp cloth and a snug bottle cover, is the perfect project for knitters looking to craft something both beautiful and practical. The textured berry stitch, reminiscent of wild cloudberries, creates a raised, bumpy surface that is perfect for gently wiping up little spills, while the soft scalloped edges and cream accents give it a timeless, heirloom quality. This set is more than just a functional item; it's a keepsake that will be treasured for years to come.
This pattern is designed with the beginner in mind, using simple knit and purl stitches to create a stunning textured fabric. The worsted-weight cotton yarn is durable, absorbent, and soft—ideal for sensitive baby skin. Whether you're knitting for your own little one or as a thoughtful gift for a baby shower, this pattern is sure to become a favorite in your knitting repertoire.
Materials Needed
Before you begin, gather the following materials to ensure a smooth and enjoyable knitting experience:
- Yarn: Worsted weight cotton yarn (e.g., Lion Brand 24/7 Cotton) in Cloudberry Pink (MC) and Cream (CC). You will need approximately 200g of the main color (MC) and 50g of the contrasting color (CC).
- Needles: US 7 (4.5mm) knitting needles. You will also need a set of double-pointed needles (DPNs) or a circular needle for the bottle cover if you prefer to knit in the round.
- Notions: A tapestry needle for weaving in ends, a crochet hook (optional, for the drawstring), and stitch markers.
- Gauge: 20 stitches and 28 rows = 4 inches in stockinette stitch (blocked). It's always a good idea to knit a gauge swatch to ensure your finished project matches the intended measurements.
Step-by-Step Instructions
Follow these detailed instructions to create your own Cloudberry Nesting Set. The pattern is divided into two parts: the burp cloth and the bottle cover. Take your time, and enjoy the process of watching this beautiful texture come to life.
Part 1: The Burp Cloth
The burp cloth is a rectangular piece with a beautiful berry stitch pattern framed by garter stitch borders. The scalloped cream edging adds a delicate, finished touch.
Cast On and Bottom Border
With your main color (MC), cast on 60 stitches. Work 6 rows in garter stitch, which means you will knit every row. This creates a sturdy, non-curling border for the bottom of the cloth.
Main Body – Ribbed Section
After the garter border, you'll work a short ribbed section to add structure. This is worked over the entire 60 stitches.
- Row 1 (Right Side): K5 (this is your garter border), then repeat *K2, P2* across the row until you have 5 stitches left, and K5 (your garter border).
- Row 2 (Wrong Side): K5, then repeat *P2, K2* across the row until you have 5 stitches left, and K5.
Repeat these two rows until the ribbed section measures 2 inches from the cast-on edge.
Main Body – Berry Stitch Pattern
Now you will begin the signature berry stitch pattern. This pattern is worked over the 50 center stitches, with the 5-stitch garter borders on each side. The "K1, P1, K1 into next stitch" is how you create the berry bump. This means you knit into the front of the stitch, purl into the back of the same stitch, and knit into the front again—increasing one stitch into three. The "P3tog" (purl three together) decreases three stitches back into one, creating the rounded berry shape.
- Row 1 (Right Side): K5, then repeat *K1, P1, K1 into next stitch, P3tog* across the row until you have 5 stitches left, K5.
- Row 2 (Wrong Side): K5, then repeat *P3, K1* across the row until you have 5 stitches left, K5.
- Row 3 (Right Side): K5, then repeat *P3tog, K1, P1, K1 into next stitch* across the row until you have 5 stitches left, K5.
- Row 4 (Wrong Side): K5, then repeat *K1, P3* across the row until you have 5 stitches left, K5.
Repeat these 4 rows until the piece measures 12 inches from the cast-on edge, ending with a wrong-side row. The alternating placement of the increases and decreases in rows 1 and 3 creates the staggered, organic berry pattern.
Top Border and Bind Off
Work 6 rows in garter stitch with your main color (MC), knitting every row. After these 6 rows, bind off all stitches loosely. A loose bind-off will keep the top edge from pulling in.
Scalloped Edging
With your contrasting color (CC), you will now add the delicate edging to the side edges of the burp cloth. Using your knitting needle, pick up and knit 1 stitch for every 2 rows along one of the side edges. Work 3 rows in garter stitch (knit every row), then bind off. Repeat this process on the other side edge. This creates a lovely, subtle scalloped effect.
Finishing
Weave in all loose ends with your tapestry needle. To give your burp cloth a professional, polished look, block it gently to shape. Lay it flat, mist it with water, and let it dry completely.
Part 2: The Bottle Cover
The bottle cover is knitted in the round, creating a seamless, snug tube that fits over a standard baby bottle. The ribbed bottom and drawstring top ensure a secure fit.
Cast On and Ribbing
With your main color (MC), cast on 40 stitches. Join in the round, being careful not to twist your stitches. Place a stitch marker to mark the beginning of the round. Work K2, P2 ribbing for 1.5 inches. This will form the bottom of the cover.
Body – Berry Stitch Pattern in the Round
Now you'll work the berry stitch pattern in the round. Since you are working in the round, you will knit every round, and the pattern is worked over all 40 stitches.
- Round 1: *K1, P1, K1 into next stitch, P3tog* repeat around.
- Round 2: *P3, K1* repeat around.
- Round 3: *P3tog, K1, P1, K1 into next stitch* repeat around.
- Round 4: *K1, P3* repeat around.
Repeat these 4 rounds until the piece measures 5 inches from the cast-on edge. The fabric will have a beautiful, continuous berry texture all the way around.
Decrease for the Top
To shape the top of the bottle cover, you will now decrease stitches. Switch to double-pointed needles when the stitches become too tight for your circular needle.
- Round 1: *K2tog, P2tog* repeat around. You will now have 20 stitches.
- Round 2: *K2tog* repeat around. You will now have 10 stitches.
- Round 3: *K2tog* repeat around. You will now have 5 stitches.
Cut your yarn, leaving a long tail. Thread the tail through the tapestry needle, and pass it through the remaining 5 stitches. Pull tight to close the hole, and secure the yarn on the inside of the cover.
Finishing and Drawstring
Weave in all ends. With your contrasting color (CC), use a crochet hook to make a chain of 30 stitches. Alternatively, you can use the knitted i-cord method. Thread this chain through the ribbing at the top of the cover to create a drawstring. For an extra charming touch, add a small pom-pom to each end of the drawstring.
Your Cloudberry Nesting Set is now complete! The soft, textured fabric and delicate details make it a beautiful and functional gift. This set is sure to be a cherished item, passed down through generations as a symbol of love and care.