The Whispering Willow Edge: A Free Crochet Pattern for a Textured, Leafy Border
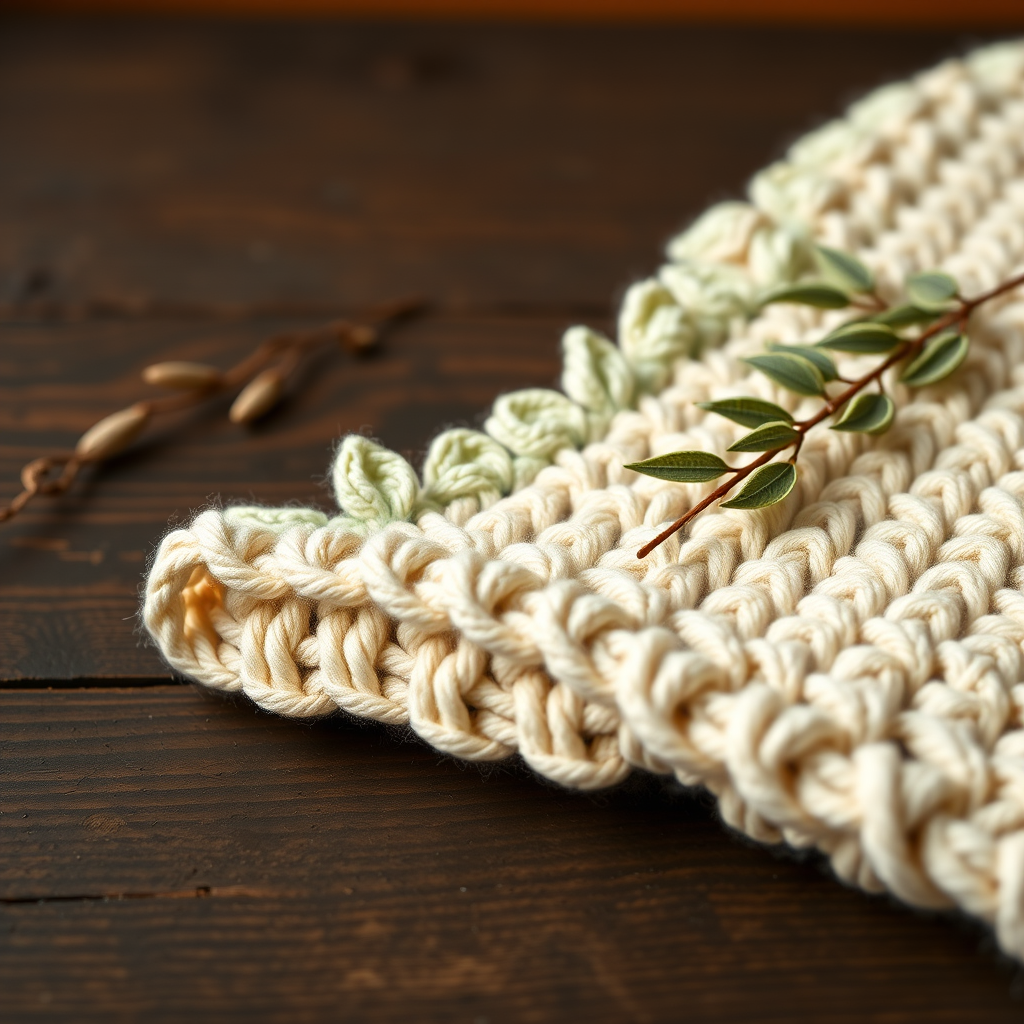
Introducing the Whispering Willow Edge
Elevate any blanket, scarf, or garment with this unique crochet border that mimics a cascade of delicate willow leaves. This pattern adds a touch of organic, woodland elegance to your finished projects. The textured, leafy border is surprisingly simple to create, making it perfect for adding a professional, handcrafted finish to your handmade items. Whether you're finishing a baby blanket, a cozy throw, or a scarf, this border will transform your project into a work of art.
Materials Needed
To create this beautiful border, you will need the following materials:
- Yarn: Worsted weight cotton or acrylic yarn in two complementary colors (e.g., Sage Green and Cream). Approximately 50-100 yards of each color, depending on project size.
- Hook: Crochet hook size H/8 (5.0 mm) or size needed to achieve gauge.
- Gauge: First 4 rows of pattern = 2 inches wide. Gauge is not critical for this edging, but consistency is key for a uniform look.
- Other: Yarn needle for weaving in ends, scissors.
Step-by-Step Instructions
Notes: This border is worked directly onto the edge of your project. The pattern is a multiple of 6 stitches + 1. If your project edge doesn't match, you can adjust by adding or skipping a few stitches evenly.
Abbreviations: ch = chain, sc = single crochet, dc = double crochet, tr = treble crochet, sl st = slip stitch, sk = skip, st(s) = stitch(es)
Setup Row (with Color A)
Attach Color A to the edge of your project using a slip stitch. Ch 1 (this does not count as a stitch), then sc in the same stitch where you attached the yarn. Continue by working 1 sc in each stitch across the entire edge of your project. Turn your work.
Row 1 (Color A)
Ch 3 (this counts as your first double crochet). Dc in the next 2 stitches. *Ch 2, skip 2 stitches, then dc in the next 3 stitches. Repeat from * across the row. You should end with a group of 3 dc (the last dc being worked into the last sc of the setup row). Turn.
Row 2 (Color A)
Ch 3 (counts as dc). Dc in the next 2 dc stitches. *Ch 2, skip the ch-2 space from the previous row, then dc in the next 3 dc stitches. Repeat from * across the row. Turn.
Row 3 (Color B)
Attach Color B with a slip stitch in the first dc of the row. Ch 1 (does not count as a stitch). Sc in the same stitch (the first dc). *Ch 5, then sc in the next dc (this is the center dc of the group of 3). Repeat from * across the row. You will end with a sc in the top of the turning chain (the 3rd chain from the beginning of Row 2). Turn.
Row 4 (Color B)
Slip stitch into the first ch-5 space. In each ch-5 space across the row, work the following sequence to create the leaf shape: (sc, ch 2, 2 dc, ch 2, sc). This means: work 1 sc into the ch-5 space, chain 2, work 2 double crochet into the same ch-5 space, chain 2, then work 1 sc into the same ch-5 space. Repeat this in every ch-5 space across the row. Fasten off Color B.
Finishing
Weave in all ends using a yarn needle. Block gently by lightly steaming or wet-blocking to open up the leaves and set the stitches. This will give your border a crisp, professional look.
Your Whispering Willow Edge is now complete! Enjoy the delicate, textured beauty it adds to your project.



