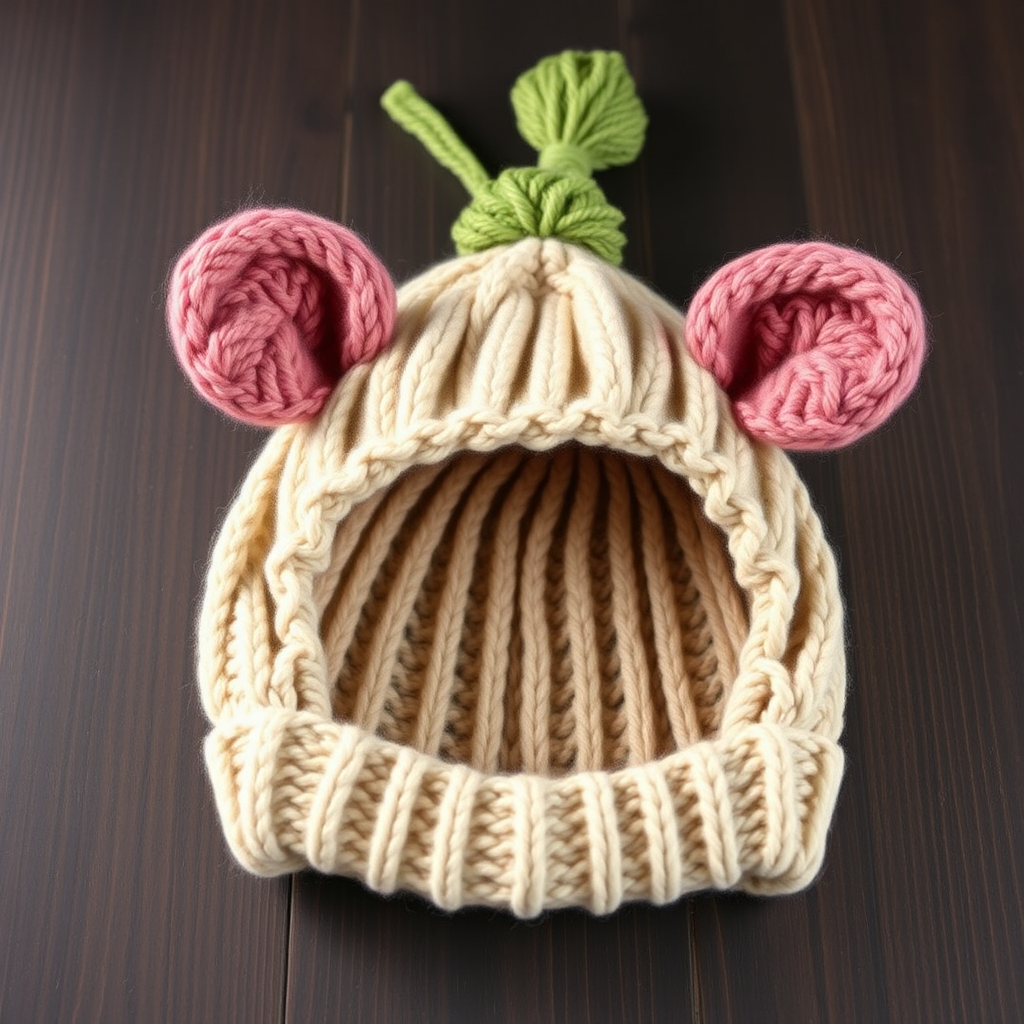
The Whispering Willow Striped Baby Hat Free Pattern – A Knitted Seed Stitch and Linen Stitch Newborn Beanie

The Whispering Willow Striped Baby Hat: A Beginner-Friendly Knitting Pattern
There is something truly magical about knitting for a new baby. Each stitch carries a wish for warmth, comfort, and sweet dreams. Today, I am absolutely delighted to share a pattern that has captured my heart: the Whispering Willow Striped Baby Hat. This isn't just any beanie; it's a modern heirloom piece that combines the gentle, bumpy texture of a seed stitch brim with the serene, woven look of the linen stitch body. The earthy palette of Soft Sage Green and Creamy Oatmeal evokes a peaceful woodland aesthetic, making it the perfect gift for a baby shower or a special project for your own little one. Whether you are a seasoned knitter looking for a quick, satisfying project or a brave beginner ready for their first hat, this pattern is designed to guide you through every step with clarity and ease. Let's cast on and create a little piece of woodland charm!
Materials Needed: Gathering Your Knitting Essentials
Before we begin our knitting journey, let's ensure you have all the necessary tools and yarn. This project is wonderfully portable and requires minimal supplies, making it perfect for knitting on the go.
Yarn
- Worsted weight yarn in two colors:
- Color A (Soft Sage Green): Approximately 50g
- Color B (Creamy Oatmeal): Approximately 50g
Pro-Tip: Choose a soft, machine-washable wool blend or a high-quality acrylic for easy care and ultimate comfort against a baby's delicate skin.
Needles & Notions
- US 6 (4.0 mm) 16-inch circular knitting needle – for the main body of the hat.
- US 6 (4.0 mm) double-pointed needles (DPNs) – for the crown decreases when the circumference gets too small for the circular needle.
- Stitch marker – to mark the beginning of the round.
- Tapestry needle – for weaving in ends.
- Scissors
Gauge
20 stitches and 28 rows = 4 inches in stockinette stitch. Always take the time to knit a gauge swatch. It ensures your hat will fit perfectly. If your gauge is off, adjust your needle size accordingly.
Step-by-Step Instructions: Knitting the Whispering Willow Hat
This hat is knitted in the round from the brim up, creating a seamless and polished finish. We will use a combination of seed stitch and linen stitch to create a beautifully textured, striped fabric that is both stretchy and warm. Don't be intimidated by the different stitches; they are simple to master and create a stunning result.
Abbreviations
- CO: Cast on
- K: Knit
- P: Purl
- K2tog: Knit two stitches together (decrease)
- St(s): Stitch(es)
- Rnd(s): Round(s)
Part 1: The Seed Stitch Brim
We'll begin with a deep, stretchy brim that will keep the hat snug and secure on a little head.
- Cast On: With Color A (Soft Sage Green), CO 72 sts. Place a stitch marker and join in the round, being extremely careful not to twist your stitches.
- Rnds 1-8: Work in seed stitch. The seed stitch is a simple two-round repeat:
- Rnd 1: *K1, P1*; repeat from * to end of rnd.
- Rnd 2: *P1, K1*; repeat from * to end of rnd.
Part 2: The Textured Striped Body
Now we will alternate between the linen stitch and the seed stitch to create the gorgeous striped pattern. The linen stitch creates a dense, woven-looking fabric that is simply beautiful.
- Rnds 9-10 (Color B): Switch to Color B (Creamy Oatmeal) and work in linen stitch.
- Rnd 9: *K1, slip 1 purlwise with yarn in front*; repeat from * to end of rnd.
- Rnd 10: *P1, slip 1 purlwise with yarn in back*; repeat from * to end of rnd.
- Rnds 11-12 (Color A): Switch back to Color A and work in seed stitch (Rnd 1: *K1, P1*; Rnd 2: *P1, K1*).
- Rnds 13-14 (Color B): Switch to Color B and work in linen stitch (Rnd 13: *K1, slip 1 purlwise with yarn in front*; Rnd 14: *P1, slip 1 purlwise with yarn in back*).
- Rnds 15-16 (Color A): Switch to Color A and work in seed stitch.
- Rnds 17-18 (Color B): Switch to Color B and work in linen stitch.
- Rnds 19-20 (Color A): Switch to Color A and work in seed stitch.
- Rnds 21-22 (Color B): Switch to Color B and work in linen stitch.
- Rnds 23-24 (Color A): Switch to Color A and work in seed stitch.
- Rnds 25-26 (Color B): Switch to Color B and work in linen stitch.
- Rnds 27-28 (Color A): Switch to Color A and work in seed stitch.
- Rnds 29-30 (Color B): Switch to Color B and work in linen stitch.
- Rnds 31-32 (Color A): Switch to Color A and work in seed stitch.
- Rnds 33-34 (Color B): Switch to Color B and work in linen stitch.
- Rnds 35-36 (Color A): Switch to Color A and work in seed stitch.
Part 3: The Crown Decreases
Now we will shape the top of the hat. We will switch to Color B permanently for a solid, elegant crown. This is where we will switch to double-pointed needles when the circular needle becomes too long.
- Rnd 37: Switch to Color B. *K6, K2tog*; repeat from * to end of rnd (63 sts).
- Rnd 38: Knit all sts.
- Rnd 39: *K5, K2tog*; repeat from * to end of rnd (54 sts).
- Rnd 40: Knit all sts.
- Rnd 41: *K4, K2tog*; repeat from * to end of rnd (45 sts). At this point, switch to your double-pointed needles, distributing the stitches evenly.
- Rnd 42: Knit all sts.
- Rnd 43: *K3, K2tog*; repeat from * to end of rnd (36 sts).
- Rnd 44: Knit all sts.
- Rnd 45: *K2, K2tog*; repeat from * to end of rnd (27 sts).
- Rnd 46: Knit all sts.
- Rnd 47: *K1, K2tog*; repeat from * to end of rnd (18 sts).
- Rnd 48: *K2tog*; repeat from * to end of rnd (9 sts).
Finishing Touches
- Cut your yarn, leaving a 6-inch tail.
- Thread the tail onto your tapestry needle.
- Slide the needle through the remaining 9 stitches on your knitting needle, removing them from the needle as you go.
- Pull the yarn tight to gather the top of the hat closed. Secure it with a knot.
- Weave in all loose ends carefully on the inside of the hat to give it a clean, professional finish.
And there you have it—a beautiful, handcrafted Whispering Willow Striped Baby Hat! This pattern is a joy to knit, and the result is a stunning, textured heirloom piece that will be treasured. The combination of the seed stitch and linen stitch creates a fabric that is not only visually appealing but also wonderfully warm and stretchy. I hope you enjoy every moment of knitting this special hat. Happy knitting, and may your needles always be busy with love!