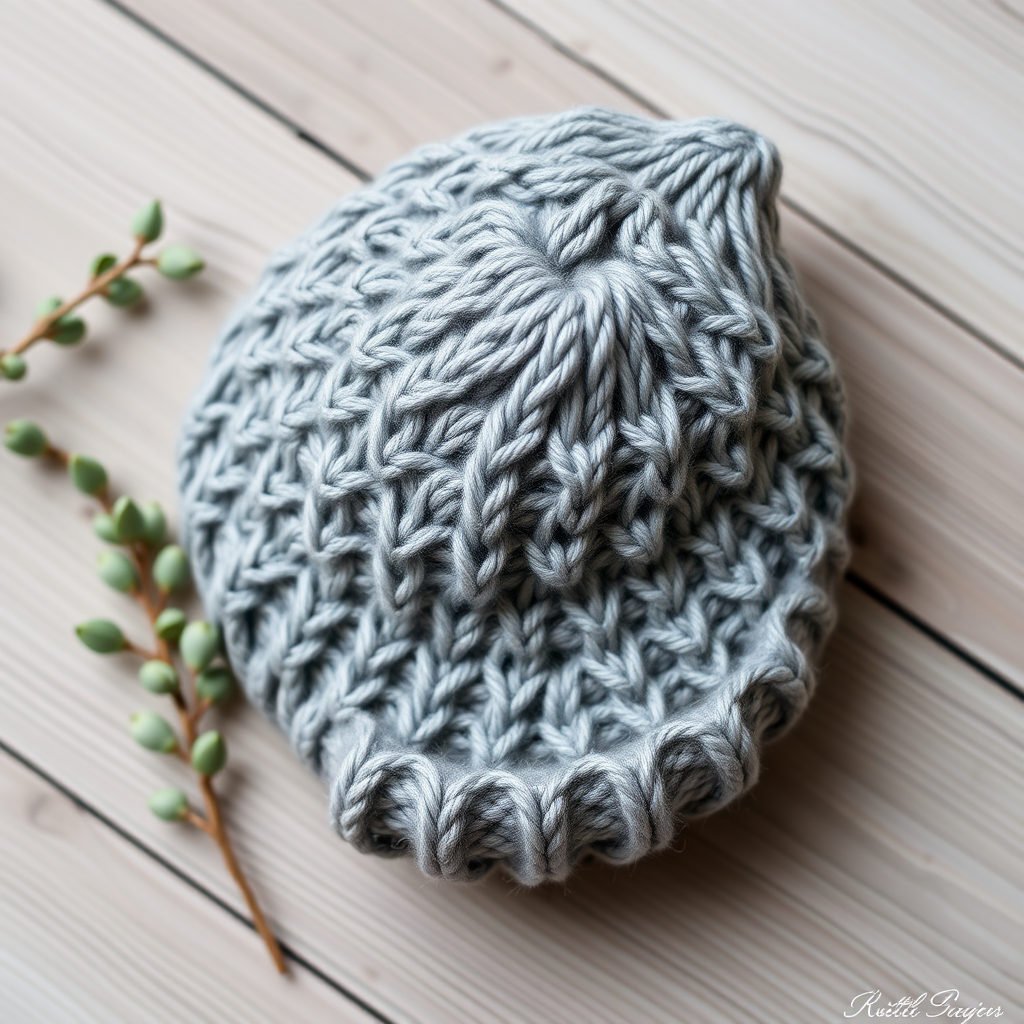
The Woodland Berry Set: A Free Knitting Pattern for a Textured Baby Dress, Hat, Booties, and Mittens
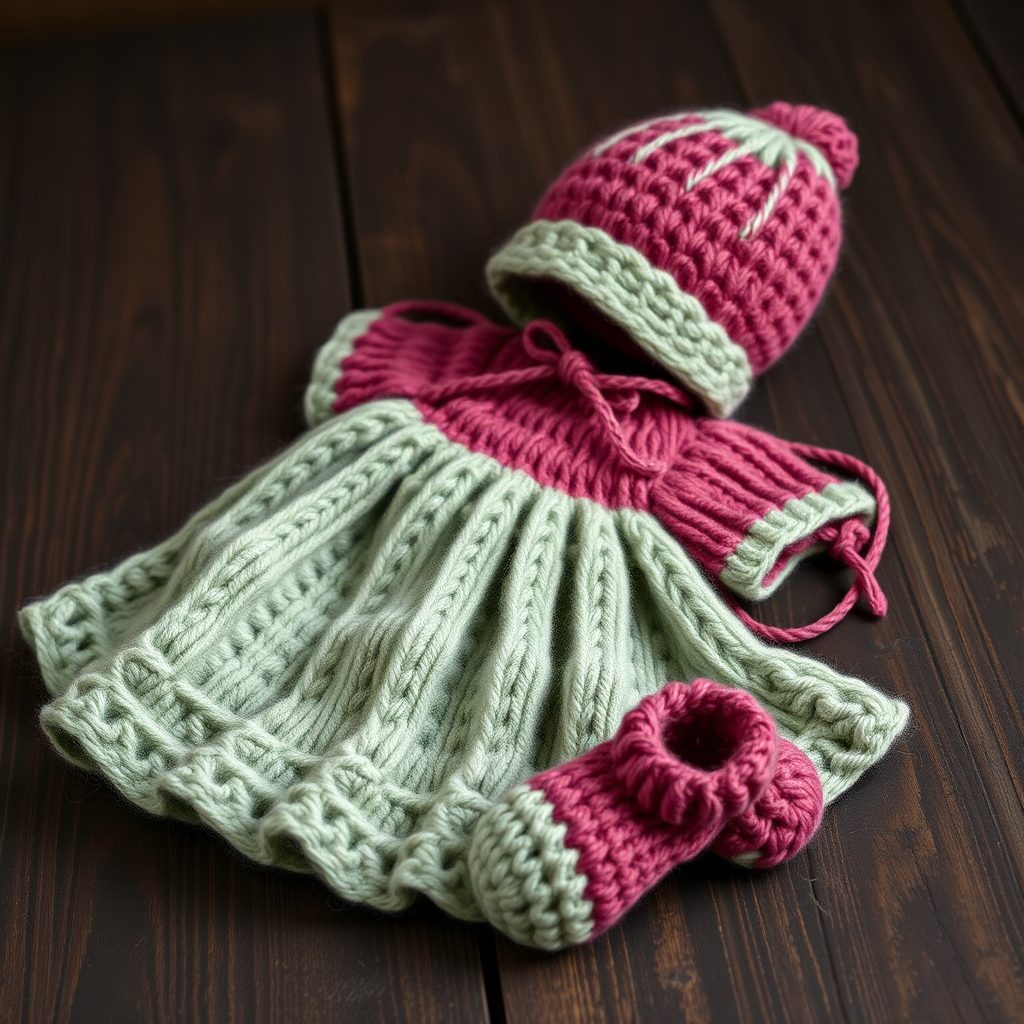
Wrap Your Little One in Woodland Charm: The Free Woodland Berry Set Knitting Pattern
There is something truly magical about knitting a complete baby set. It’s a labor of love that results in a timeless, heirloom-quality ensemble. The Woodland Berry Set is designed to capture the cozy charm of the forest, featuring a delicate bramble stitch and sweet, berry-inspired details. This free pattern includes a textured dress, a classic hat, simple booties, and seamless mittens. Whether you are knitting for your own little one or as a gift, this set is as beautiful to knit as it is to give. Let’s get started on creating this rustic, handcrafted treasure.
Materials Needed
To create this set, you will need the following materials. The sample uses Knit Picks Swish DK in 'Sagebrush' and 'Cranberry', but any DK weight (light worsted) yarn will work beautifully.
- Yarn: DK weight (light worsted) yarn in two colors:
- Main Color (MC): A soft heathery sage green (approx 350 yds). Sample uses Knit Picks Swish DK in 'Sagebrush'.
- Contrast Color (CC): A rich, muted raspberry (approx 150 yds). Sample uses Knit Picks Swish DK in 'Cranberry'.
- Needles:
- US size 5 (3.75 mm) circular needles (16-inch and 24-inch) and double-pointed needles (DPNs) for small circumferences.
- A US size 4 (3.5 mm) needle for ribbing.
- Notions: Stitch markers, tapestry needle, scrap yarn or stitch holders.
Gauge & Sizing
Getting the correct gauge is essential for a perfect fit. Please take the time to knit a gauge swatch.
- Gauge: 22 stitches and 30 rows = 4 inches in stockinette stitch on larger needles, after blocking. 24 stitches and 32 rows = 4 inches in bramble stitch pattern on larger needles.
- Sizes: 0-3 months (3-6 months, 6-12 months). Instructions for smallest size given, with larger sizes in parentheses.
Abbreviations
Before you begin, familiarize yourself with these common knitting abbreviations used in the pattern.
- k = knit
- p = purl
- k2tog = knit two together
- ssk = slip slip knit (left-leaning decrease)
- yo = yarn over
- sl1 = slip one stitch purlwise
- psso = pass slipped stitch over
- M1L = make one left (increase)
- M1R = make one right (increase)
- st(s) = stitch(es)
- RS = right side
- WS = wrong side
- pm = place marker
- sm = slip marker
Bramble Stitch Pattern (worked flat, multiple of 4 + 2)
This beautiful textured stitch is the heart of the dress bodice. Practice it on a swatch first.
- Row 1 (RS): Purl.
- Row 2 (WS): Knit.
- Row 3: K1, *k1, p1, k1 into next stitch (increase 2), p3tog; repeat from * to last st, k1.
- Row 4: Purl.
- Row 5: Knit.
- Row 6: K1, *p3tog, k1, p1, k1 into next stitch; repeat from * to last st, k1.
- Repeat rows 1-6.
Step-by-Step Instructions
Dress
Skirt (worked bottom-up in the round)
- With MC and 24-inch circular needle, cast on 176 (192, 208) sts. Place marker and join in the round, being careful not to twist.
- Work in k2, p2 ribbing for 6 rounds.
- Switch to stockinette stitch (knit every round) and work even until piece measures 5 (6, 7) inches from cast-on edge.
- Next round: *K2tog, k2; repeat from * to end. (132, 144, 156 sts)
- Work even in stockinette for 1 inch.
- Next round: *K2tog, k1; repeat from * to end. (88, 96, 104 sts)
- Work even in stockinette for 1 inch.
- Next round: *K2tog; repeat from * to end. (44, 48, 52 sts)
Bodice (worked flat)
- Now work back and forth in rows for the bodice.
- Row 1 (RS): K10 (11, 12) for left front, bind off 2 sts for armhole, k20 (22, 24) for back, bind off 2 sts for armhole, k10 (11, 12) for right front. (40, 44, 48 sts total)
Left Front
- Work on first 10 (11, 12) sts. Leave remaining sts on hold.
- Work in bramble stitch pattern (starting with Row 1 of pattern) for 2 (2.5, 3) inches, ending with a WS row.
- Neck shaping: At neck edge (beginning of RS rows), bind off 2 (2, 3) sts once, then bind off 1 st once. (7, 8, 8 sts)
- Work even until armhole measures 3.5 (4, 4.5) inches from bind-off. Bind off all sts.
Right Front
- Work same as left front, reversing neck shaping (bind off at beginning of WS rows).
Back
- Work on center 20 (22, 24) sts.
- Work in bramble stitch pattern for 2.5 (3, 3.5) inches, ending with a WS row.
- Neck shaping: Bind off center 6 (6, 8) sts. Work each side separately.
- At each neck edge, bind off 1 st once. (6, 7, 7 sts each shoulder)
- Work even until armhole matches front. Bind off.
Finishing
- Sew shoulder seams. Weave in ends.
- Edging: With CC and smaller circular needle, pick up and knit approximately 60 (66, 72) sts around neckline. Work in k1, p1 ribbing for 3 rows. Bind off loosely in pattern.
- Pick up and knit approximately 30 (34, 38) sts around each armhole. Work in k1, p1 ribbing for 3 rows. Bind off loosely.
Hat
- With MC and DPNs, cast on 72 (80, 88) sts. Join in the round.
- Work in k2, p2 ribbing for 1 inch.
- Switch to stockinette stitch and work even until piece measures 4 (4.5, 5) inches from cast-on edge.
- Crown decreases:
- Round 1: *K6 (7, 8), k2tog; repeat from * to end. (63, 72, 80 sts)
- Round 2 and all even rounds: Knit.
- Round 3: *K5 (6, 7), k2tog; repeat from * to end. (54, 63, 72 sts)
- Round 5: *K4 (5, 6), k2tog; repeat from * to end. (45, 54, 63 sts)
- Round 7: *K3 (4, 5), k2tog; repeat from * to end. (36, 45, 54 sts)
- Round 9: *K2 (3, 4), k2tog; repeat from * to end. (27, 36, 45 sts)
- Round 11: *K1 (2, 3), k2tog; repeat from * to end. (18, 27, 36 sts)
- Round 13: *K0 (1, 2), k2tog; repeat from * to end. (9, 18, 27 sts)
- For larger sizes, continue decreasing in this manner until 9 sts remain.
- Cut yarn, thread through remaining sts, pull tight, and fasten off.
Booties
Sole (make 2)
- With MC, cast on 6 (8, 10) sts.
- Row 1 (RS): Knit.
- Row 2: K1, M1L, knit to last st, M1R, k1. (8, 10, 12 sts)
- Repeat row 2 every RS row until you have 14 (16, 18) sts.
- Work even in stockinette for 10 (12, 14) rows.
- Next row (RS): K1, ssk, knit to last 3 sts, k2tog, k1. (12, 14, 16 sts)
- Repeat decrease row every RS row until 6 (8, 10) sts remain.
- Bind off.
Upper
- With RS facing, using MC and DPNs, pick up and knit 28 (32, 36) sts around sole (evenly spaced).
- Work in k2, p2 ribbing for 4 (5, 6) rounds.
- Instep: Work back and forth on center 8 (10, 12) sts for instep, leaving remaining sts on hold.
- Work in stockinette for 8 (10, 12) rows.
- Ankle: Pick up 4 (5, 6) sts along each side of instep. (Total sts: 28, 32, 36)
- Work in the round in stockinette for 4 (5, 6) rounds.
- Bind off loosely.
Finishing
- With CC, make a twisted cord or i-cord for ties. Thread through ankle ribbing. Weave in ends.
Mittens
- With MC and DPNs, cast on 24 (28, 32) sts. Join in the round.
- Work in k2, p2 ribbing for 1 inch.
- Switch to stockinette stitch and work even for 1.5 (2, 2.5) inches.
- Thumb gusset:
- Round 1: K1, M1L, k2, M1R, knit to end. (26, 30, 34 sts)
- Round 2: Knit.
- Round 3: K1, M1L, k4, M1R, knit to end. (28, 32, 36 sts)
- Continue increasing in this manner every other round until you have 32 (36, 40) sts.
- Next round: Knit to first thumb st, place next 6 (8, 10) sts on a holder for thumb, cast on 2 sts, knit to end. (28, 30, 32 sts)
- Work even in stockinette for 1.5 (2, 2.5) inches.
- Top decreases:
- Round 1: *K2, k2tog; repeat from * to end. (21, 22, 24 sts)
- Round 2: Knit.
- Round 3: *K1, k2tog; repeat from * to end. (14, 15, 16 sts)
- Round 4: *K2tog; repeat from * to end. (7, 8, 8 sts)
- Cut yarn, thread through remaining sts, pull tight, and fasten off.
Thumb
- Place held sts on DPNs, pick up 2 sts from cast-on edge. (8, 10, 12 sts)
- Work in stockinette for 4 (5, 6) rounds.
- Next round: *K2tog; repeat from * to end. (4, 5, 6 sts)
- Cut yarn, thread through remaining sts, pull tight, and fasten off.
Finishing
- Weave in all ends. Block pieces gently to shape.
Congratulations! You have just completed the Woodland Berry Set. This heirloom-quality ensemble is sure to be cherished. Happy knitting!