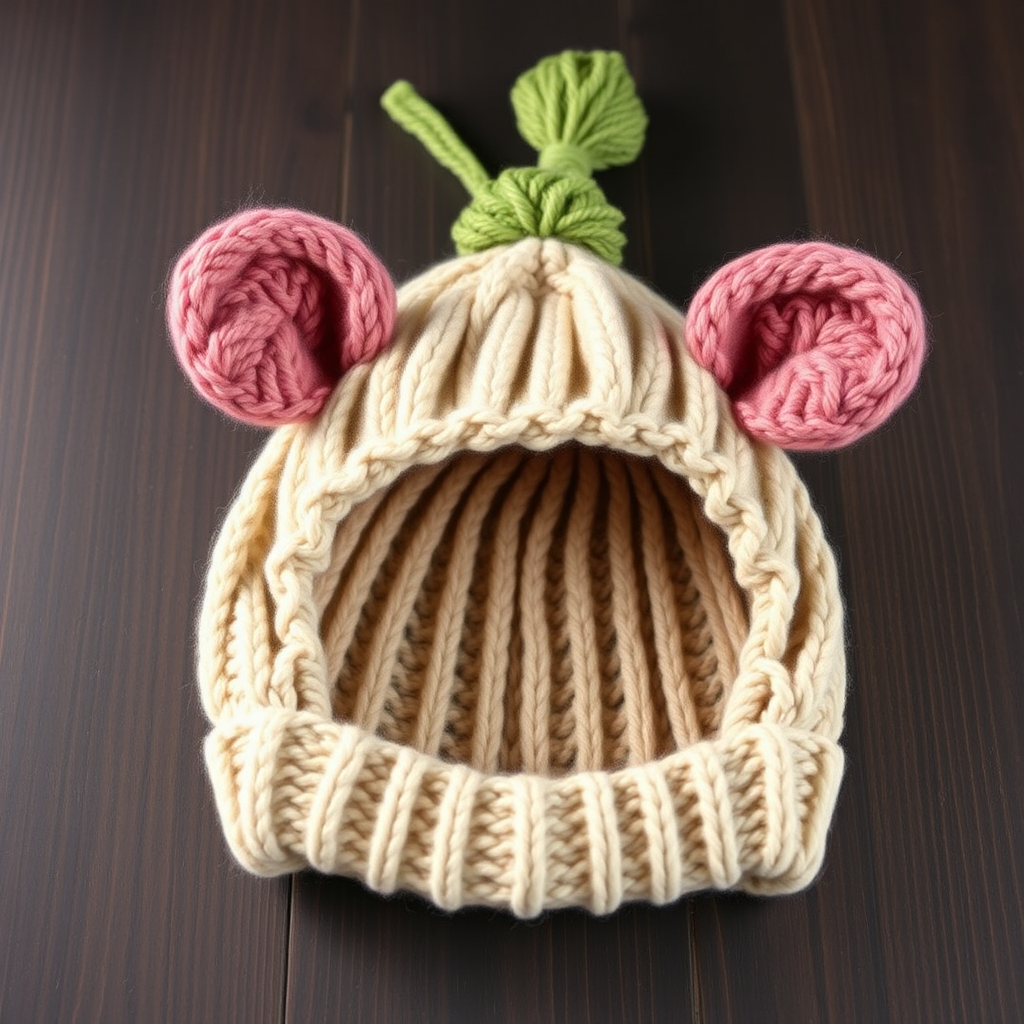
Whimsical Woodland Baby Hat Free Pattern

Whimsical Woodland Baby Hat Free Pattern
Introduction
Embrace the charm of the forest with this Whimsical Woodland Baby Hat, featuring intricate leaf motifs and a snug fit to keep your little one cozy. This enchanting design is perfect for adding a touch of nature-inspired magic to your baby's wardrobe. Whether you are a seasoned knitter or a beginner, this pattern is designed to guide you through each step with clarity and ease.
Materials Needed
- Yarn: DK weight, 100% merino wool
- Needles: US 6 (4mm) circular needles
- Gauge: 22 stitches and 30 rows = 4 inches in stockinette stitch
Step-by-Step Instructions
1. Cast On
Begin by using the long-tail cast-on method to cast on 72 stitches. Ensure your stitches are not twisted by joining them in the round. This is crucial for the integrity of your hat's shape.
2. Ribbing
Work in k2, p2 ribbing for 1 inch. This ribbing will create a snug brim that fits comfortably around your baby's head.
3. Leaf Motif Pattern
Now, you will begin the leaf motif pattern. Follow these rounds carefully:
- Round 1: *k6, p2; repeat from * to end.
- Round 2: *k5, yo, k1, p2; repeat from * to end.
- Round 3: *k4, k2tog, yo, k1, p2; repeat from * to end.
- Round 4: *k3, k2tog, yo, k2, p2; repeat from * to end.
- Round 5: *k2, k2tog, yo, k3, p2; repeat from * to end.
- Round 6: *k1, k2tog, yo, k4, p2; repeat from * to end.
- Round 7: *k2tog, yo, k5, p2; repeat from * to end.
Repeat Rounds 1-7 until the hat measures 5 inches from the cast-on edge.
4. Begin Decreases
Once you reach the desired height, it's time to shape the top of the hat by decreasing the stitches. Follow these rounds:
- Round 1: *k6, p2tog; repeat from * to end.
- Round 2: *k5, p1; repeat from * to end.
- Round 3: *k4, k2tog, p1; repeat from * to end.
- Round 4: *k3, k2tog, p1; repeat from * to end.
- Round 5: *k2, k2tog, p1; repeat from * to end.
- Round 6: *k1, k2tog, p1; repeat from * to end.
- Round 7: *k2tog, p1; repeat from * to end.
5. Finishing Touches
Once you have completed the decreases, cut the yarn, leaving a long tail. Thread the tail through the remaining stitches and pull tight to close the top of the hat. This will create a lovely rounded finish.
Finally, weave in all ends securely to ensure your hat is ready for wear. Your Whimsical Woodland Baby Hat is now complete!