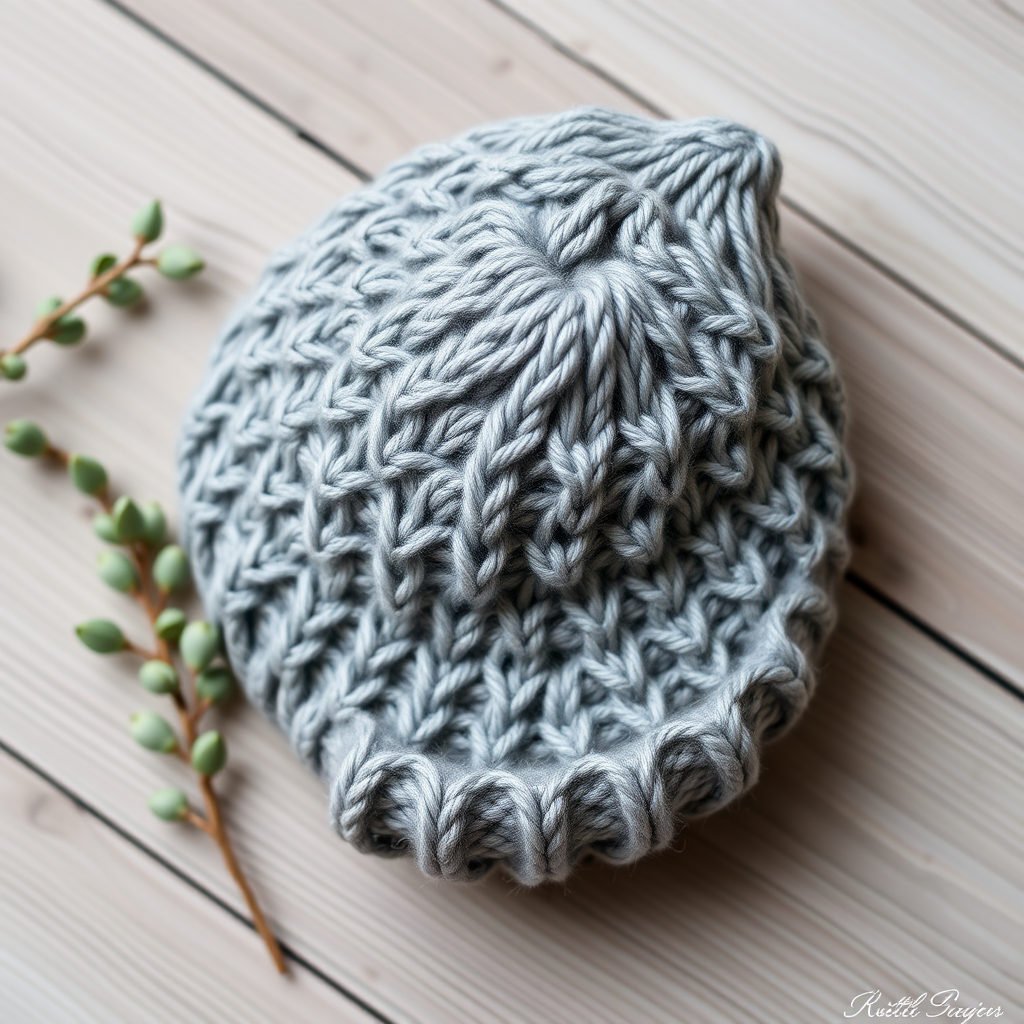
Whispering Willow Baby Socks Free Pattern – Twisted Rib Knit Cuff

Whispering Willow Baby Socks: A Seamless Knitting Pattern for New Arrivals
Welcome to the world of heirloom-quality baby knitting! The Whispering Willow Baby Socks are a delightful project that combines elegance with practicality. Featuring a sophisticated twisted rib cuff and a seamless construction, these socks are as comfortable as they are beautiful. Knitted in a soft, breathable cotton blend, they are the perfect gift for a baby shower, a new arrival, or simply to have on hand for your own little one. This pattern is designed with beginners in mind, offering clear, step-by-step guidance to help you create a pair of socks that will be treasured.
These tiny socks are more than just footwear; they are a labor of love. The twisted rib cuff adds a touch of refined texture, while the smooth stockinette body keeps the design classic and versatile. Whether you choose a delicate sage green, a soft cream, or a playful stripe, these socks are sure to become a favorite. Let's get started on this rewarding knitting journey!
Materials Needed
Before you begin, gather the following materials to ensure a smooth and enjoyable knitting experience. The right tools make all the difference, especially when working on a small scale.
- Yarn: Fingering weight cotton blend (e.g., Knit Picks Comfy Fingering) – 50g (approx. 200 yards). This will be enough for one pair of socks.
- Needles: US 1 (2.25 mm) double-pointed needles (set of 4 or 5) or a circular needle for the magic loop method. Choose whichever you are most comfortable with.
- Stitch Markers: At least 2 markers to separate the instep from the sole.
- Stitch Holder or Scrap Yarn: To hold the instep stitches while you work the heel.
- Tapestry Needle: For weaving in ends and finishing.
- Scissors: For cutting yarn.
Gauge: 32 stitches and 44 rows = 4 inches in stockinette stitch (after blocking). Getting the correct gauge is crucial for the perfect fit, so take a moment to knit a small swatch before you begin.
Step-by-Step Instructions
This pattern is written for two sizes: Newborn (0-3 months). Instructions are for newborn with 0-3 months in parentheses. For example, "Cast on 32 (36) sts" means cast on 32 stitches for newborn size and 36 stitches for 0-3 months size. Follow the numbers that correspond to your chosen size throughout the pattern.
Abbreviations
- k = knit
- p = purl
- k2tog = knit two together (a right-leaning decrease)
- ssk = slip, slip, knit (a left-leaning decrease)
- m1 = make one (an increase)
- st(s) = stitch(es)
- rnd(s) = round(s)
Step 1: The Twisted Rib Cuff
Cast on 32 (36) stitches. Distribute them evenly over 3 or 4 double-pointed needles (8-9 stitches per needle). Join in the round, being very careful not to twist your stitches. Place a stitch marker to mark the beginning of the round.
Rounds 1-8: *K1 through the back loop (this is the twisted knit stitch), p1; repeat from * to end of round. This creates the elegant twisted rib cuff. The twisted knit stitch is achieved by knitting into the back of the loop instead of the front, which twists the stitch and gives it a beautiful, defined texture.
Step 2: The Leg
Rounds 9-16: Knit all stitches. This is the stockinette stitch section of the leg. Simply knit every round until you have completed 8 rounds. This creates a smooth, classic fabric.
Step 3: The Heel Flap
Now we will work the heel flap back and forth on only half of the stitches. Place the first 16 (18) stitches on a holder or leave them on the needles to work the instep later. You will work on the remaining 16 (18) stitches for the heel.
Row 1 (Right Side): *Slip 1 purlwise, k1; repeat from * across all 16 (18) stitches.
Row 2 (Wrong Side): Slip 1 purlwise, purl across all stitches.
Repeat these 2 rows until the heel flap measures 1.25 (1.5) inches, ending with a wrong-side row. The slipped stitches create a sturdy, reinforced heel that is perfect for little feet.
Step 4: Turning the Heel
Turning the heel is a classic technique that shapes the bottom of the sock. Follow these rows carefully, and you will see the heel cup form.
Row 1 (Right Side): K9 (10), ssk, k1, turn your work.
Row 2 (Wrong Side): Slip 1 purlwise, p3 (4), p2tog, p1, turn.
Row 3: Slip 1 purlwise, knit to 1 stitch before the gap (the gap is the space between the stitches you've worked and the ones you haven't), ssk (knit the stitch before the gap and the stitch after the gap together), k1, turn.
Row 4: Slip 1 purlwise, purl to 1 stitch before the gap, p2tog (purl the stitch before the gap and the stitch after the gap together), p1, turn.
Repeat Rows 3 and 4 until all heel stitches have been worked. You should now have 10 (12) stitches remaining on your needle. End with a wrong-side row.
Step 5: The Gusset
The gusset is the section that connects the heel to the foot, adding shape and room for the instep. With the right side facing you, knit across the 10 (12) heel stitches. Now, pick up and knit 8 (9) stitches along the left side of the heel flap. Knit across the 16 (18) instep stitches that you had on hold. Then, pick up and knit 8 (9) stitches along the right side of the heel flap. You should now have a total of 42 (48) stitches on your needles. Place a stitch marker to separate the instep stitches from the sole stitches.
Rnd 1: Knit all stitches.
Rnd 2 (Decrease Round): Knit to the last 3 stitches before the instep marker, k2tog, k1. Knit across the instep stitches. K1, ssk, knit to the end of the round.
Repeat Rounds 1 and 2 until you have 32 (36) stitches remaining (16 (18) on the sole and 16 (18) on the instep). This shaping creates a comfortable fit around the baby's foot.
Step 6: The Foot
Knit every round in stockinette stitch (knit all stitches) until the foot measures 2.5 (3) inches from the heel turn, or 1 inch less than the desired total foot length. For a newborn, the total foot length is about 3.5 (4) inches, so you will knit the foot until it measures 2.5 (3) inches.
Step 7: The Toe
Now we will shape the toe with a series of decreases. This creates a rounded, comfortable toe that won't pinch tiny toes.
Rnd 1: *K6 (7), k2tog; repeat from * to end of round. (28 (32) sts)
Rnd 2: Knit all stitches.
Rnd 3: *K5 (6), k2tog; repeat from * to end of round. (24 (28) sts)
Rnd 4: Knit all stitches.
Rnd 5: *K4 (5), k2tog; repeat from * to end of round. (20 (24) sts)
Rnd 6: Knit all stitches.
Rnd 7: *K3 (4), k2tog; repeat from * to end of round. (16 (20) sts)
Rnd 8: Knit all stitches.
Rnd 9: *K2 (3), k2tog; repeat from * to end of round. (12 (16) sts)
Rnd 10: *K1 (2), k2tog; repeat from * to end of round. (8 (12) sts)
For the 0-3 months size only, repeat Rnd 10 once more. (8 sts)
Cut the yarn, leaving a 6-inch tail. Thread the tail through a tapestry needle, then thread it through the remaining 8 (8) stitches on your needles. Pull tight to close the toe, and weave in the end securely.
Step 8: Finishing
Weave in all loose ends with your tapestry needle, being careful to secure them well so they don't come loose with wear and washing. Block the socks gently by wetting them and laying them flat to dry. This will even out the stitches and give your socks a professional finish. Repeat the entire process to create the second sock.
Congratulations! You've just completed a pair of beautiful, handmade Whispering Willow Baby Socks. These socks are a testament to your skill and care, and they are sure to be cherished. Enjoy watching those tiny feet stay warm and cozy!