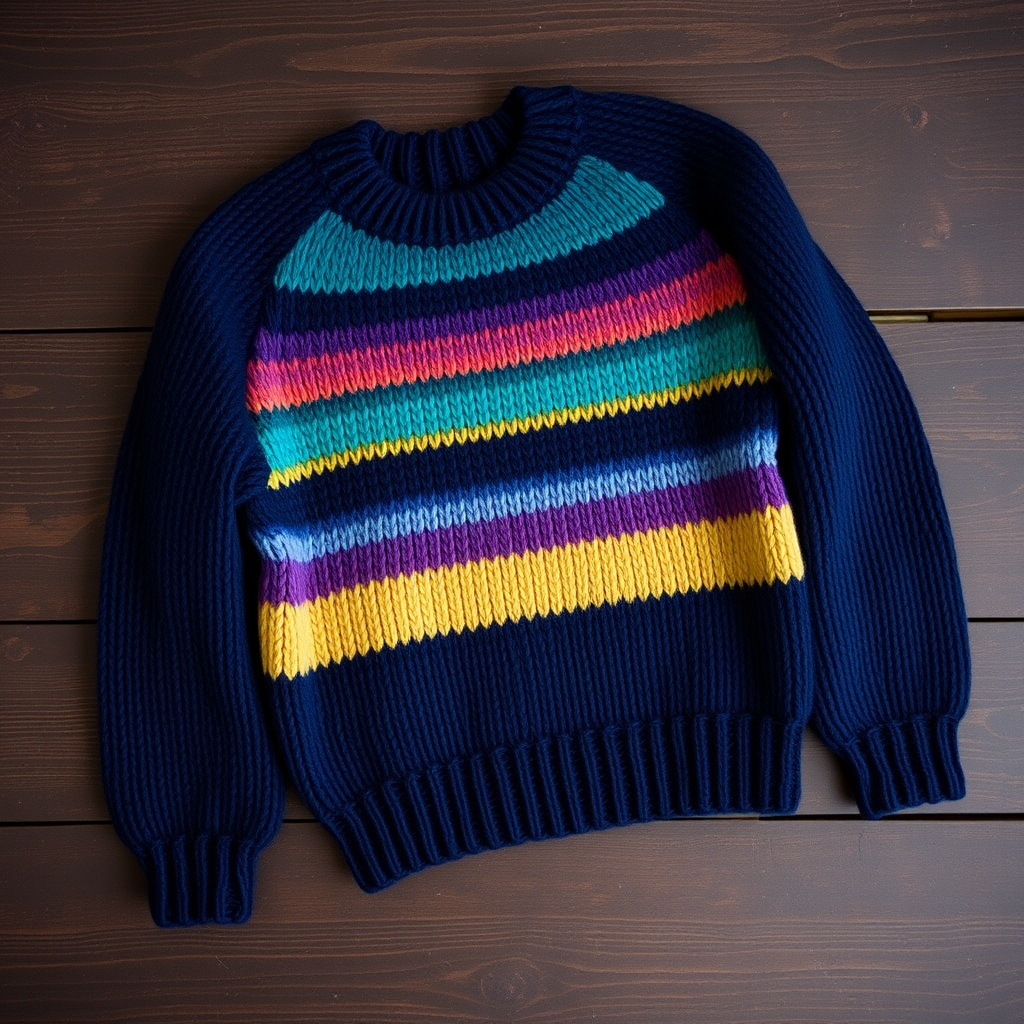
Winterberry Wreath Sweater Free Pattern – Cozy Knit with Berry Bobbles

Introducing the Winterberry Wreath Sweater
Wrap yourself in the festive charm of the Winterberry Wreath Sweater, a cozy knit featuring a textured wreath motif with plump berry bobbles along the yoke. This pattern blends classic cablework with playful bobbles for a sweater that feels like a holiday hug. Whether you're knitting for a Christmas gift or treating yourself to a winter project, this design delivers a stunning, tactile result that's as enjoyable to create as it is to wear.
The sweater is worked seamlessly from the bottom up, with sleeves knit separately and then joined for a raglan yoke. The wreath pattern emerges through a clever combination of cables and bobbles, creating a festive yet elegant palette of evergreen, crimson, and ivory. Perfect for intermediate knitters looking to expand their skills, this pattern is broken down into clear, manageable steps that will guide you from cast-on to finishing.
Materials Needed
Before you begin, gather the following supplies to ensure a smooth knitting experience:
- Yarn: Worsted weight yarn in deep forest green (MC), rich burgundy (CC1), and cream (CC2). Approximate yardage: 1200 (1350, 1500, 1650) yds MC, 150 yds CC1, 100 yds CC2.
- Needles: US 7 (4.5 mm) circular needles, 24-32 inches long for the body and yoke; US 7 double-pointed needles for sleeves.
- Notions: Stitch markers (including locking markers for raglan joins), cable needle, tapestry needle for weaving in ends, and blocking mats with pins.
Gauge: 20 stitches and 26 rows = 4 inches in stockinette stitch. Always knit a swatch to ensure your gauge matches, as this will affect the final fit.
Step-by-Step Instructions
This pattern is written for sizes XS (S, M, L) with a finished chest measurement of 34 (38, 42, 46) inches. Follow the instructions for your desired size throughout.
Abbreviations
Before you start, familiarize yourself with these abbreviations:
- k = knit
- p = purl
- k2tog = knit two stitches together (decrease)
- yo = yarn over (increase)
- m1 = make one (increase)
- bobble = (k1, p1, k1, p1, k1) into the same stitch, then pass the 2nd through 5th stitches over the 1st stitch to close the bobble
- cable = slip 2 stitches to cable needle, hold in front, k2, then k2 from cable needle (a simple front cross cable)
Body (Worked in the Round)
With your main color (MC), cast on 170 (190, 210, 230) stitches. Join in the round, being careful not to twist, and place a marker at the beginning of the round.
Work in k2, p2 ribbing for 2 inches. This creates a neat, stretchy hem that will hold its shape.
Switch to stockinette stitch (knit every round) and work even until the piece measures 12 (13, 14, 15) inches from the cast-on edge. This forms the main body of the sweater.
Place side markers: you should have 85 (95, 105, 115) stitches for the front and the same number for the back. Bind off 8 (10, 12, 14) stitches at each underarm, placing 4-5 stitches on each side of the side markers. This creates the armhole openings. Set the body aside.
Sleeves (Make 2)
Using double-pointed needles and MC, cast on 40 (44, 48, 52) stitches. Join in the round and place a marker at the underarm point.
Work in k2, p2 ribbing for 2 inches, matching the body hem.
Switch to stockinette stitch. Increase 1 stitch on each side of the underarm marker every 6 rounds until you have 60 (66, 72, 78) stitches on your needles. This creates a gently tapered sleeve that fits comfortably.
Work even in stockinette until the sleeve measures 16 (17, 18, 19) inches from the cast-on edge. Bind off 8 (10, 12, 14) stitches at the underarm, placing 4-5 stitches on each side of the marker. Set the sleeve aside and repeat for the second sleeve.
Yoke: Joining Sleeves and Body
Now it's time to bring all the pieces together. Place the body and both sleeves onto one long circular needle. The underarm bind-offs should align at the four corners. Place a locking marker at each of the four raglan joins (where the sleeves meet the body).
You should have a total of 269 (301, 333, 365) stitches on your needle. Work in stockinette stitch, decreasing 1 stitch on each side of each raglan marker every other round. This means you'll decrease 8 stitches per decrease round. Continue these decreases until you have completed 8 (10, 12, 14) decrease rounds. This shapes the yoke and brings the sweater into a comfortable fit around the shoulders.
Wreath Motif Pattern
After completing the initial raglan decreases, you'll begin the festive wreath motif. This pattern uses your burgundy (CC1) for the bobbles and MC for the cables. Follow these rounds carefully:
Round 1 (with CC1): *k2 MC, bobble in CC1, k2 MC, cable over next 4 sts in MC, repeat from * around.
Round 2: Knit all stitches with MC.
Round 3: *k1 MC, bobble in CC1, k3 MC, cable over next 4 sts, repeat from * around.
Round 4: Knit all stitches with MC.
Round 5: *bobble in CC1, k4 MC, cable over next 4 sts, repeat from * around.
Round 6: Knit all stitches with MC.
Round 7: *k4 MC, cable over next 4 sts, bobble in CC1, repeat from * around.
Round 8: Knit all stitches with MC.
Round 9: *k3 MC, cable over next 4 sts, k1 MC, bobble in CC1, repeat from * around.
Round 10: Knit all stitches with MC.
Round 11: *k2 MC, cable over next 4 sts, k2 MC, bobble in CC1, repeat from * around.
Round 12: Knit all stitches with MC.
This 12-round sequence creates the beautiful wreath pattern with cables forming circular bands and bobbles resembling holly berries. The staggered placement of the bobbles and cables gives the motif a dynamic, organic feel.
Finishing the Yoke
Continue working raglan decreases every other round until the yoke measures 7 (8, 9, 10) inches from the join. This measurement is taken from where the sleeves met the body.
Work even without decreases for 2 rounds to stabilize the yoke.
On the next round, decrease stitches to prepare for the neckband: *k2tog, k2, repeat from * around. This reduces the stitch count to a comfortable neckline circumference.
Switch to your cream yarn (CC2) and work in k2, p2 ribbing for 1 inch. This creates a crisp, festive contrast at the neckline. Bind off loosely to maintain stretch.
Finishing Touches
Weave in all loose ends using a tapestry needle, being careful to secure them on the wrong side of the work.
Block the sweater to the specified measurements. This is crucial for the cables and bobbles to open up and lie flat. Use blocking mats and pins to shape the sweater, then allow it to dry completely.
For an extra festive touch, you can add small CC1 bobbles scattered across the body of the sweater. Simply knit a bobble (using the same technique as the yoke) and sew it onto the fabric in a random pattern. This adds a playful "berry" effect that ties the whole design together.
Your Winterberry Wreath Sweater is now complete! Slip it on and enjoy the cozy, festive warmth of your handmade creation. This sweater makes a wonderful gift or a special addition to your own winter wardrobe.